When Wi-Fi is greyed out on Mac, your Mac is as good as playing locally saved content only. That means you can’t send messages, emails, or browse the web. You can troubleshoot that problem using the methods below.
1. Restart Mac
Restarting your Mac is an effective way to fix glitches like high memory usage, Mac display not working after waking up, Mac freezing, Wi-Fi greyed out, and more. It’s a tried and tested method to troubleshoot network problems. Most Mac users put their MacBooks to sleep to quickly resume working or any other task. If you follow the same tribe, you’ll need to reboot your Mac occasionally to keep it running smoothly. Step 1: Click the Apple icon in the top-left corner of the Menu bar.
Step 2: Select Restart.
After your Mac reboots, check the Wi-Fi icon in the menu bar. If it still appears greyed out, continue trying out tricks.
2. Enable Wi-Fi
Did you accidentally disable Wi-Fi on your Mac? The Wi-Fi will look greyed out. You’ll need to enable Wi-Fi using the steps below. Step 1: Click the Wi-Fi icon in the top-right corner of the Menu bar.
Step 2: Turn on the Wi-Fi toggle.
You can enable Wi-Fi from the System Settings too. Step 1: Click the Apple icon in the top-left corner on the Menu bar and select System Settings (System Preferences in older macOS versions).
Step 2: Select Wi-Fi from the left sidebar and enable the Wi-Fi toggle.
3. Start macOS in Safe Mode
When you start your Mac in Safe Mode, the system disables all the apps and services launching in the background. It helps you identify whether the Mac issues you’re experiencing are caused by software that loads as your Mac starts up. The steps to start macOS in Safe Mode differs on an Apple M-Series and Intel CPU. First, you need to check if your Mac has an Intel CPU or the in-house M-series. Step 1: Click the Apple icon in the top-left corner of the Menu bar.
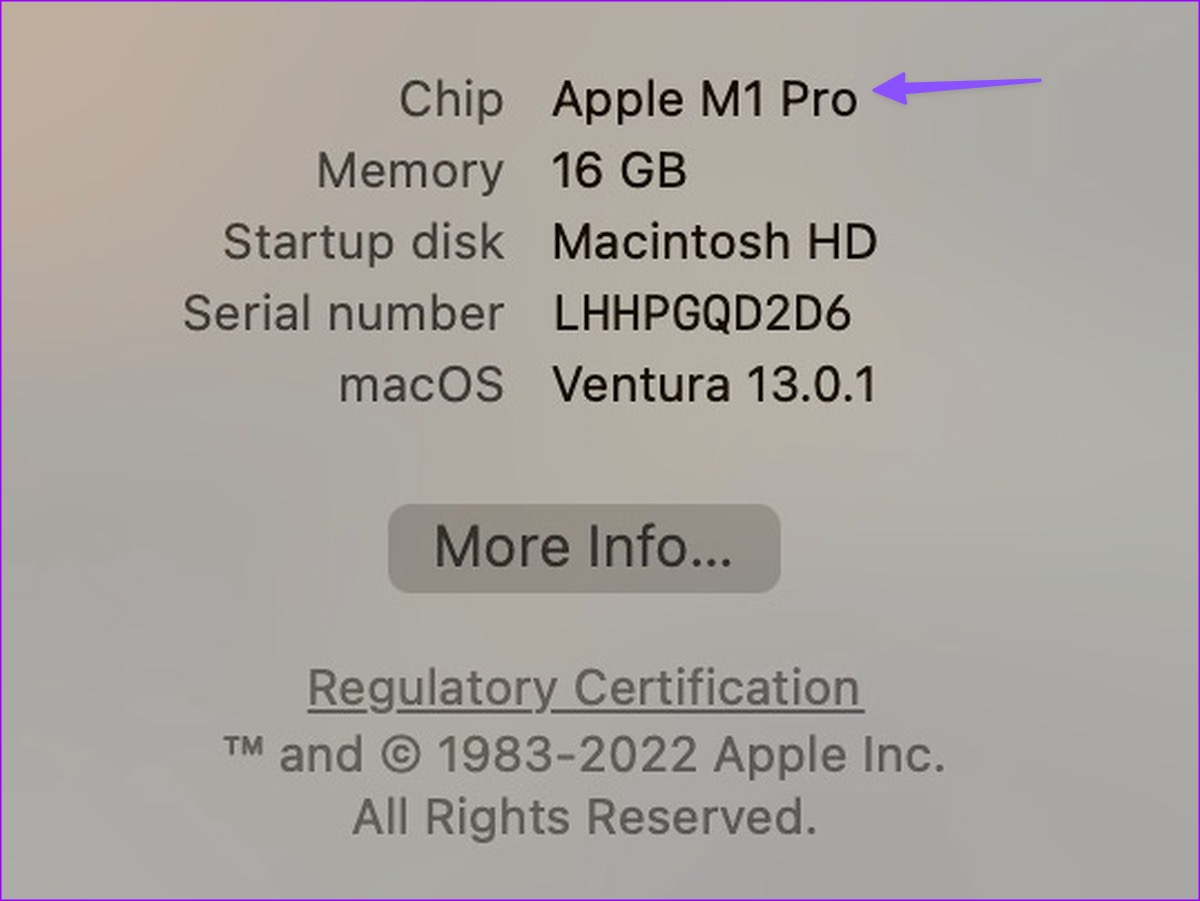
Step 2: Select ‘About This Mac.’
Step 3: Check your Mac chip from the following menu.
Macs With M-Series CPU
Step 1: Click the Apple icon in the top-left corner of the Menu bar and select Shut down. Step 2: Press and hold the power button until you see ‘Loading startup options.’ Step 3: Select a volume. Step 4: Keep pressing the Shift key and click ‘Continue in Safe Mode.’
Macs With Intel CPU
The steps to start an Intel-based Mac in safe mode differs. Go through the steps below. Step 1: Reboot your Mac (check the steps above) and quickly press and hold the Shift key.
Step 2: Log in to your Mac. Step 3: macOS will ask you to log in again. You will see ‘Safe Boot’ in the menu bar on either the first or second login window. If Wi-Fi is running fine, you need to disable or uninstall apps automatically launching at startup.
4. Create a New User in macOS
You can create a new user in macOS and use another profile for a while. If Wi-Fi network runs fine on another account, the problem lies with corrupted user settings. Step 1: Click the Apple icon in the top-left corner of the Menu bar and select System Settings.
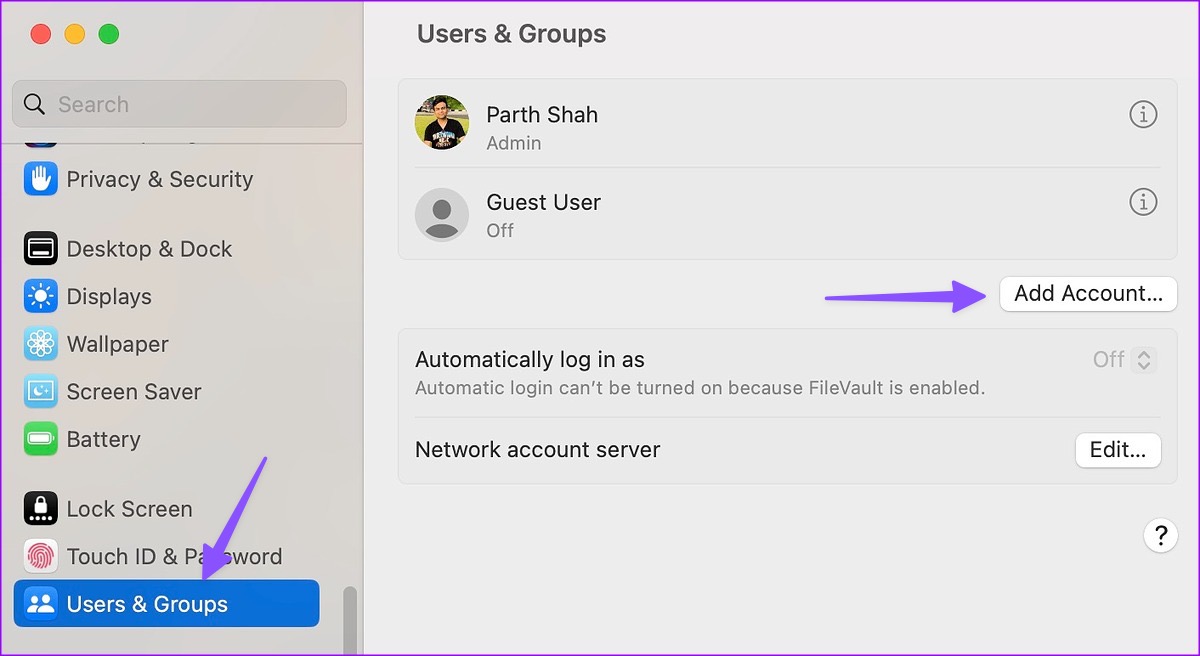
Step 2: Select Users & Groups from the left sidebar. Click Add Accounts button in the right pane.
Step 3: Enter relevant details and create a new account.
Step 4: Restart your Mac (check the steps above) and log in to another account. If Wi-Fi works fine after doing this, you need to reinstall macOS. You can check a dedicated guide from Apple to reinstall macOS.
5. Re-activate Wi-Fi on Mac
Did you accidentally deactivate Wi-Fi on Mac? The Wi-Fi icon stays greyed out due to that. Step 1: Navigate to System Settings on Mac (check the steps above).
Step 2: Select Network from the left sidebar. Step 3: Right-click on Wi-Fi and select ‘Make Service active.’
Step 4: Open the same and enable the Wi-Fi toggle.
6. Add Wi-Fi Service Again
You can delete the Wi-Fi service and add it again to fix network glitches like Wi-Fi greyed out on Mac. Step 1: Open System Settings on your Mac and click on Network (check steps above). Step 2: From the right pane, right-click on Wi-Fi and select ‘Delete Service.’
Step 3: Click the down arrow icon and select ‘Add Service.’
Step 4: Select Wi-Fi under ‘Interface,’ give it a relevant name, and hit Create.
7. Delete Network PLIST Files
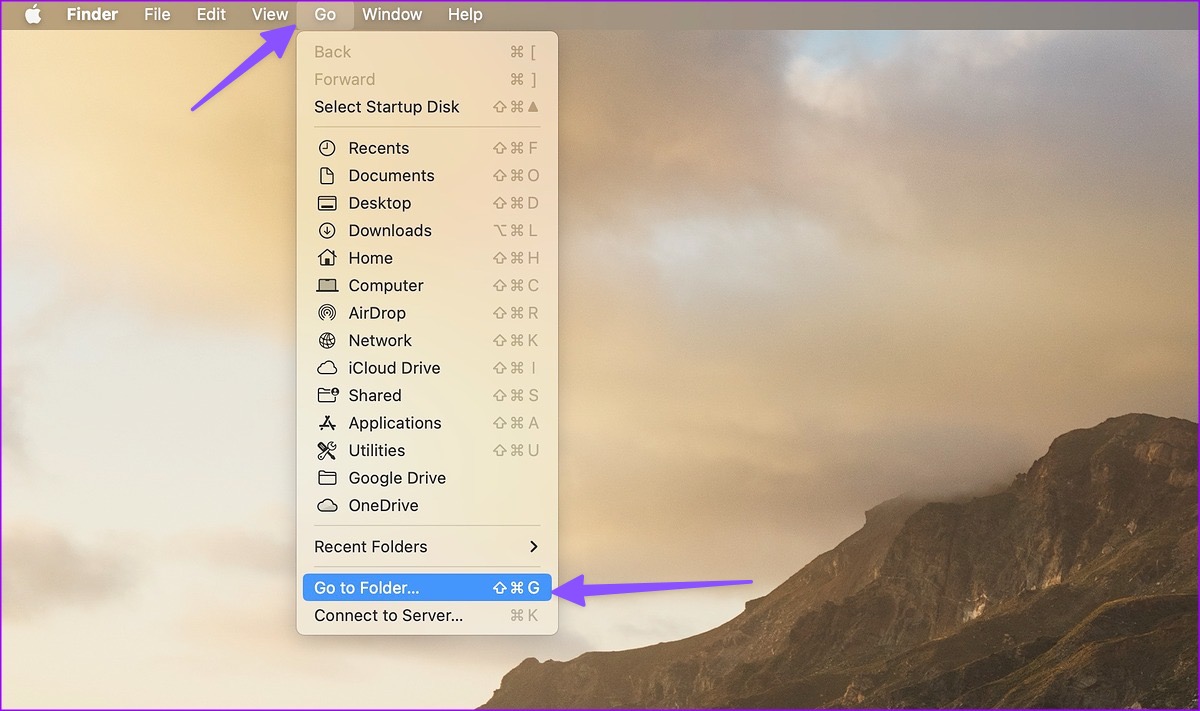
You can delete old network files and fix Wi-Fi not showing up on Mac. Step 1: Open Finder, click Go menu on the Menu bar at the top and select ‘Go To Folder’ from the menu that opens.
Step 2: Enter the following path and hit the Return key.: /Library/Preferences/SystemConfiguration/
Step 3: Check the following files from the list and move them to the bin.
apple.airport.preferences.plist apple.network.identification.plist apple.wifi.message-tracer.plist
Step 4: Reboot your Mac and check if Wi-Fi is running as expected or not.
Start Using Wi-Fi on Mac
Wi-Fi not working or greyed out on Mac can lead to unproductive hours. Before you book an appointment to the nearest Apple service center, use the tricks above to fix the issue in no time.