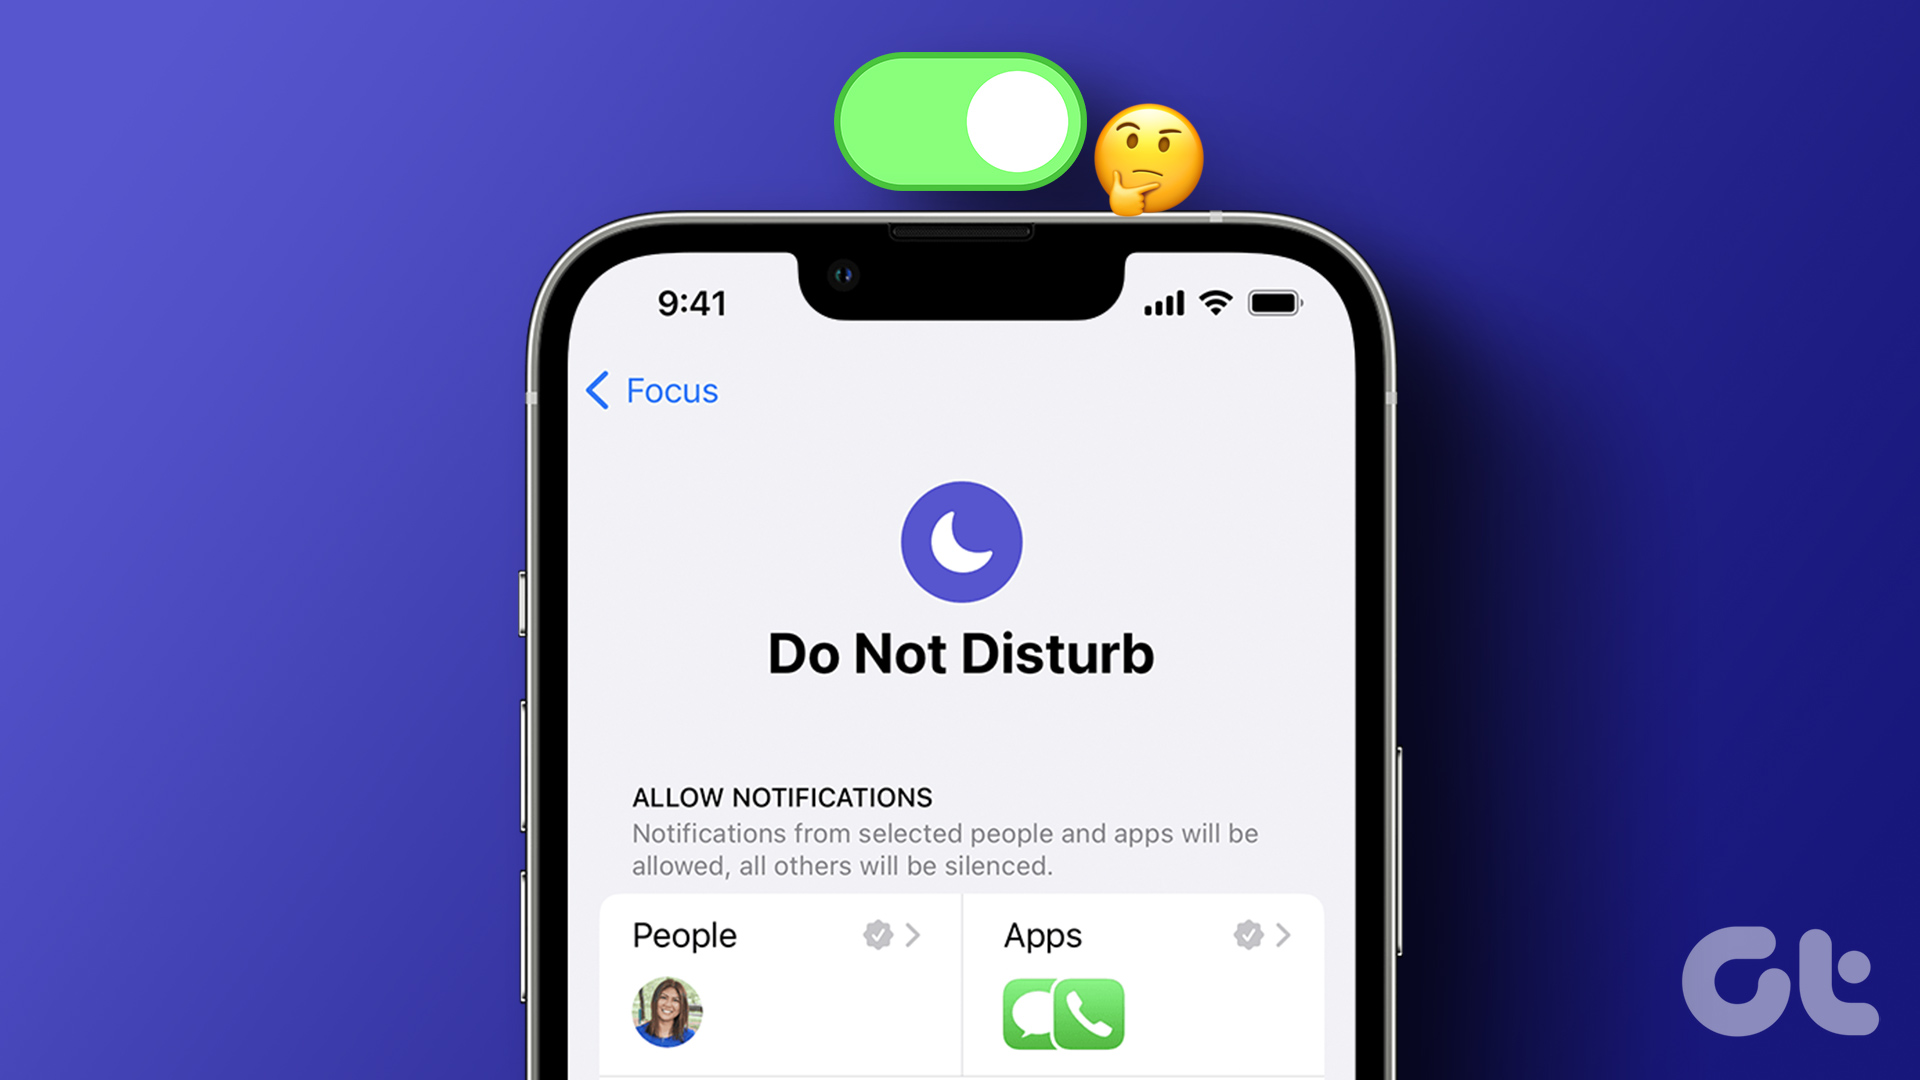
With iOS 15, Apple changed how Do Not Disturb works on iPhone. It’s one of the profiles under Focus to create a distract-free environment. There are several factors behind the Do Not Disturb turned on automatically issue. Let’s start with the basics and make relevant changes to stop the behavior.
1. Disable the Do Not Disturb Schedule
iOS lets you turn on Do Not Disturb mode based on time, location, or when you open a specific app. Many use it to create a Do Not Disturb automation on iPhone. For example, you can enable Do Not Disturb when you reach the office or open work apps like Microsoft Teams and Slack. If you have set a schedule for Do Not Disturb to turn on automatically at a set time or location or while using a certain app, turn it off from the Settings menu. Step 1: Open Settings on your iPhone. Step 2: Select ‘Focus.’ Step 3: Open ‘Do Not Disturb.’ Step 4: Select a schedule and turn it off from the following menu. If you no longer need the schedule, delete it.
2. Disable Share Across Devices
It’s one of the major factors enabling Do Not Disturb automatically on iPhone. If you use Do Not Disturb on iPad or Mac, iCloud syncs the status across all your devices using the same Apple account. When you enable DND on an iPad or Mac, iCloud turns on the same on your iPhone. You’ll need to disable ‘Share Across Devices’ toggle on your iPad or Mac so that the system doesn’t share Do Not Disturb status with other connected devices.
Mac
Step 1: Click on the Control Center icon in the top-right corner of menu bar.
Step 2: Expand the Focus menu.
Step 3: Select ‘Focus Settings.’
Step 4: Disable the ‘Share across devices’ toggle.
iPad
Step 1: Open the Settings app on iPad. Step 2: Select Focus. Turn off the toggle next to ‘Share across devices’ option.
After that, iCloud won’t share your Focus status with other connected devices.
3. Unlink Focus from a Lock Screen
iOS 16 brings major changes to your iPhone’s lock screen. You can now create several lock screens, add app widgets, and even assign a Focus to a specific lock screen. Let’s say you assign Do Not Disturb to a specific lock screen. Whenever you pick such a linked lock screen on your iPhone, the system automatically turns on Do Not Disturb. You have two options here. You can either unlink focus or delete the lock screen.
Unlink Focus
Step 1: Press the power/side button to turn on the lock screen. Step 2: Long-press on empty area on lock screen to open the customization menu. Step 3: Select Focus at the bottom and tap on the same one again to unlink Do Not Disturb.
Delete the Lock Screen
Step 1: Open the lock screen customization menu (refer to the steps above). Step 2: Swipe up on the lock screen and tap delete.
4. Disable Do Not Disturb When Connected to CarPlay
iOS lets you activate Driving Focus when you connect the iPhone to an Apple CarPlay system. Driving Focus acts like Do Not Disturb and turns off notifications and calls on your iPhone. Here’s how you can disable it. Step 1: Open Settings on your iPhone. Go to Focus and open Driving. Step 2: Tap ‘While Driving.’ Step 3: Disable the ‘Activate With CarPlay’ toggle.
5. Turn off Do Not Disturb When Connected to Car Bluetooth
iOS also lets you enable Do Not Disturb when connected to your car Bluetooth. Here’s how you can change the behavior. Step 1: Open Settings on your iPhone. Go to Focus and open Driving. Step 2: Select ‘While Driving.’ Step 3: Tap ‘Manually.’
6. Delete Driving Focus
If you don’t want to deal with Driving Focus, delete it entirely from your iPhone. Step 1: Open Settings on your iPhone. Go to Focus and open Driving. Step 2: Select ‘Delete Focus’ and confirm your decision.
Never Miss an Alert on iPhone
When Do not disturb mode keeps turning on automatically, it can make you miss important calls, messages, emails, and other important notifications. You don’t need to factory reset your iPhone or rush to the nearest service center. The tricks above fix the problem in no time. Which trick worked for you? Share your findings in the comments below.


