There are several ways to check your OS edition, version, and build number in Windows 11. In this post, we’ll walk you through all of those methods in detail. So, let’s get going, shall we?
1. Check OS Information Using the Settings App
The Settings app provides an easy way to check the Windows edition, version, and build number. You need to visit the About section in the Settings app by following the steps below. Step 1: Click the Start button and click the gear-shaped icon to launch the Settings app. Alternatively, you can use the Windows key + I shortcut for the same.
Step 2: In the System tab, scroll down to click on About.
Step 3: Under the Windows specifications section, you’ll find the OS edition, version, and build number. You can click the Copy button to copy this information to the clipboard.
You can also find details about your PC’s hardware specifications from the same menu.
2. Check OS Information Using the Winver Command
Winver, short for Windows Version, is a simple command that displays information about the Windows version on your computer. You can use this command with Run utility to fetch more details about Windows on your computer. Step 1: Right-click on the Start icon and select Run from the list.
Step 2: Type winver in the text box and press Enter.
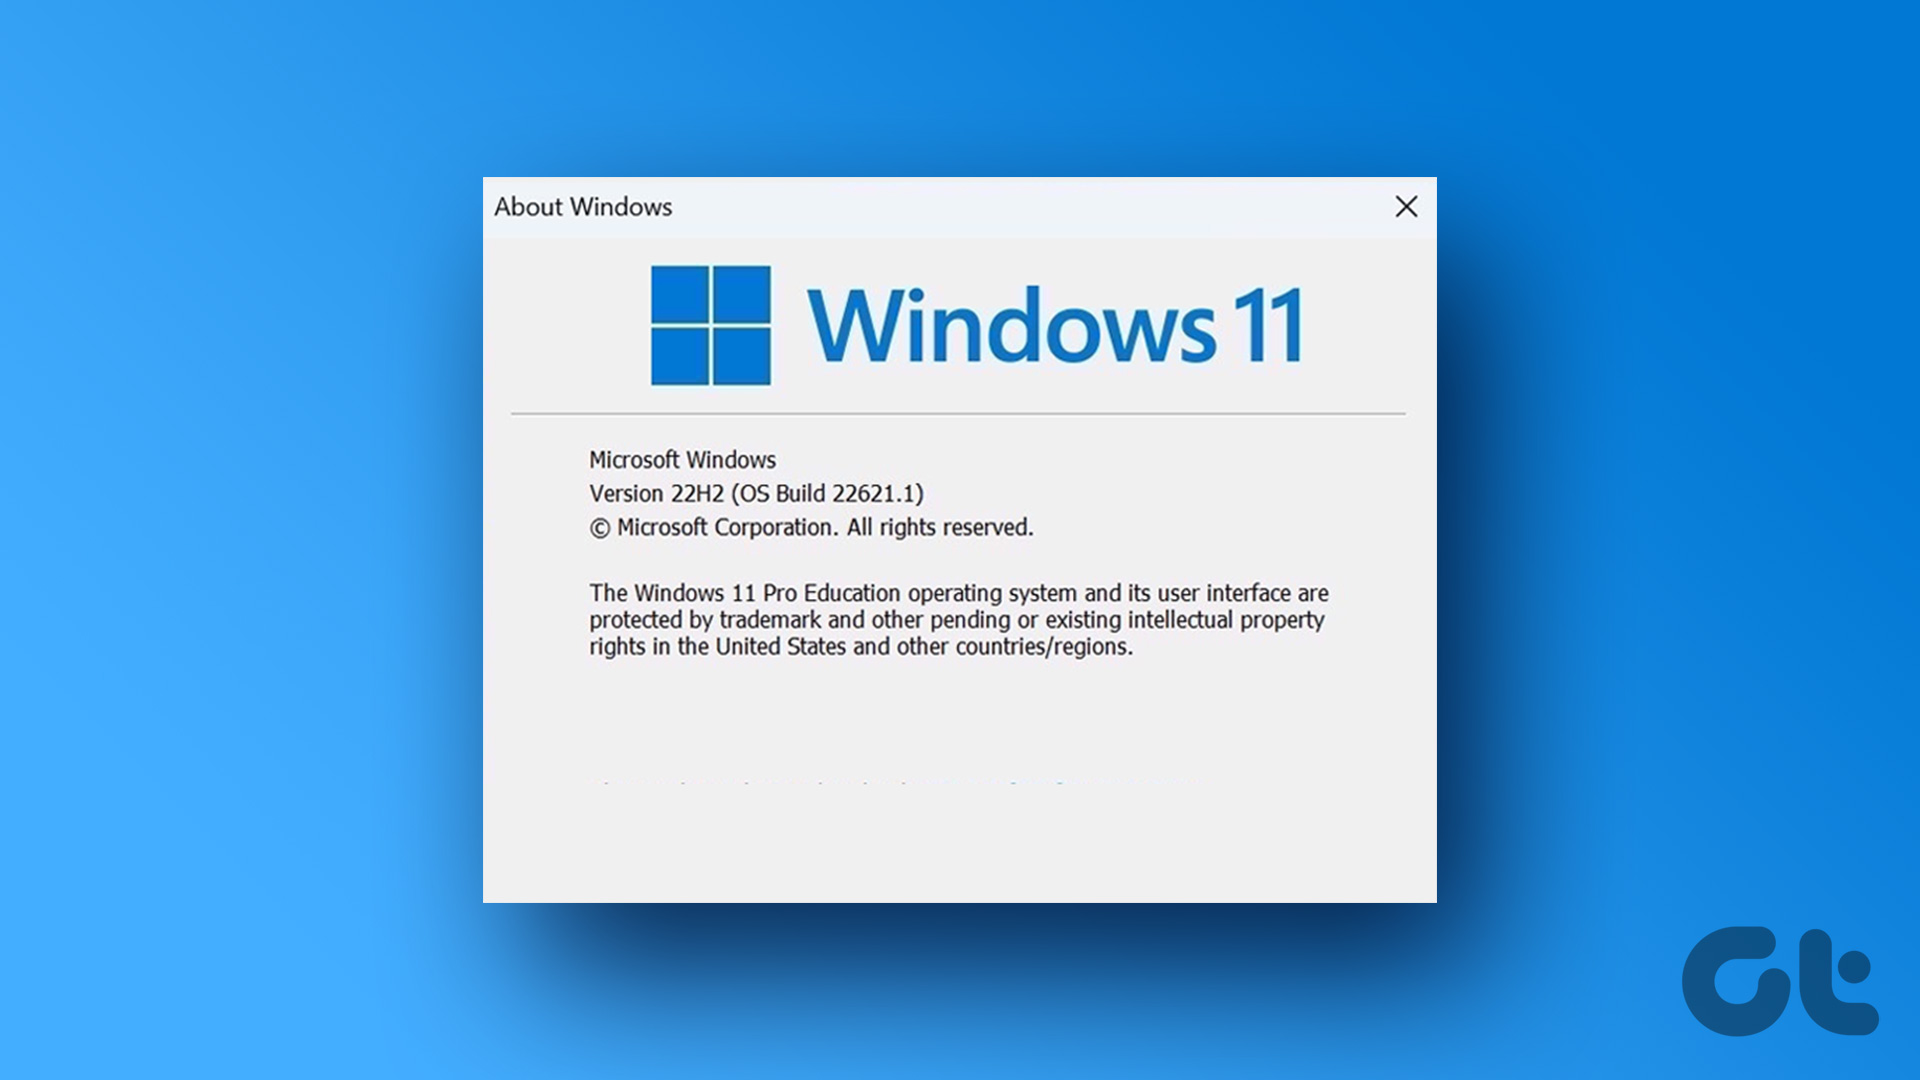
Step 3: In the About Windows panel that opens, you’ll find details about the OS edition, version, and build number. Then, click OK to close the window.
3. Check OS Information From System Information
The System Information app is another way to check the OS edition, version, and build number in Windows 11. It gives you all the necessary details about your computer’s hardware and software. Here’s how you can access it. Step 1: Press the Windows key + R to open the Run dialog box. Step 2: Type msinfo32 in the Open field and press Enter. This will open the System Information app.
Step 3: In the System Summary tab, you’ll find the OS edition, version, and build number right at the top.
You can expand the Hardware Resources and Software Environment from the left pane to find other system specifications.
4. Check OS Information With Command Prompt
Command Prompt is a popular tool for performing various administrative tasks on Windows. It can also help you find out various details about the Windows 11 build your PC is running. To check the OS information using Command Prompt, use the following steps. Step 1: Right-click on the Start icon or press the Windows key + X to open the Power User menu. Select Terminal (Admin) from the list.
Step 2: Select Yes when the User Account Control (UAC) prompt appears.
Step 3: Type the following command and press Enter to view the OS version number.
Step 4: Run the following command to check the OS edition.
Step 5: Paste the following command and press Enter to see the build number.
Alternatively, you can run the following command to view all the system details at once.
5. Check OS Information With Windows PowerShell
Like Command Prompt, you can use Windows PowerShell to check system specifications. Here are the steps you can follow to check the OS edition, version, and build number in PowerShell. Step 1: Press the Windows key + S to open the search menu. Type Windows PowerShell in the box and click on Run as Administrator.
Step 2: Select Yes when the User Account Control (UAC) prompt appears.
Step 3: Paste the following command and press Enter to view the OS edition, version, and build number.
Know Your PC
Knowing your PC’s OS edition, version, and build number can be handy in certain situations. You can employ any of the methods above to find that information. Make sure you check this information before purchasing new PC software or games. Similarly, you can also find your PC’s hardware information, such as RAM size or available RAM slots, in a few different ways. The above article may contain affiliate links which help support Guiding Tech. However, it does not affect our editorial integrity. The content remains unbiased and authentic.


