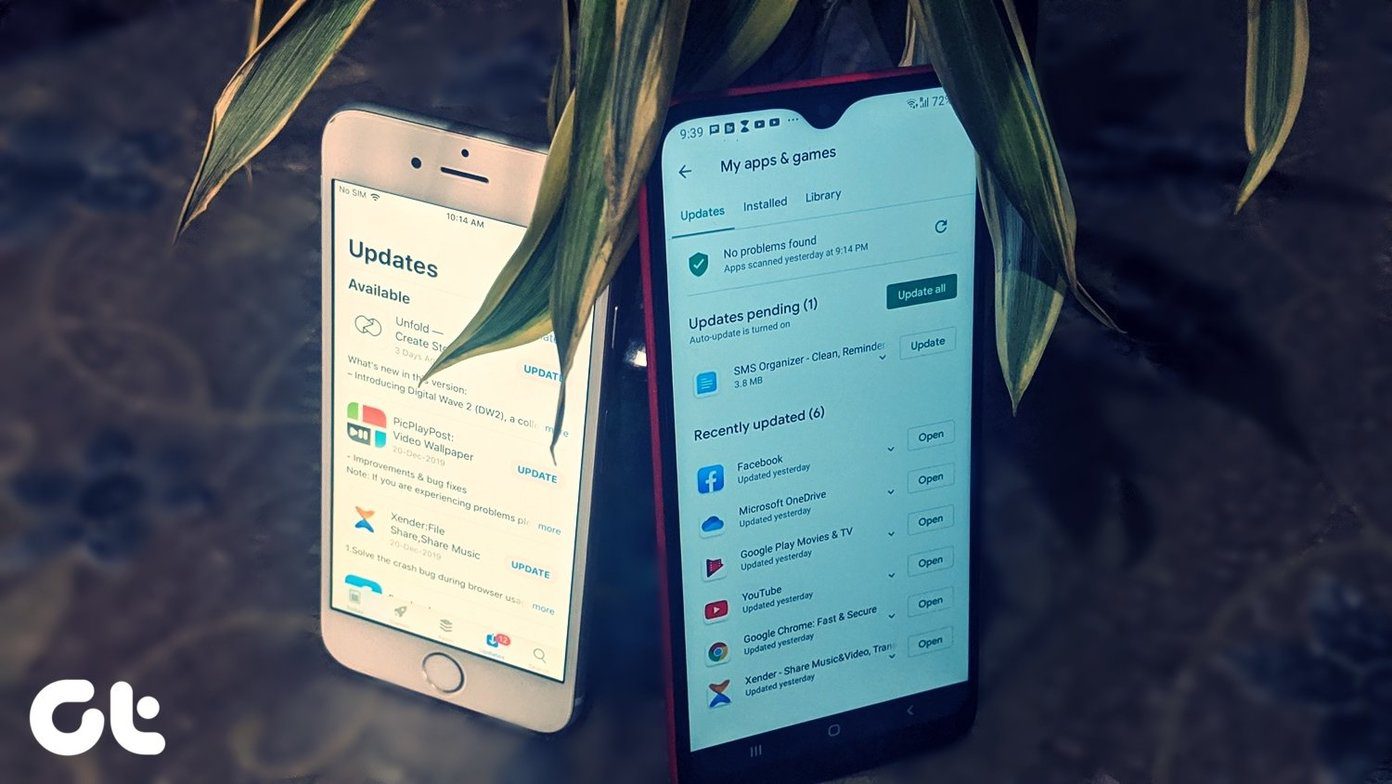
Even when you add someone else’s account in your Android phone, their contacts will start showing up on your phone. The problem is — even though Google lets you stop syncing the contacts, the option appears after the contacts sync takes place. That makes the process useless. In short, you cannot choose what you want to sync from your Google account. However, here we will tell you various ways to avoid syncing data on Android while adding a Google account. Before that, let’s understand the issue properly first.
What’s the Problem with Google Sync
When you add a Google account on your Android phone — be it a primary or secondary, it starts syncing everything related to that account. For instance, emails, contacts, images in Google Photos, Calendar, Drive, and more. Google doesn’t give you a choice. Now, most users use different Google accounts to keep things separate. Syncing everything to the Android phone defeats the purpose. There could be many reasons for people to stop syncing their Google data to an Android phone. For instance, I don’t want contacts from all of my Google accounts to show up on my Android phone. Similarly, when some people buy paid apps from their account, they want to share that with someone else, especially their kids. They do that by adding the Google account on the second device. But by doing so, all their personal data such as emails, contacts, and more show up on the kids’ device. Now that’s bad, in terms of both privacy and safety. To avoid that, one needs to add a Google account without syncing everything. Let’s check how to do that.
1. Quickly Disable Sync
As mentioned above, Google doesn’t let you choose what you want to sync and what you don’t when you add a Google account. You can disable it after the content has synced. That’s quite stupid. To avoid syncing things from Google such as contacts before adding a Google account, you need to disable sync quickly. Here’s how to go about it. Step 1: Start the process of adding a Google account from Android settings as you would normally do. However, when you reach the last step after entering your password, quickly enable Airplane mode on your phone from quick settings. I recommend that you should do it within seconds. Step 2: Once enabled, return to the newly added Google Accounts page — Settings > Accounts. Step 3: Tap on your Google account. Then, tap on Account sync or Sync account. Step 4: Turn off the toggle or uncheck the box next to the items that you don’t want to sync to your phone. For instance, if you only want to sync Gmail, keep it enabled and turn off the rest. Step 5: Then, turn off Airplane mode from quick settings. Doing that will bring back the internet services on your phone and resume sync but only for the options that you selected.
2. Disable Apps
The problem with Google data is that even if you disable the sync in the settings, as shown above, the apps still have access to your Google account. Take the case of Gmail. If you turn off sync for Gmail, the only thing that will stop are the notifications. Meaning, you won’t be notified about new mails. But if the person opens the Gmail app, then they can still see your Google account there. And the new emails will automatically populate by opening the app. If you don’t want the app to have access to your personal data, you can disable it. Disabling the app will stop it from showing up on your home screen or in the app drawer. Of course, that would mean parting away with other Google accounts too. If you are okay with that, you can disable it in the following way. Step 1: Open Settings on your Android phone and go to Apps & notifications or Apps. Step 2: Under All apps, tap on Gmail or any other app that you want to disable. Step 3: Tap on Disable.
3. Use Multiple Users
If you want to keep data separate for two Google accounts, and that was the reason to stop syncing the data, you can do it by creating a new user account on your Android phone. Don’t get confused. All Android phones offer the multiple-user feature where each user gets a separate space on your phone linked with a completely different account. Users will not be able to access any of your personal data. Even though this is not a proper solution to the problem, it can come handy when you want to share your phone with your kids. Giving them a separate space with a different Google account will make life easy. And, of course, you can use method 1 as well to stop syncing whatever data you like. To add users on your phone, go to Settings > System > Multiple users. Tap on Add user.
4. Use Second space in MIUI
If you own an Android phone running MIUI, you are in luck. That’s because you can share your installed apps with other users without sharing any of your data. It is possible with the help of the Second Space feature. This feature is missing in the multiple users feature available on other phones. You can use this method when you want to share paid apps with your kids. Just create a Second Space by going into Settings on your phone. You will then be asked to select the apps that should show up in the Second Space. Choose the apps and switch to it. Your data from the selected or any other app won’t sync in Second Space.
5. Use Google Play Family Sharing
Sometimes, we want to share our purchased data from Google Play, such as apps, movies, games, TV shows, etc. with someone else. For that, typically, we would add our own Google account on their device. Evidently, it will sync everything. As an alternative, you can use the Google Play Family sharing option. It lets you share your purchased Google Play data with up to 5 family members. They can do that by using their own Google account. So basically, you don’t need to add your Google account, thus saving you from syncing anything.
With or Without Google
Life would have been so easy if Google provided simple checkboxes at the time of adding new Google accounts on phones. All of this would not be needed if we were given a choice to choose the data that we want to sync. But sadly, that’s not the case. We hope someone at Google is reading this post, and they implement something practical. Next up: Seeing a number of Google settings on your Android? Understand what they mean from our detailed guide given in the next link. The above article may contain affiliate links which help support Guiding Tech. However, it does not affect our editorial integrity. The content remains unbiased and authentic.


