Microsoft offers support for Hardware-Accelerated GPU Scheduling on all Windows version starting from its Windows 10 May 2020 update. The feature is meant for future usage and hasn’t taken off due to confusion about how it works. To help you understand this feature better, we shall explain about Hardware-Accelerated GPU Scheduling and how you can enable it on your Windows 11 PC.
What Is Hardware-Accelerated GPU Scheduling and How Does It Work
Hardware Accelerated GPU Scheduling is a feature built in to Windows. It arrived since the Windows 10 (Build 2004). The key objective of this feature is where the load of high-priority threads of instructions, like rendering frames, is passed directly to the graphics processor instead of the CPU. That’s intended to save time and reduce input latency with frame buffering. While that frees up the processor from running commands in batches, it also helps make best of the graphics processor inside. That said, this feature isn’t a magical switch. You won’t experience significant spike in framerate improvements or performance in games immediately. Also, it will only work when you’re using multiple apps that require GPU usage. The Hardware-Accelerated GPU scheduling can be deemed in its early stages and is meant to work with the requirements and needs. Also, it’s like a stepping stone that’ll only enable more benefits with the future updates from Microsoft. Hardware Accelerated GPU Scheduling is only supported on NVIDIA’s GT 1030 and later series of GPUs alongside AMD’s 5600 and later series of GPUs. It’s recommended that you update the graphics drivers on your PC to the latest version.
Why You Should or Shouldn’t Enable Hardware-Accelerated GPU Scheduling
Before you go any further and learn how to enable Hardware-Accelerated GPU Scheduling on your Windows 11 PC, let’s look at the three most important reasons you should enable Hardware-Accelerated GPU Scheduling compared to using the CPU-based scheduler.
Reduced Input Lag: As opposed to communicating with the CPU for the frame data, using Hardware-Accelerated GPU Scheduling ensures that the GPU handles all aspects of the graphical processing. This helps reduce the input lag, i.e., the time it takes for the GPU to load up a frame that can be displayed on your screen after a key press or movement of the mouse. Lower CPU Utilization: Enabling Hardware-Accelerated GPU Scheduling ensures that the CPU won’t have to continuously work at churning out the frame data required by the GPU. This helps lower the CPU utilization and improve its clock speeds by a few percent, allowing it to handle processing-heavy tasks smoothly. Lower CPU Temperatures: Thanks to the lower CPU utilization that is made possible by using Hardware-Accelerated GPU Scheduling, the CPU can function at a lower temperature allowing it to run faster and longer without overheating.
Besides the benefits mentioned above, there aren’t any disadvantages to enabling Hardware-Accelerated GPU Scheduling if your PC has the hardware and software that supports it. However, you should note that you might see a slight increase in GPU usage and power consumption.
How to Enable Hardware-Accelerated GPU Scheduling
Now that you know what Hardware-Accelerated GPU Scheduling is and how it can be beneficial let’s take a look at the two ways you can enable Hardware-Accelerated GPU Scheduling on your Windows 11 PC.
1. Enable Hardware-Accelerated GPU Scheduling Using the Settings App
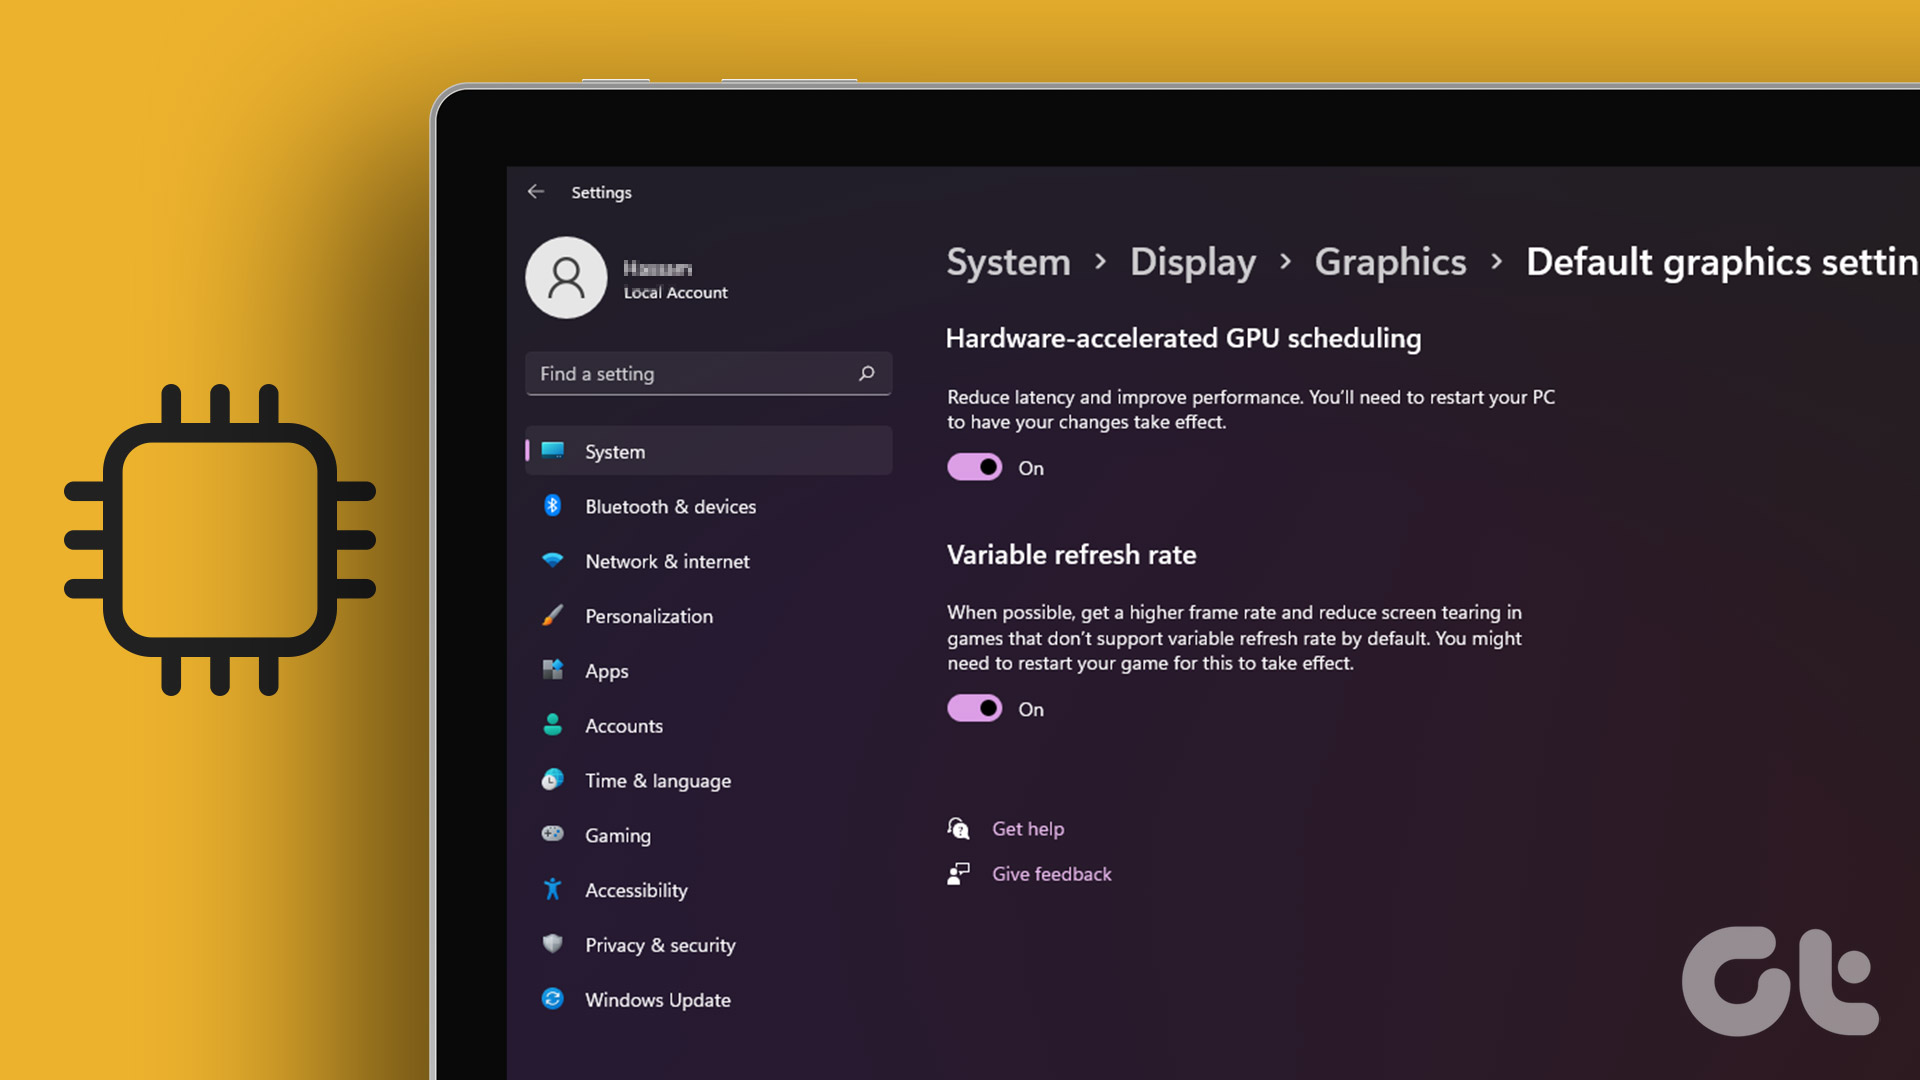
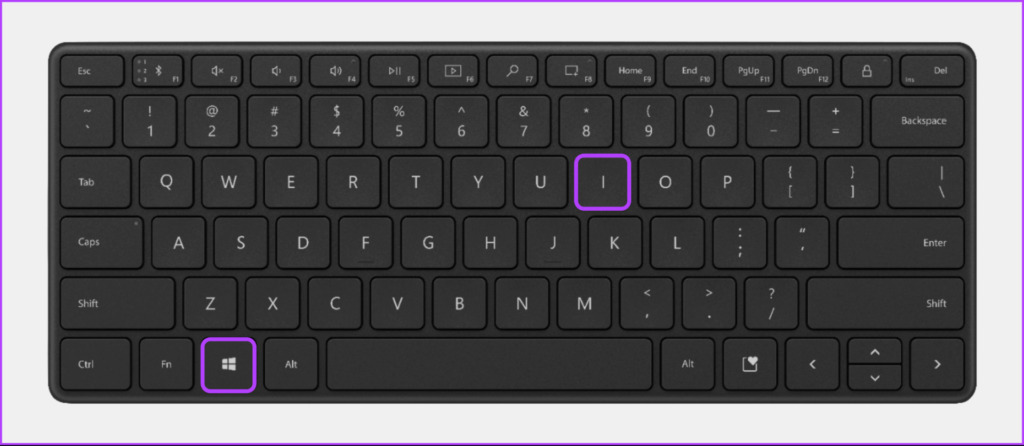
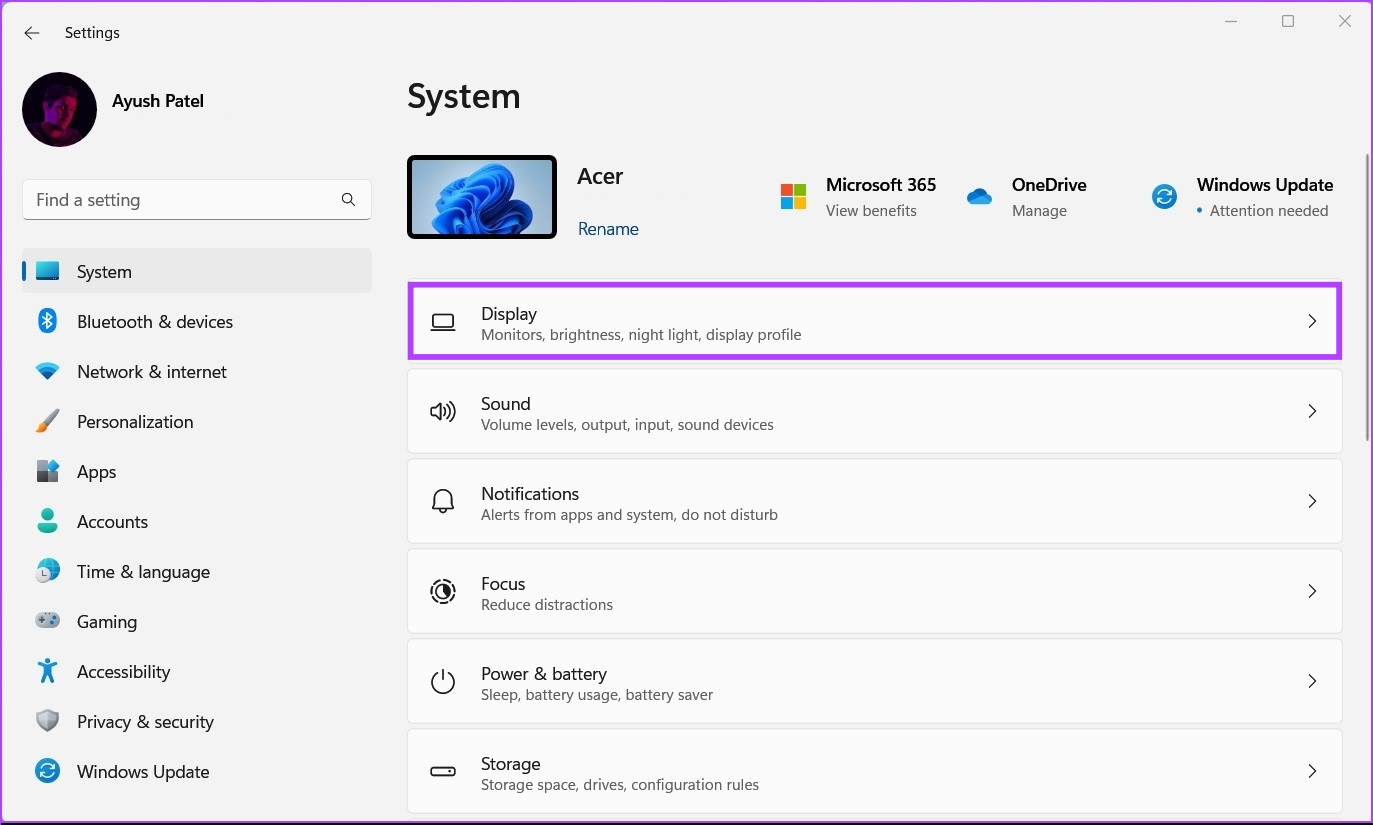
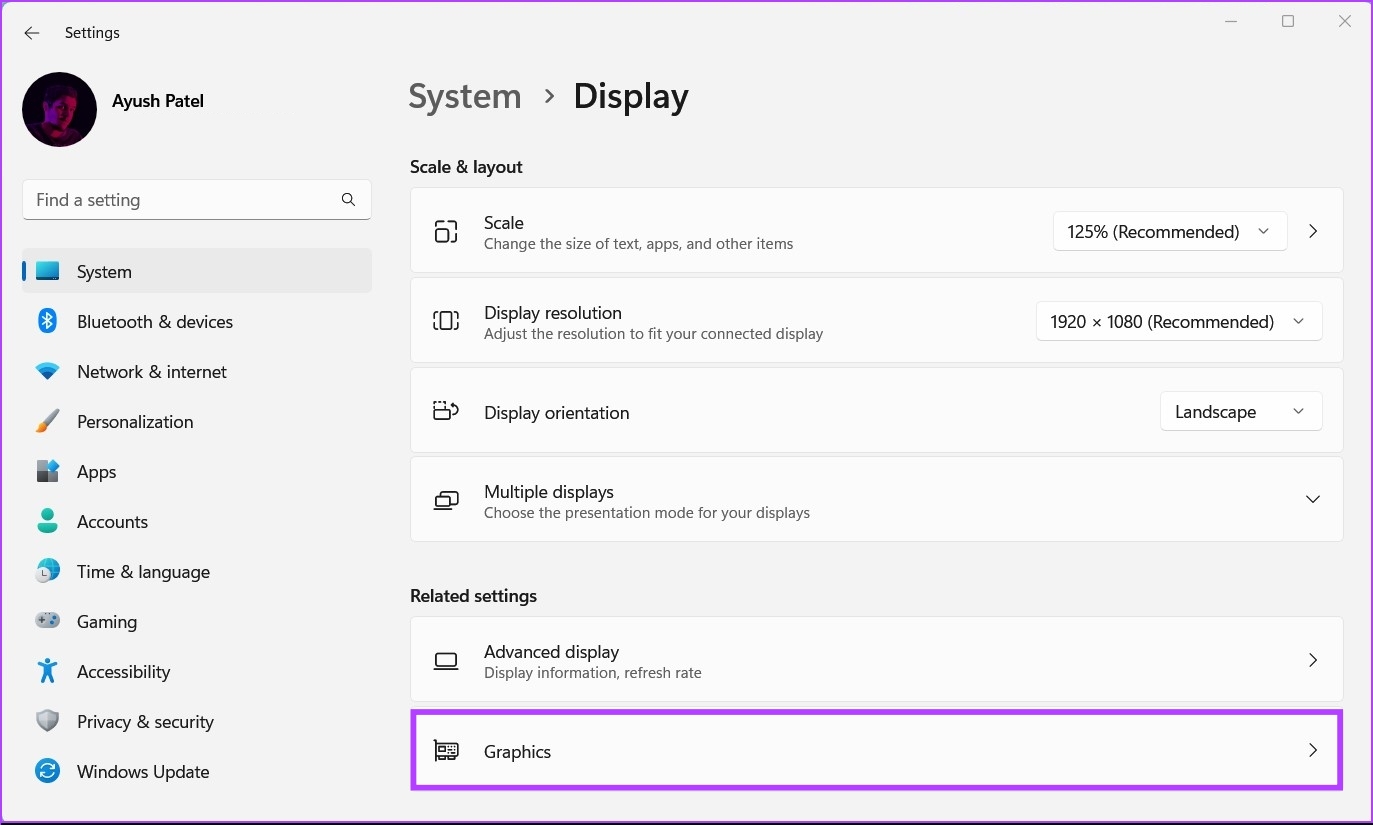
Hardware-Accelerated GPU Scheduling is disabled by default on Windows 11. That means you’ll have to enable it. The toggle for this feature is located in the Settings app. Here’s how you can access the same on your PC: Step 1: Press the Windows + I keys to open the Settings app. Step 2: In the Settings window, stay on the System tab and click on the first option that says Display. Step 3: Under Display settings, scroll down and click Graphics. Step 4: Click on the blue ‘Change Default Graphics Settings’ option under Default settings section. Step 5: On the Default graphics settings screen, turn on the toggle for the ‘Hardware-Accelerated GPU Scheduling.’ After that, restart your PC to apply the changes.
2. Enable Hardware-Accelerated GPU Scheduling Using Registry Editor
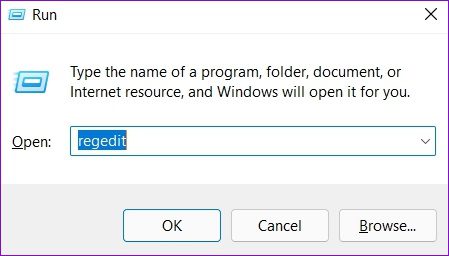
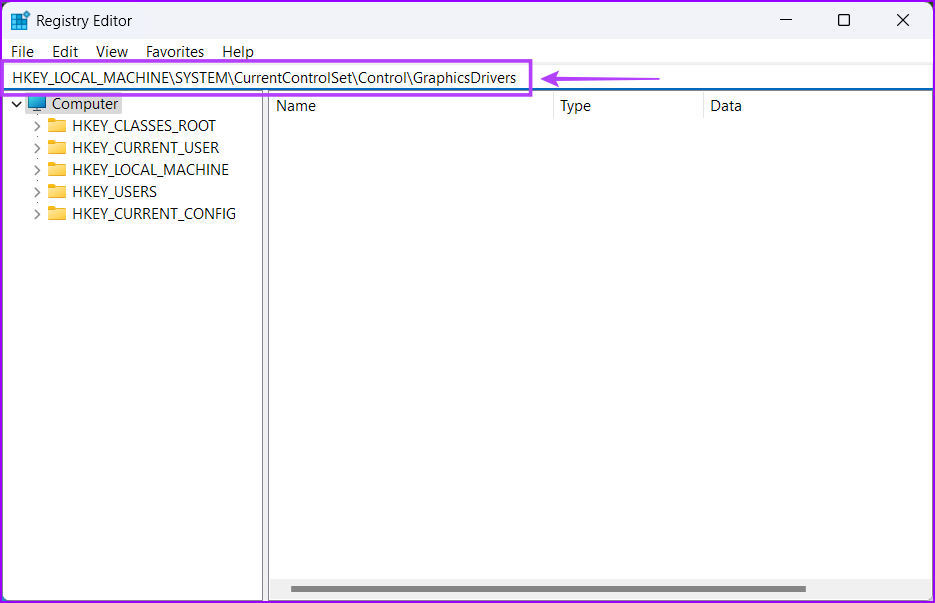
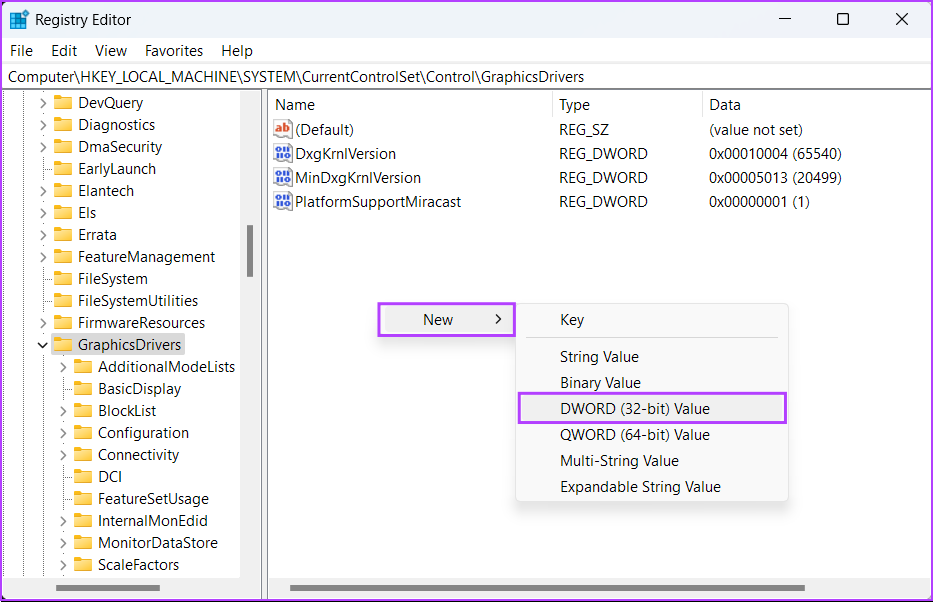
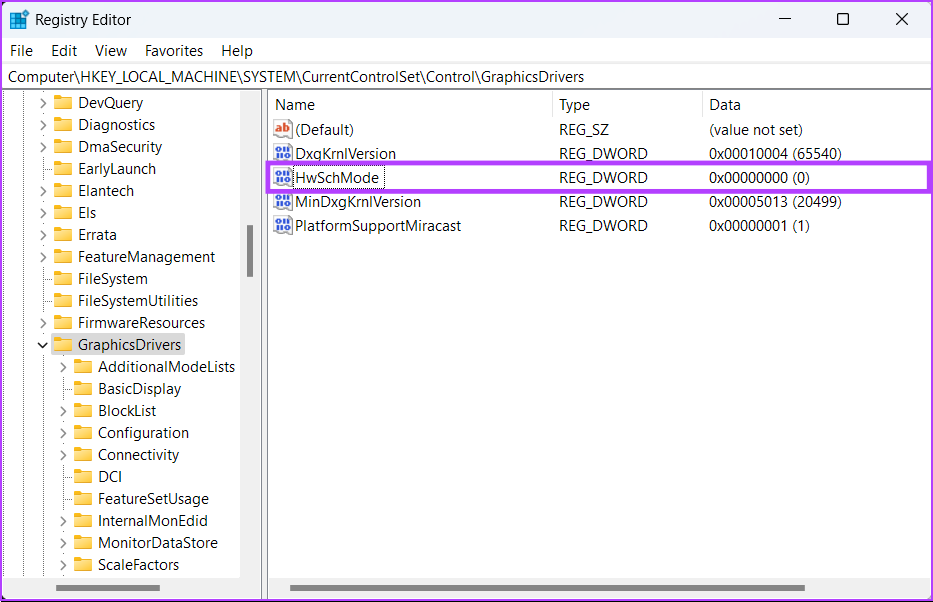
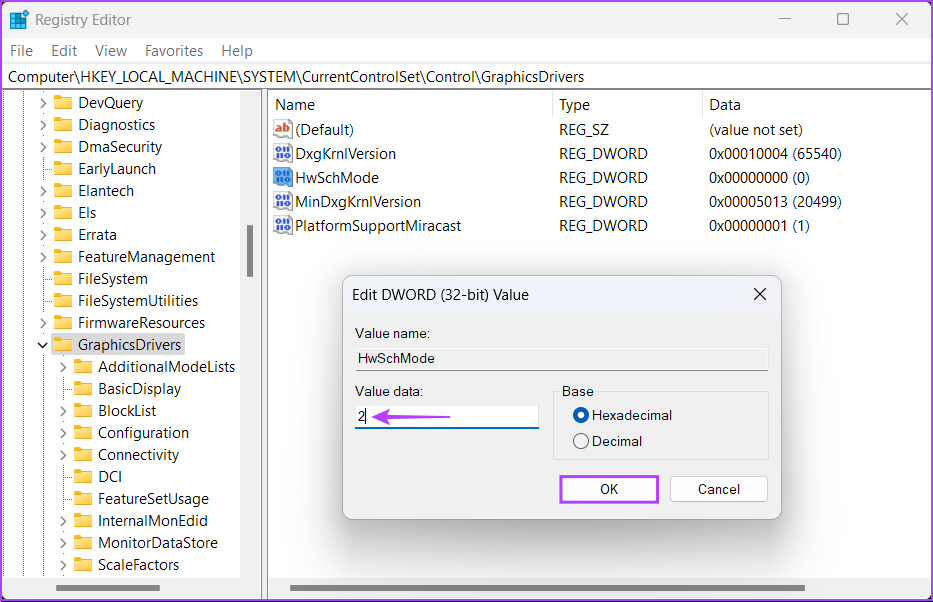
Besides the Settings app, you can also enable Hardware-Accelerated GPU Scheduling on your PC by using the Registry Editor. Note: Modifying the Windows Registry can cause serious issues if you’re not careful. We recommend creating a full backup of the registry before you change anything. Step 1: Press the Windows key + R keys to open the Run dialog and type regedit in the text field. Then, press Enter. Step 2: Copy and paste the following location into the Navigation bar: Step 3: Right-click anywhere in the right pane and select New, followed by the option that says DWORD (32-bit) Value. Step 4: Type HwSchMode and press Enter to create the new DWORD (32-bit) Value. Step 5: After you create the new HwSchMode DWORD, double-click on the new entry to edit its value. Step 6: When an Edit DWORD (32-bit) Value dialog appears on the screen, set its value data to 2. Then click on OK. Restart your PC to apply the changes.
Make Your PC Run Faster by Reducing the Load on Your CPU
After you enable Hardware-Accelerated GPU Scheduling on your PC, you might not see a huge improvement in your PC’s graphical performance, but there might be a decent decrease in your PC’s CPU usage when performing graphic-intensive tasks such as gaming. That’ll ensure enough CPU resources left for other CPU-bound tasks, allowing your PC to run a bit faster than it used to. The above article may contain affiliate links which help support Guiding Tech. However, it does not affect our editorial integrity. The content remains unbiased and authentic.