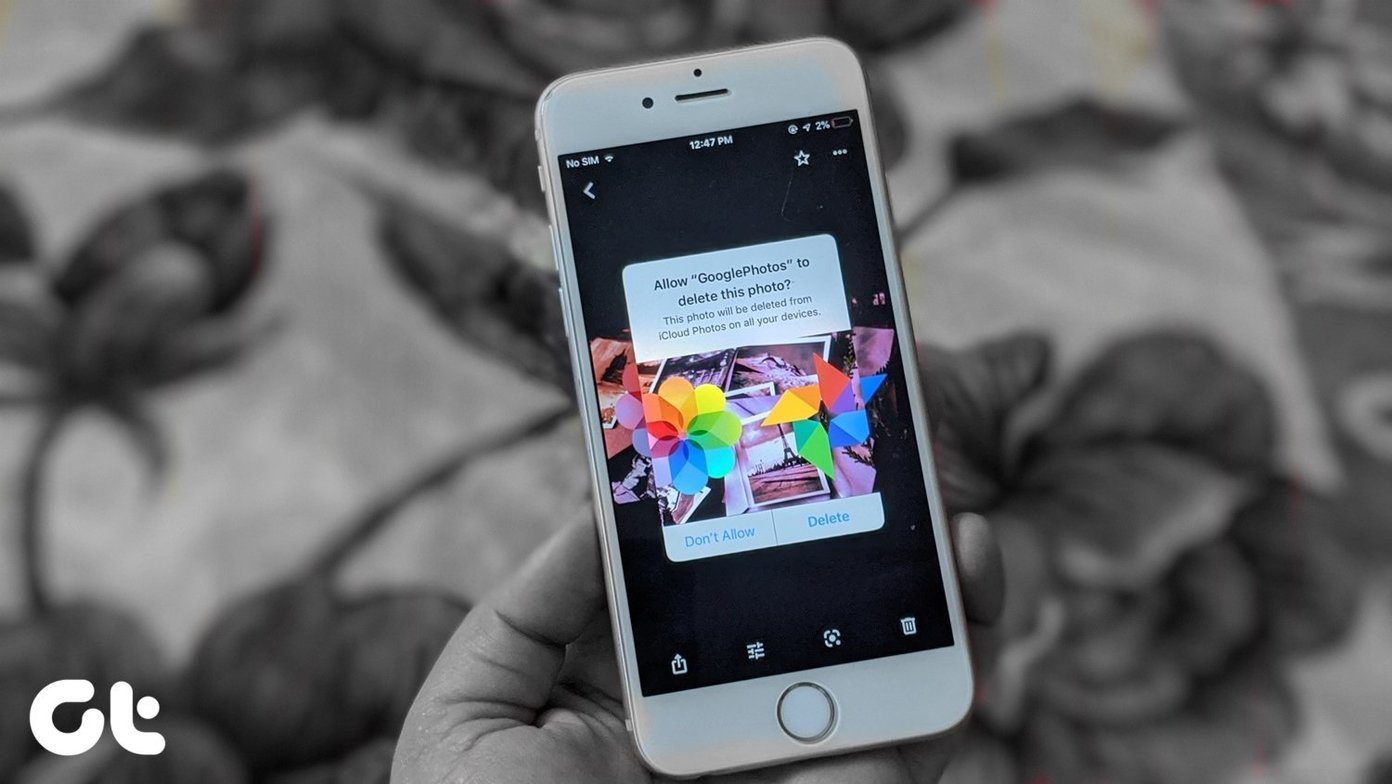
In case you are happy with Google Photos, and the only reason to transfer to iCloud is that you are switching to iPhone, then my friend, there’s no need to transfer them. You can use Google Photos on iPhone too in the same way as you did on Android. All your photos will be available on iPhone, and the new ones will be added to Google Photos too. However, if you have other reasons to switch to iCloud, then you can do it on iPhone and PC, both as shown below. Before we jump into the steps, let’s understand iCloud Photos and Google Photos a little bit.
What Is iCloud Photos and Google Photos
Google Photos is available for both Android and iPhone. It’s a gallery app that also lets you backup your photos and videos to the cloud. iCloud is a service by Apple, similar to Google Drive, that stores your data in the cloud. One part of this service is letting you backup your images too. The iCloud does that via the Photos app on your iPhone. Both Google Photos and iPhone Photos app let you view the pictures available on your phone. You can enable the backup option if you want to. By doing so, the photos will upload to the cloud and sync to your other connected devices. It’s an optional feature in both. Now let’s see how to transfer online photos from Google Photos to iCloud. Let’s start with the computer first.
Transfer Photos from Google Photos to iCloud on Windows
For that, you will have to download your data from Google Photos and then upload it again on iCloud. Here are the steps in detail for each part.
Download Photos from Google Photos
Step 1: Open photos.google.com on your browser and log in with your Google account linked to Google Photos. Step 2: Hover your mouse over the first photo that you want to select and click on the checkmark icon to select it. It will turn blue. Repeat the step for all the photos that you want to select. Step 3: Once selected, click on the three-dot icon at the top and select Download from the menu. Step 4: A ZIP file will start downloading having all your selected photos. Now you need to unzip it at your preferred location. For that, right-click on the file and select Unzip from the menu. Alternatively, you can use the online tool to extract it or check out a method to automatically extract ZIP files after downloading it. If you don’t like the fact the Photos creates a ZIP file, you can download images from Google Photos without zipping them. Also, check another way to download Google Photos albums to your computer.
Upload Photos to iCloud Photos
Step 1: Open icloud.com on the web browser of your PC and go to Photos. Step 2: Click on the cloud icon at the top to start uploading new pictures. Step 3: A window will open. Navigate to the unzipped folder containing the images that you downloaded from Google Photos. Select the photos you want to add to iCloud. Then wait for them to upload. That’s all you have to do to transfer your photos. Do read the Things to keep in mind section at the end of the post for some important points.
Transfer Photos from Google Photos to iCloud on iPhone
Here you will need to download the Google Photos app if you don’t have it on your iPhone. Then, you will have to download photos from it. But you don’t have to do re-upload them manually as iPhone will do it automatically. Step 1: Open the Google Photos app on your iPhone. If the app asks you to turn on backup, do not give access to it. Otherwise, the photos available on your iPhone will sync to Google Photos. Step 2: Go to the Albums section of Google Photos, and you will find all your photos there. Long-tap on the photo to select it. Then without lifting your finger, drag it on other photos that you want to select. Step 3: Tap on the share icon at the top and select Save images. The images will be downloaded to your Camera Roll. Step 4: Open the preinstalled Photos app on your iPhone. You will find the pictures downloaded from Google Photos. Now to make them available on all your synced devices, you will have to turn on the iCloud Photo Library. For that, open the Settings app on your iPhone and go to Photos. Then turn the toggle on for iCloud Photos. In case it is already on, leave it untouched. You will get two options — Optimize iPhone Storage and Download and Keep Originals. Use the first one if you want to keep lower resolution pictures on your iPhone while keeping the originals in iCloud. You should use it if your iPhone is running low on storage. Go with the second option if you have enough storage on your iPhone.
Transfer Photos from Google Photos to iCloud on Android
It’s not possible to do it directly on Android. You can, however, use the same steps mentioned for Windows to do it on Android. That is, open the iCloud website on your Android phone’s browser. Then upload photos to it.
Things to Keep in Mind
When you are performing this task, you should take care of these things.
Be Patient
If you have many images in Google Photos, the entire process may take time, depending on the internet speed. So keep calm and have patience.
Enough Storage
Before you start transferring your data from Google Photos to iCloud, check your available iCloud storage. The available storage should be enough to upload all the data from Google Photos. To check the storage, go to the Settings app on your iPhone and tap on your name at the top. Then, tap on iCloud. Your storage quota will be shown. You can use the tips to free up iCloud storage.
Do It in Batches
To be on the safer side, you shouldn’t transfer all the data in one go. Do it in batches of 100-200 pictures.
Data on Google Photos
After transferring the photos to the iCloud library, the pictures will still stay in Google Photos as we haven’t deleted them. Once you have successfully added them to iCloud, you may go ahead and delete them from Google Photos. We would suggest deleting only a few photos in the beginning. Then verify whether they can be accessed via the iCloud Photo Library. Delete others only after assessing things. You can also let them stay in Google Photos and uninstall the Google Photos app from your iPhone or turn off its backup feature. For that, go into the Google Photos app settings and tap on Backup & sync. Turn off the toggle for Backup & sync.
The Image Transfer Conundrum
The biggest drawback of using iCloud is that it offers limited storage. You get only 5GB of free storage for all the data that includes photos, videos, and other files. On the other hand, Google Photos offers 15GB, which is shared between other Google services. However, it offers a feature that lets you save unlimited photos. For that, you will have to use a high-quality option instead of original quality. When enabled, your photos will be compressed to 16MP and videos to 1080p. Another advantage of using Google Photos is that it’s available for Android too. Now the choice is yours. Next up: Not satisfied with iCloud backup too? Check out these 5 amazing alternatives to iCloud from the next link. The above article may contain affiliate links which help support Guiding Tech. However, it does not affect our editorial integrity. The content remains unbiased and authentic.


