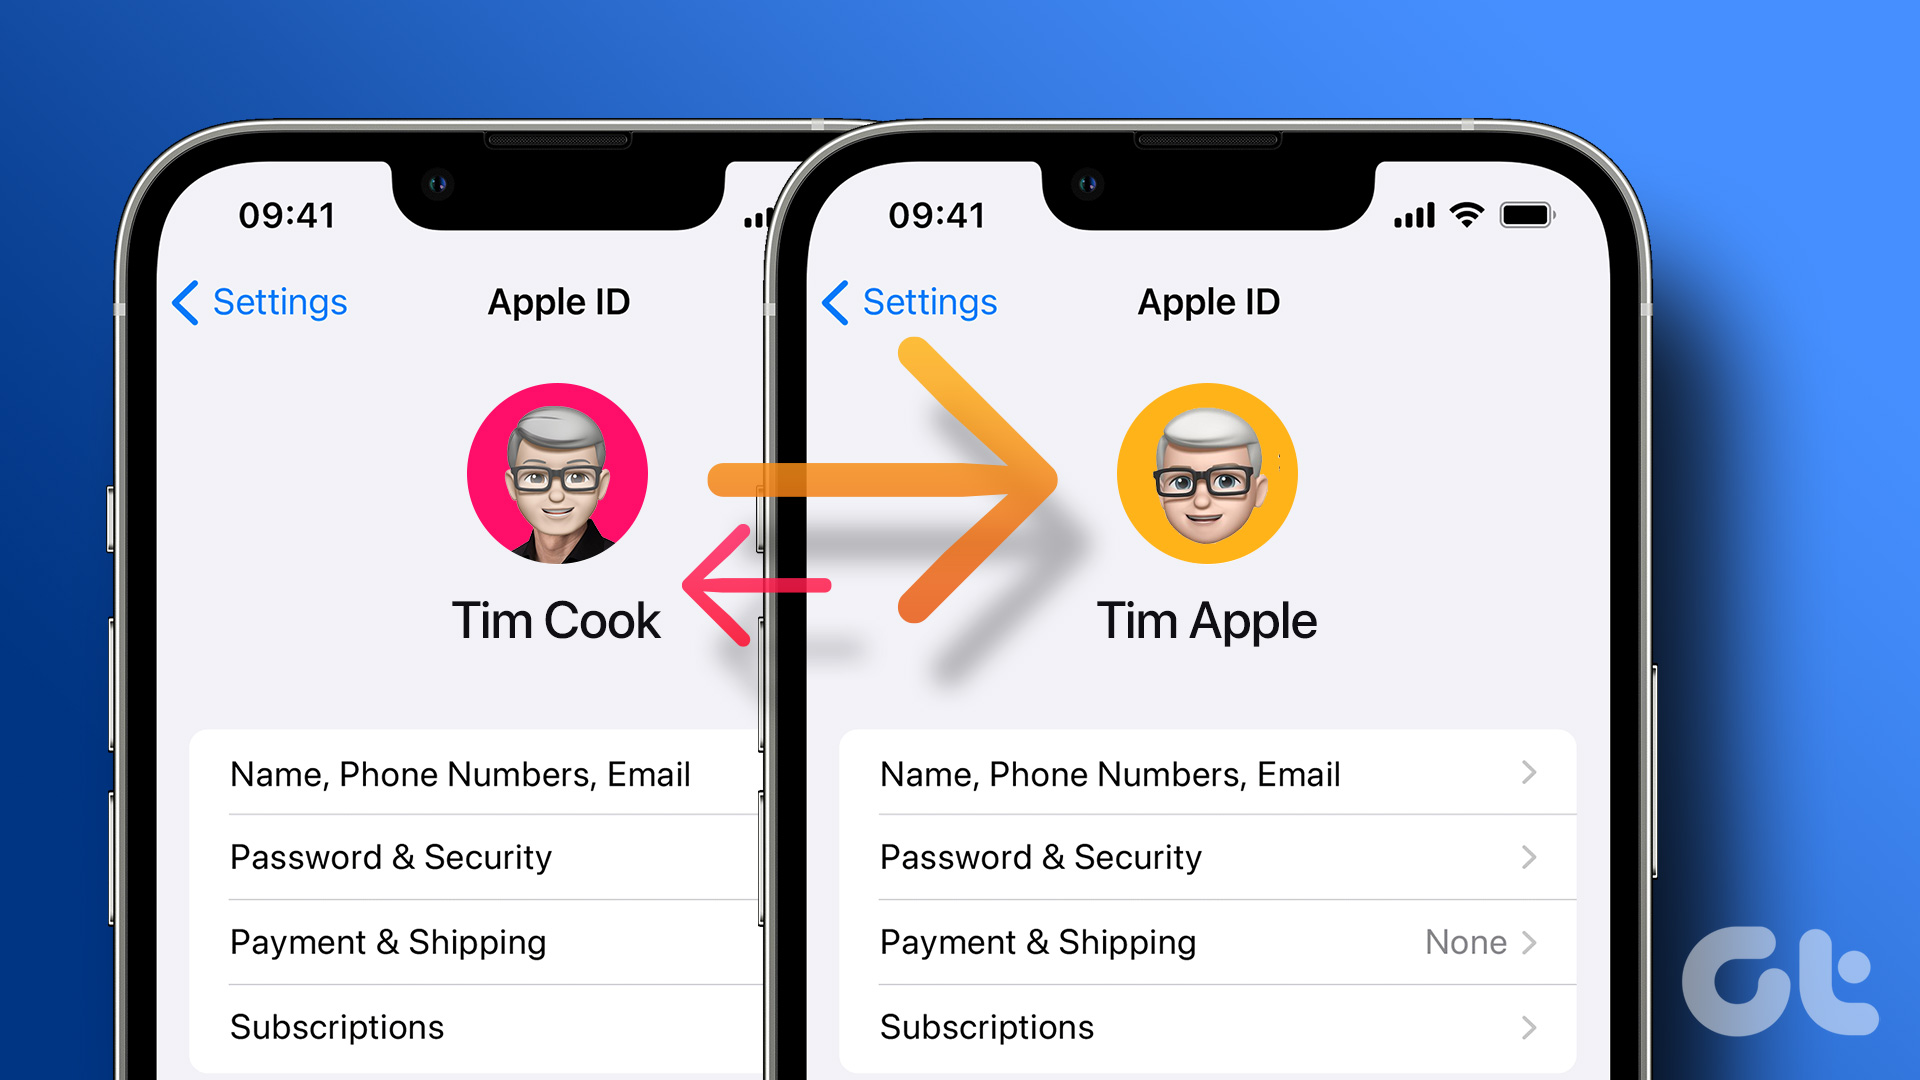
You can only use one Apple ID at a time which can get rather inconvenient. If you still wish to use multiple Apple IDs, though, there is a workaround. You can also use this method if you don’t want to use a certain Apple ID anymore and want to jump to a fresh account. But before we show you how to switch your Apple ID on an iPhone and iPad, let’s understand the basics.
Why You May Want to Switch Apple ID
As mentioned earlier, you may want to switch between multiple Apple IDs based on which ones you use personally and for work. Your personal ID may contain pictures of your family and notes related to your personal life. On the other hand, your work account may have scanned documents or important reminders synced to your iCloud. If you don’t want to merge both, it’s a good idea to maintain separate Apple IDs. Another reason could be that you don’t use a particular email ID or phone number associated with your Apple account anymore. While you can change your Apple ID email, switching to a new one would mean you have a clean slate.
Things to Know Before Switching Apple ID
Firstly, it’s important to note that you cannot use multiple Apple IDs simultaneously on one phone. You can log in to two Apple IDs for emails (we’ll demonstrate that later) but that’s pretty much it. Here are some prerequisites that you need to be aware of before you switch iCloud accounts on an iPhone:
You cannot sync your purchases or other iCloud data like notes, voice memos, photos, etc. from both accounts.Items synced to iCloud on your earlier ID will be removed from your iPhone when you switch to a new ID. They will still be accessible when you log in to iCloud with your old ID.You cannot use the same phone number or email ID linked with your old account to create a new Apple account.All the data present locally on your iPhone including files, apps, contacts, photos, etc. will not be erased.Your subscriptions like Apple Music and Apple TV+ will not carry over to your new account.If you have multiple Apple devices, they won’t be able to communicate with each other unless you log in with the same Apple ID on all of them.
How Do I Find My Apple ID
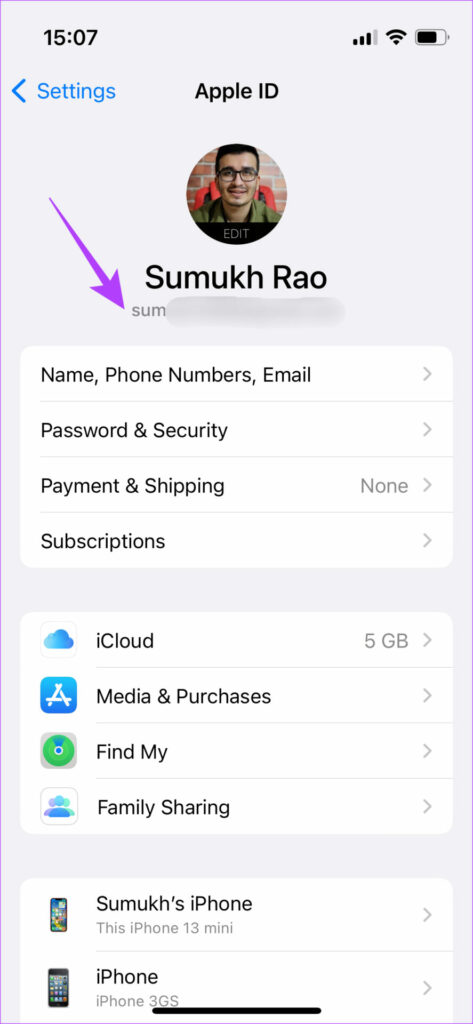
In case you don’t know what your current Apple ID is, here’s how you can find out. Step 1: Open the Settings app on your iPhone. Tap on your name at the top. Step 2: The email ID or phone number displayed right beneath your picture is your current Apple ID.
How to Switch Apple IDs on iPhone and iPad
Now that you’re ready, follow the below steps to switch between multiple Apple IDs on iPad or iPhone.
Disabling Important Features
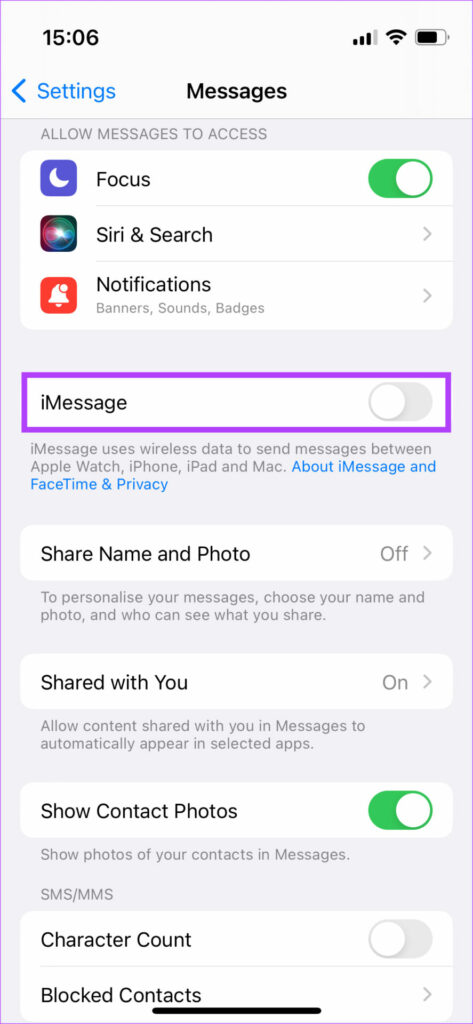
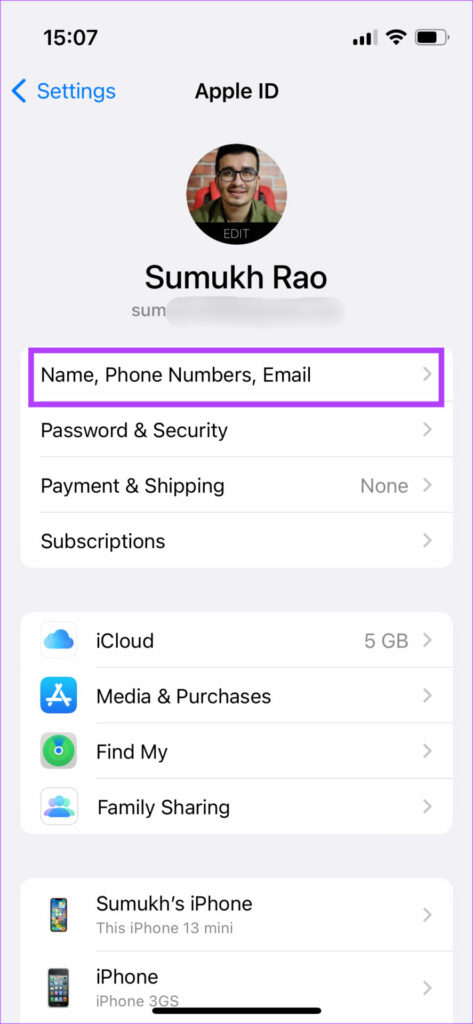
Step 1: Open the Settings app on your iPhone. Scroll down to the Messages section. Step 2: Turn off the toggle next to iMessage. This is to ensure your iMessages don’t go to your old ID even after signing out. Step 3: Next, go to FaceTime and turn off the toggle here as well. It’s for the same reason as above. Step 4: Now, tap on your name right at the top of the Settings app. Step 5: Select the ‘Name, Phone Numbers, Email’ tab. This is to know what IDs are linked to your account. Step 6: Under Contactable At, you will see the list of your email IDs and phone numbers linked to iCloud. If you wish to use any of these with your new Apple ID, tap on Edit and delete them from the list. Note that you cannot delete the email ID or phone number which mentions ‘Apple ID’ below it.
How to Sign Out of Old Apple ID
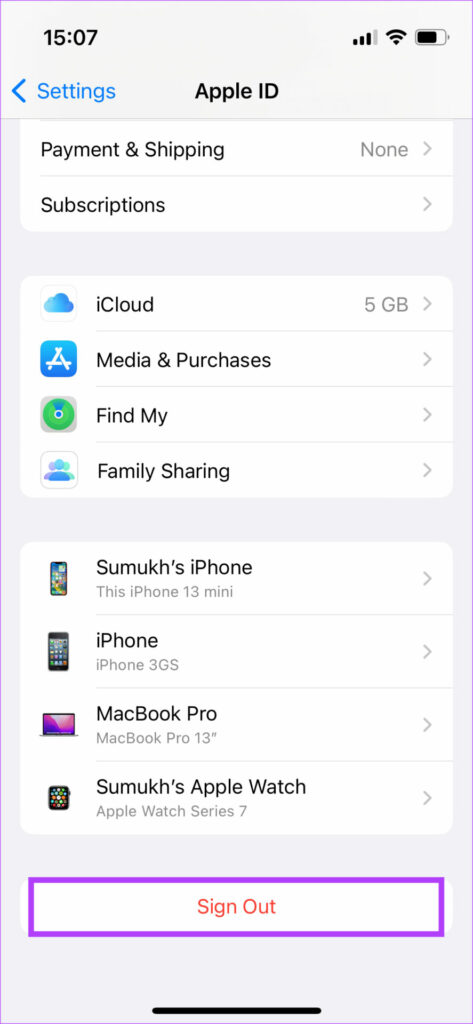
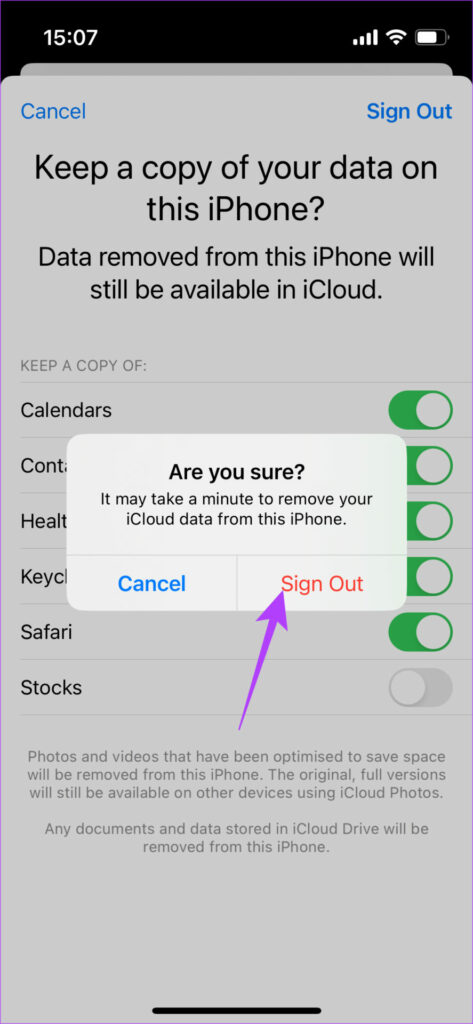
Step 1: Now, you need to sign out of your Apple ID. Go back to the previous screen and scroll down to the bottom. Tap on Sign Out at the bottom. Step 2: You will be asked if you want to keep a copy of any of your iCloud data on the iPhone. If you wish to sync this data with your new Apple ID, select all the relevant options. If you wish to start afresh on your other ID, don’t select any option here. Once done, tap on Sign Out in the top-right corner. Step 3: Finally, you’ll see one last prompt asking you if you wish to sign out. Select Sign Out. You will now be signed out of your old Apple ID from your iPhone or iPad.
How to Sign In to New Apple ID
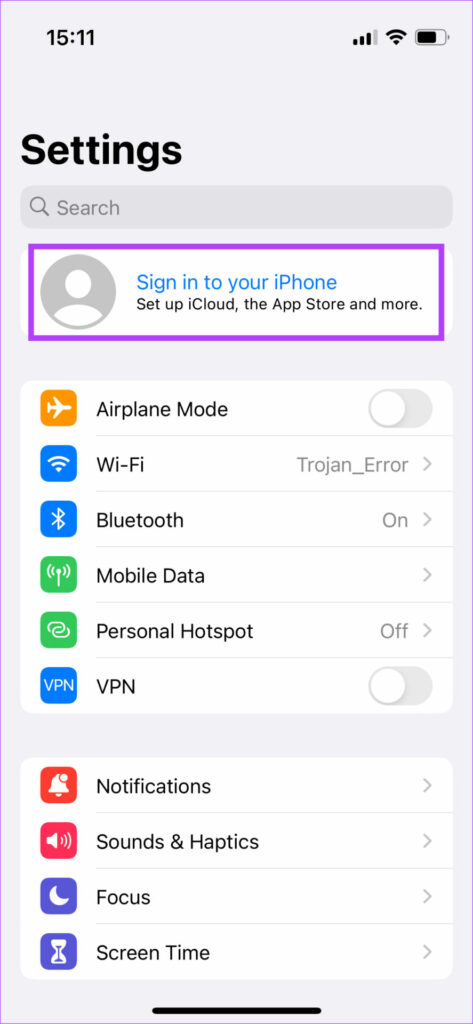
Step 1: Tap on the ‘Sign in to your iPhone’ option at the top of the Settings app. Step 2: Enter the new Apple ID you want to log in to. If you don’t have one, you can create a new Apple ID from this section. Follow the on-screen instructions and you should be logged into your new Apple ID in no time. The new Apple ID can be found right below your picture confirming that you have indeed switched your Apple ID to a new one.
How to Log Back Into Your Old Apple ID
Just follow the instructions above to switch your Apple ID once again. This time, though, input your old Apple ID and you should be logged back in. Don’t forget to select the right items to keep a copy of or else you will end up mixing the contents of both iCloud accounts which you may not want to do.
How to Add Two Apple IDs on iPhone for Mail and Contacts
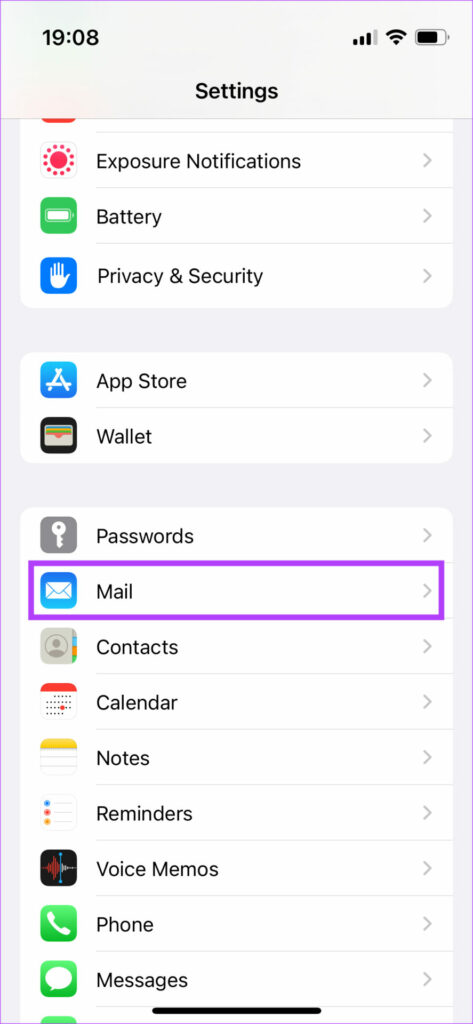
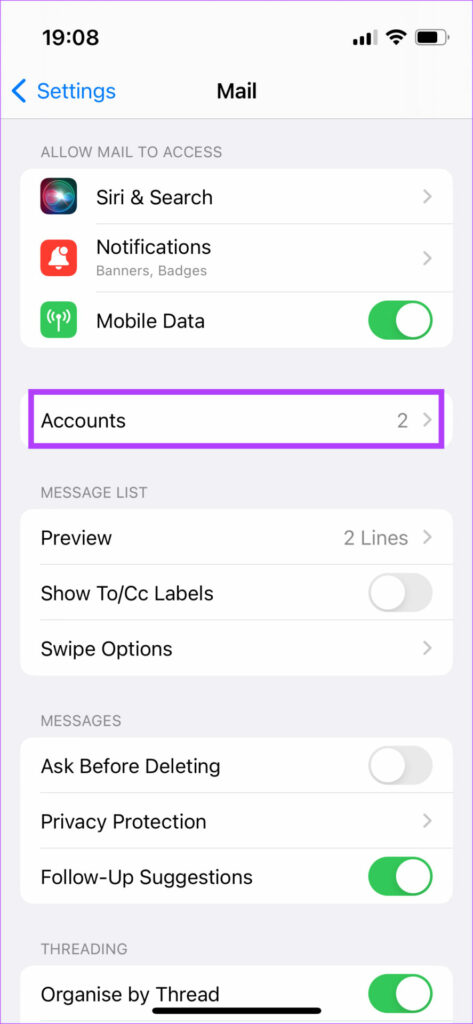
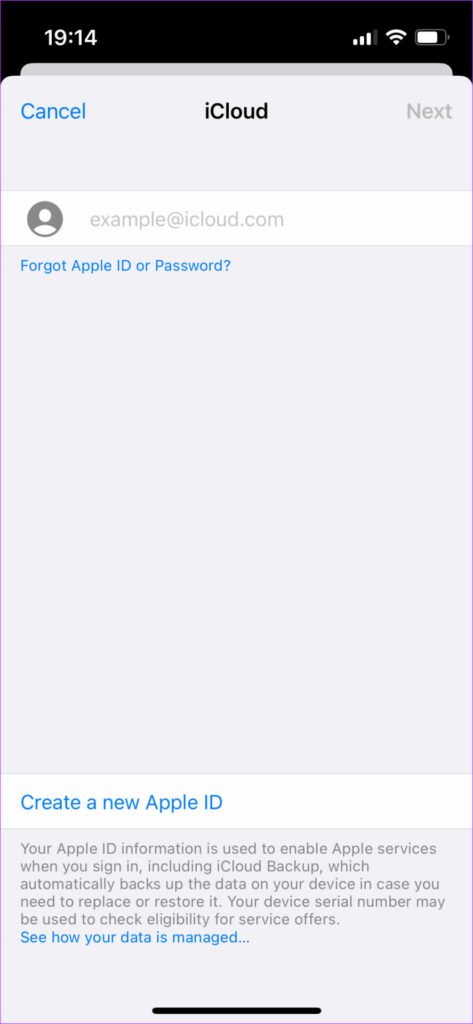
While you cannot log in to two Apple IDs simultaneously on your iPhone, you can add multiple Apple IDs to sync your mail, contacts, calendar, etc. Here’s how to do it. Step 1: Open the Settings app on your iPhone. Scroll down and tap on Mail. Step 2: Select Accounts. Step 3: Tap on Add Account. Keep your iCloud credentials ready. Step 4: Select iCloud at the top. Step 5: Enter the Apple ID you want to add and sync. Enter the password as well. Step 6: Follow the on-screen instructions to add your second iCloud account. Note that you can use this account only to sync emails, notes, calendars, and contacts. Your Apple ID will still remain the same as earlier.
Switch Between Your Personal and Professional Lives
It’s always nice to draw a boundary between your personal and professional lives. A good way to do that is to switch your Apple ID on your iPhone and iPad so that the contents on your phone change accordingly and you don’t mix them up. The above article may contain affiliate links which help support Guiding Tech. However, it does not affect our editorial integrity. The content remains unbiased and authentic.