Some laptops automatically detect metered Wi-Fi connections. But, it’s not the same on phones. You will have to manually tell your phone that you’re connected to a network with limited bandwidth and cannot consume too much data. Here’s how to set a Wi-Fi network as a metered connection on Android and iPhone.
What Is a Metered Connection
For those unaware, a metered connection is where the network you’re connected to does not have unlimited data, so you need to be careful about your internet usage. For example, you may have a cap of 2GB of data usage per day on your mobile data connection. So, if you use your phone as a hotspot, you will have to ensure that the data limit doesn’t get exceeded.
A good way to do this is by setting the Wi-Fi network created by the hotspot as a metered connection. This way, your phone will be aware that the network it is connected to has limited bandwidth, so it shouldn’t perform actions like updating apps, downloading system updates, etc.
How to Set a Wi-Fi Network as a Metered Connection on Android
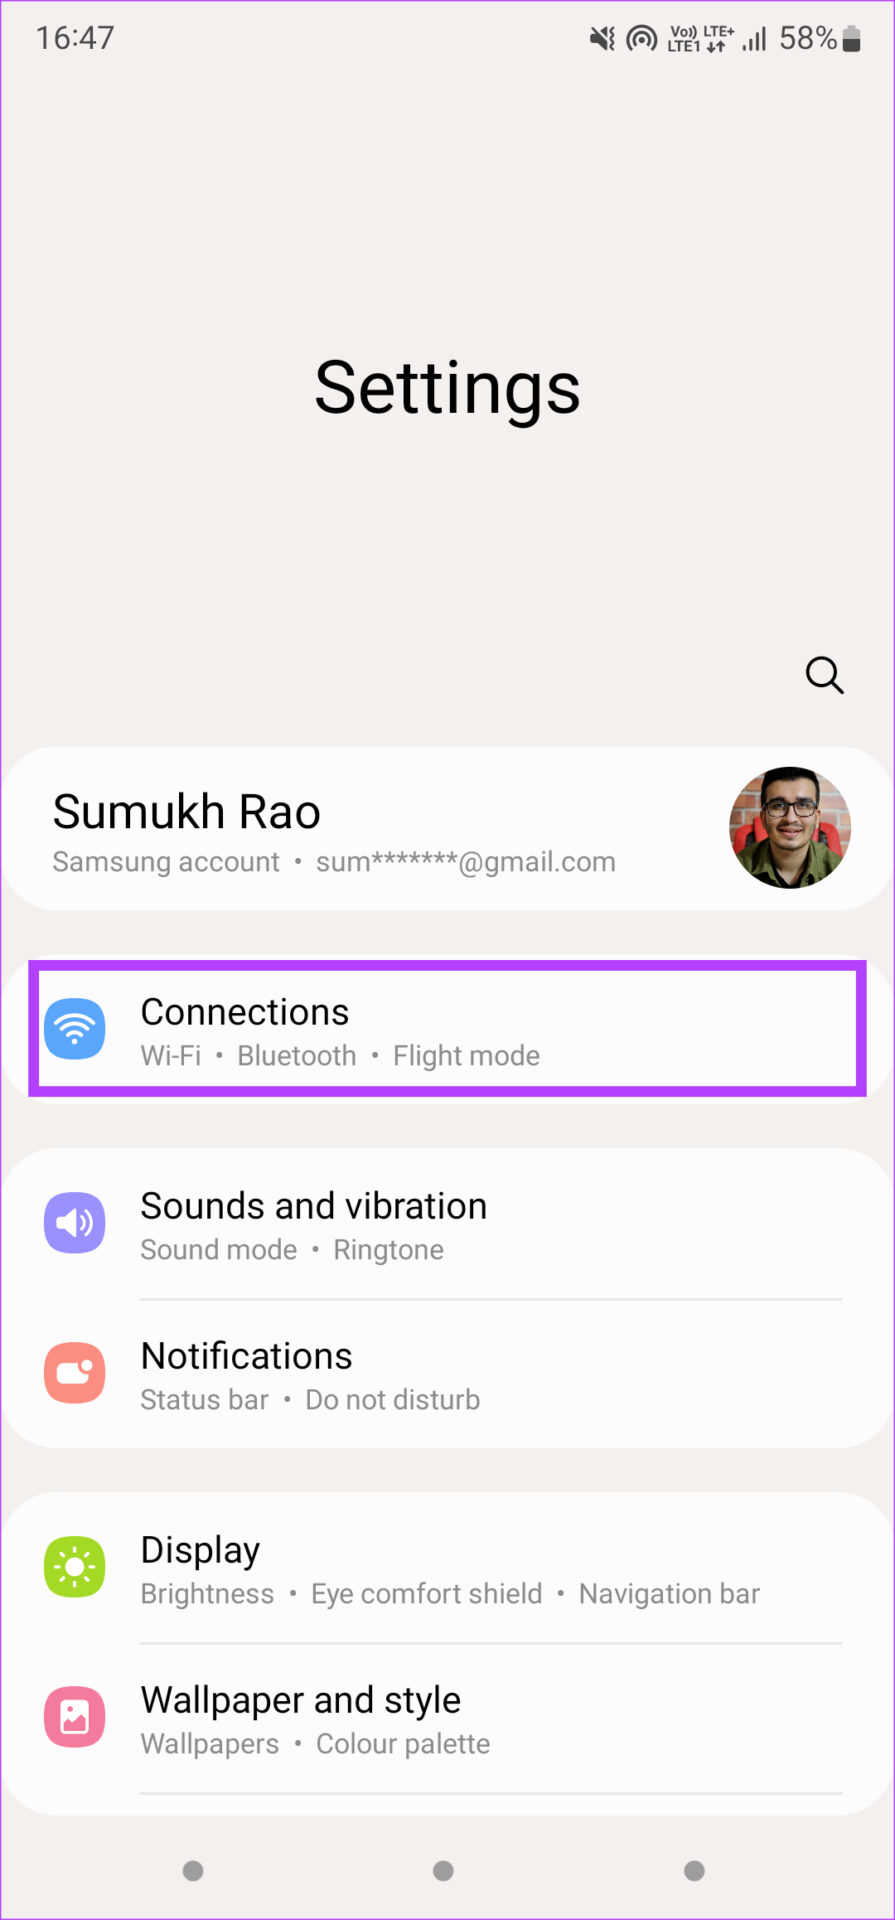
If you’ve connected an Android smartphone to a Wi-Fi network that you want to set as metered, here’s the procedure. Step 1: Open the Settings app on your Android phone.
Step 2: Select the Connections options. On some phones, this can be the Wi-Fi option.
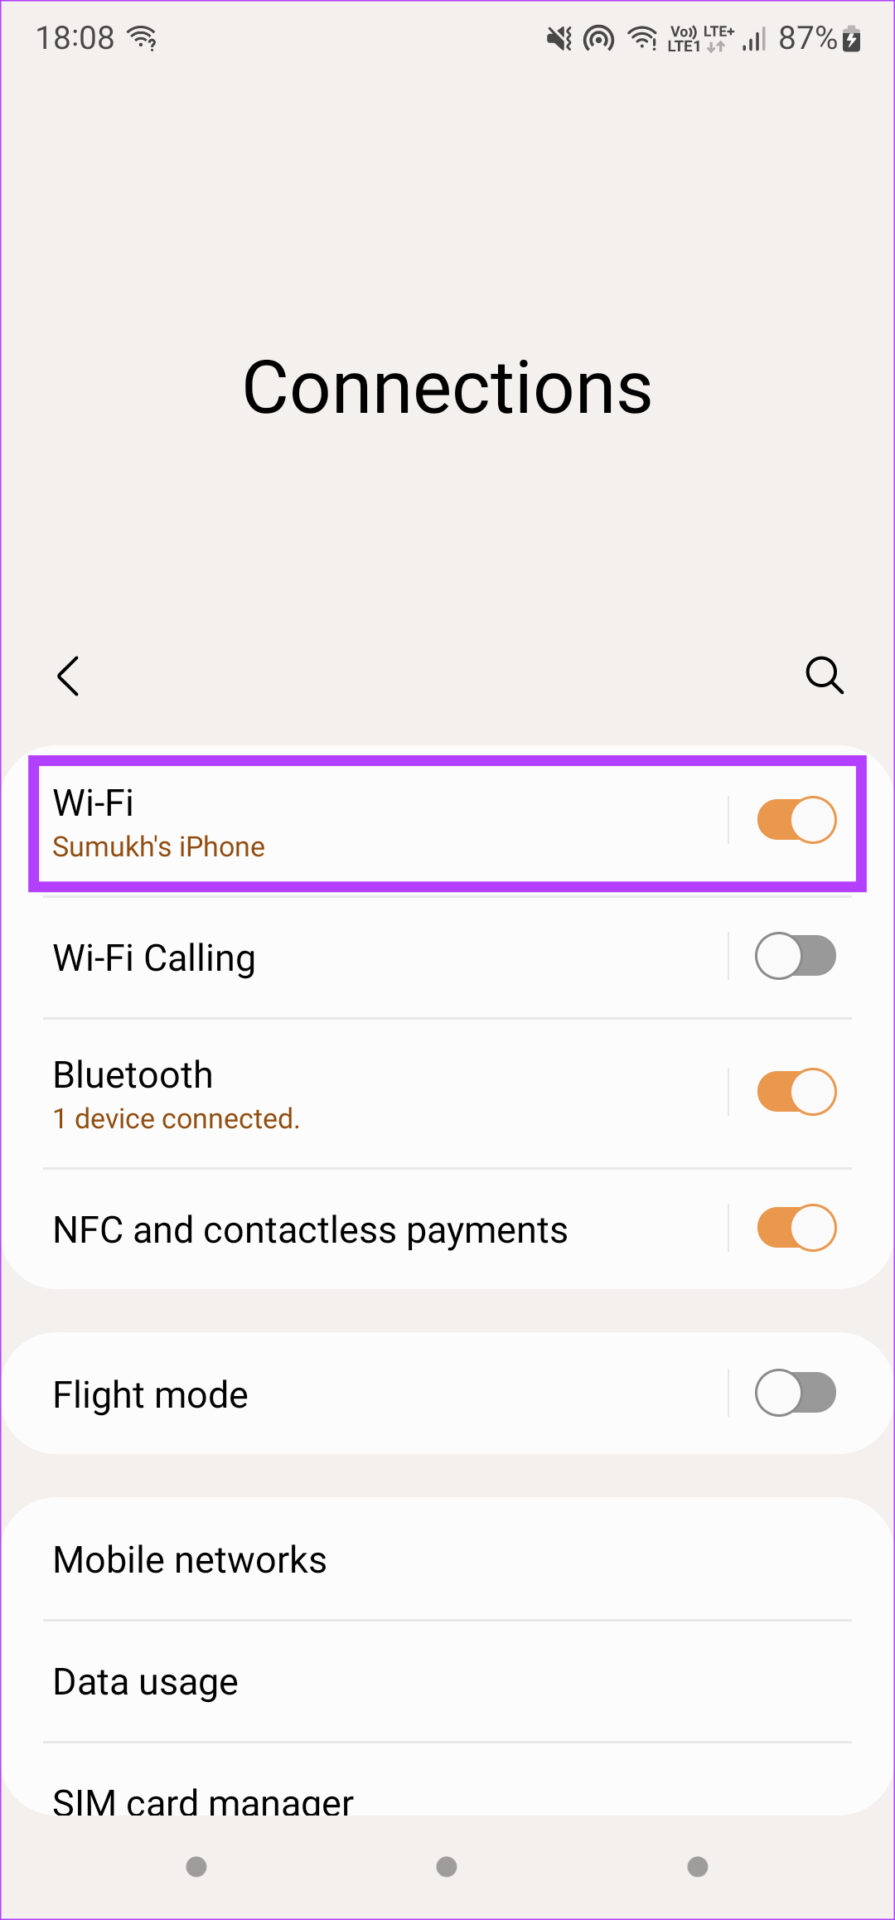
Step 3: Next, tap on Wi-Fi.
Step 4: If you haven’t already, connect your phone to the Wi-Fi network that you want to set as metered.
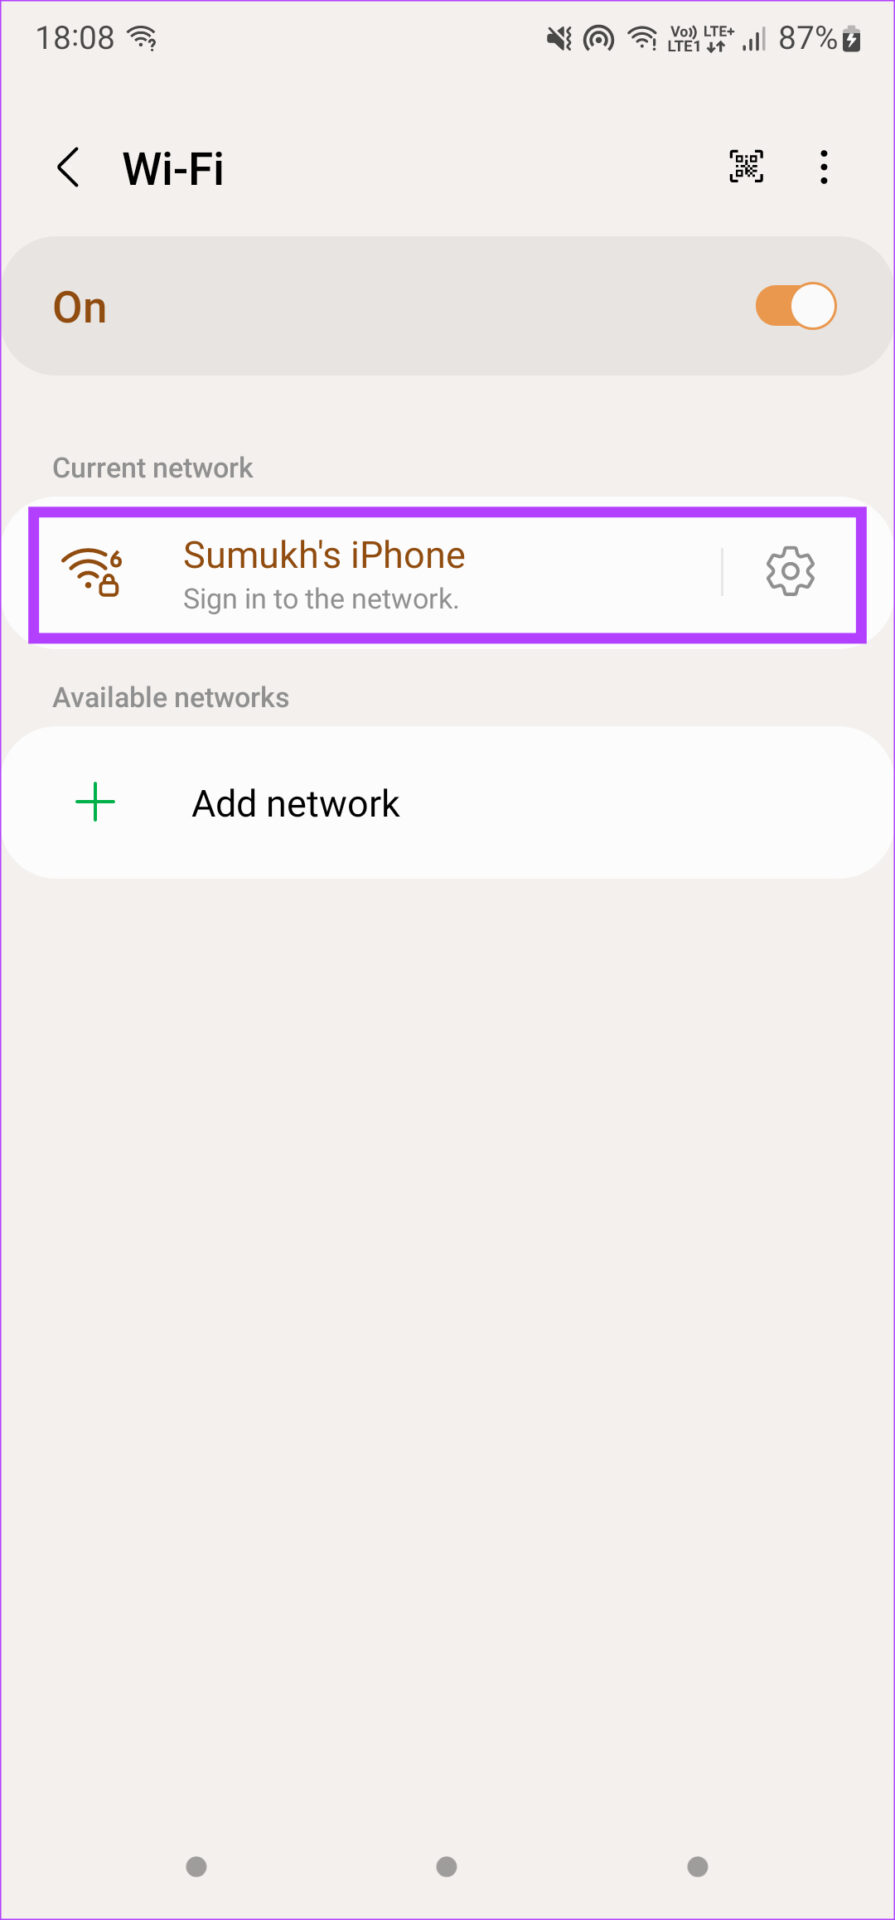
Step 5: Tap on the Settings icon next to the Wi-Fi network you’re connected to.
Step 6: Select the View more option alongside the tiny arrow to expand and reveal additional settings.
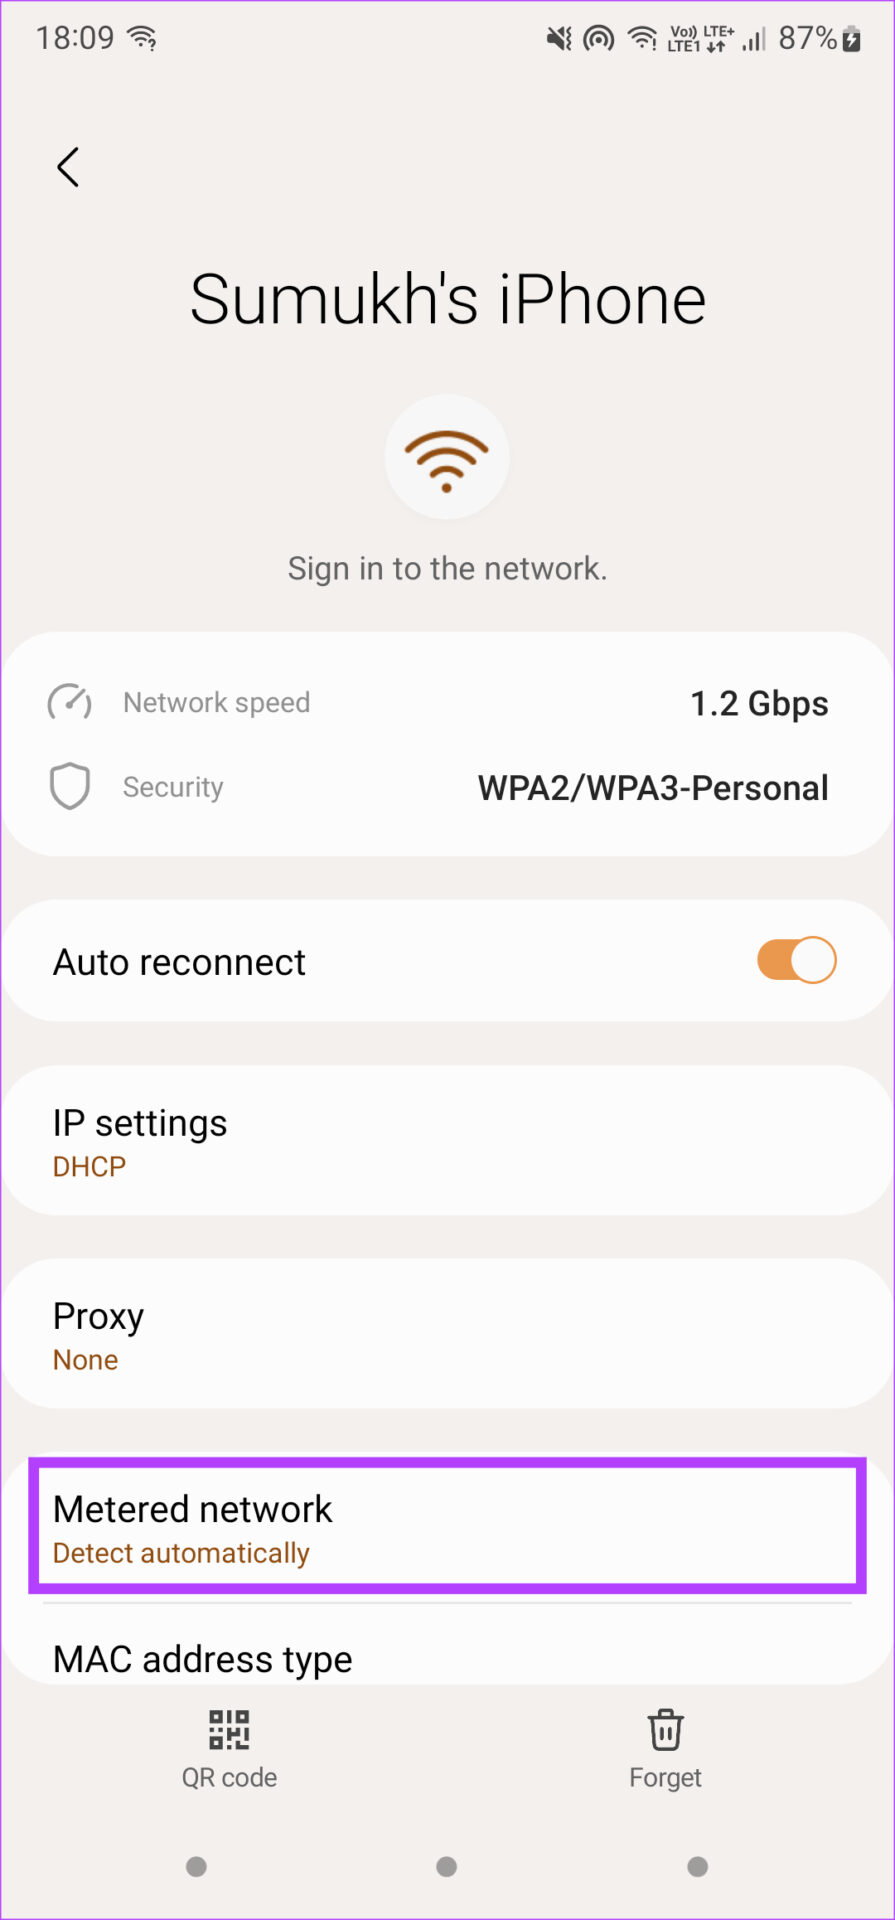
Step 7: Choose the Metered network option.
Step 8: Now, tap on Treat as metered.
This will ensure that every time your phone connects to this particular Wi-Fi network, it will be treated as a metered connection. Additionally, you can also limit background internet usage for some apps that you think will consume data. If you think an app would consume too much data when connected to the internet, you can temporarily block the app from accessing internet connectivity. These steps should ensure that your Android phone doesn’t consume too much bandwidth when connected to a particular Wi-Fi network.
How to Set a Wi-Fi Network as a Metered Connection on iPhone
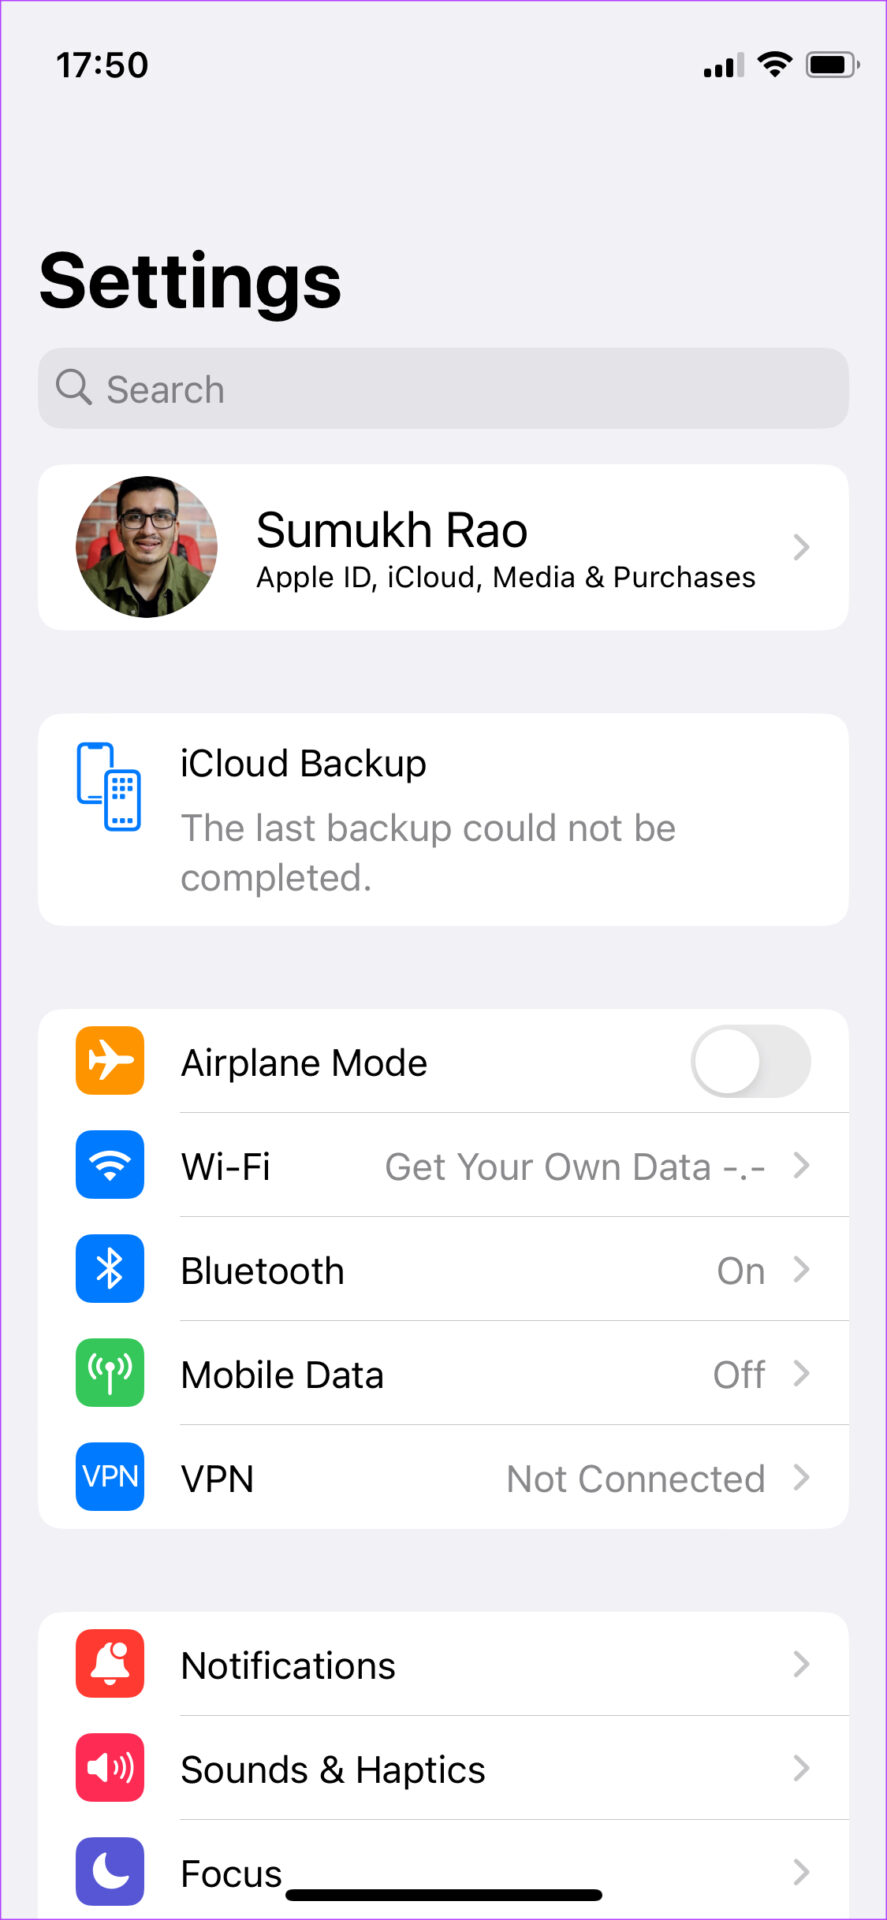
The process to set a Wi-Fi network as a metered connection is quite straightforward on iPhone as well. While there’s no specific option for a metered connection, the Low Data Mode on iOS does the same job. Here’s how you can enable it. Step 1: Open the Settings app on your iPhone.
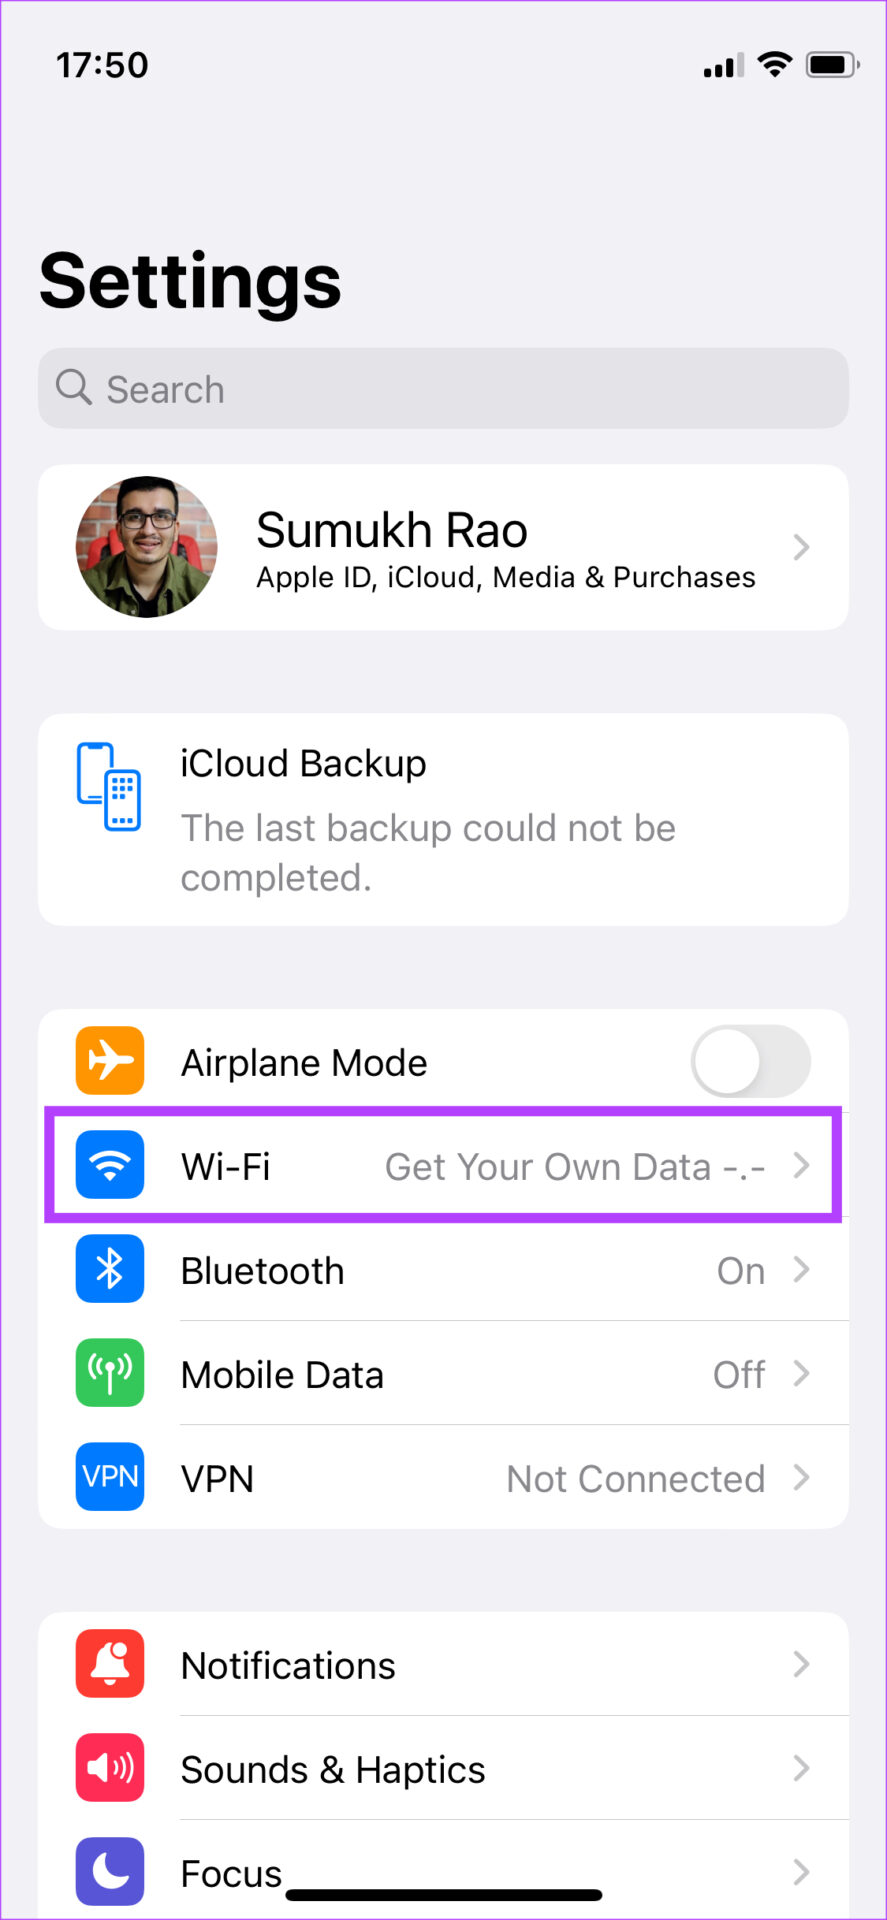
Step 2: Select the Wi-Fi option.
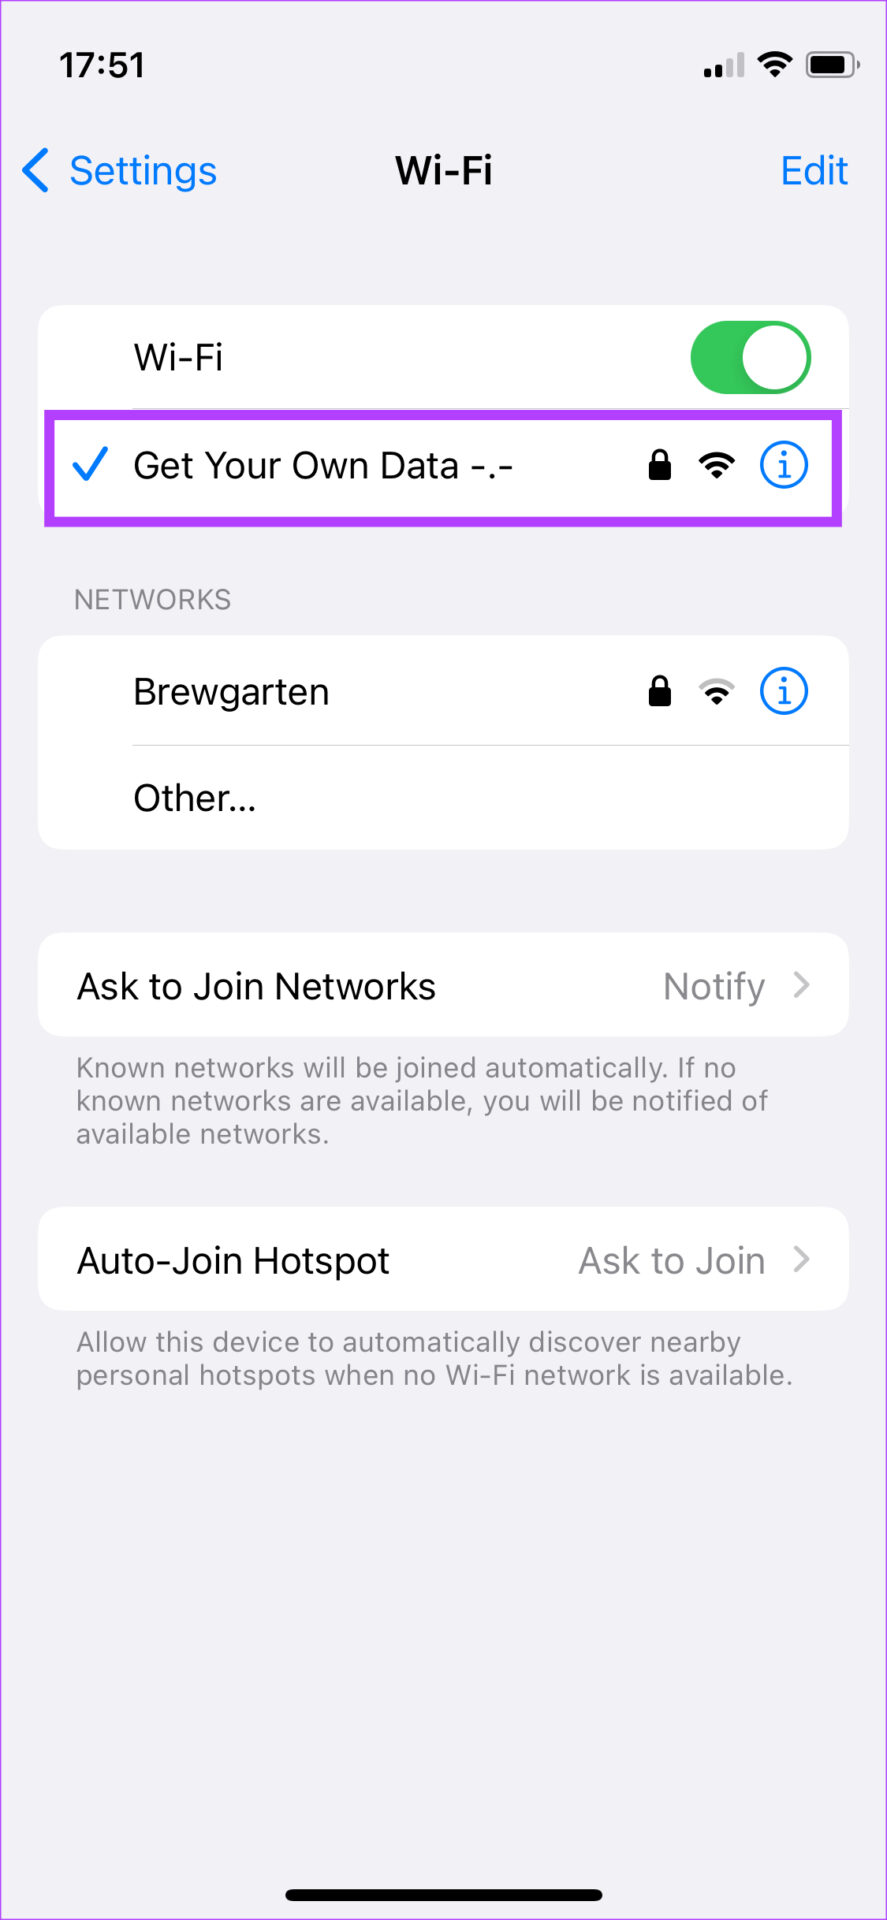
Step 3: If you haven’t already, connect to the Wi-Fi network you want to set as metered.
Step 4: Once connected, tap on the ‘i’ button next to the network.
Step 5: Enable the toggle next to Low Data Mode.
Now, your iPhone will treat the network as a metered connection. Alternatively, you can turn off the background refresh option for certain apps that you think will consume additional background data. Here’s how. Step 1: Open the Settings app on your iPhone.
Step 2: Scroll down and find the app for which you want to disable background refresh. Tap on it.
Step 3: Disable the toggle next to Background App Refresh.
Repeat this process for all the apps you think will consume a lot of bandwidth. However, don’t forget to enable the option again later on since failing to do so would mean you may not get notifications from those apps. That’s all you have to do for your iPhone so it doesn’t use too much bandwidth when connected to certain Wi-Fi networks.
Use Your Hotspot Without Worries
You might be worried about connecting multiple phones or devices to your mobile hotspot since it can consume a lot of data. However, setting the Wi-Fi as a metered connection is a good way to keep the data usage under check. You won’t have to worry about running out of your daily quota this way. The above article may contain affiliate links which help support Guiding Tech. However, it does not affect our editorial integrity. The content remains unbiased and authentic.