The Disk Utility is usable to format internal and external (portable) drives along with memory cards. Beside creating partition and fixing disk errors, it can also let you format and change the file system of an external drive. So, to format a drive on your Mac, here’s the easiest way to use Disk Utility for that.
What Is Disk Utility
Disk Utility is an in-built program on macOS that comes installed with all Mac computers. It’s available on all versions of macOS. If you ever want to make any changes to the disk drives on your Mac, this is the tool you should use. The best aspect of Disk Utility is that it works with internal and external drives.
So, if you’re using a USB drive, an external hard disk, or even a DVD on an old MacBook, Disk Utility will recognize it and let you perform functions on it. Some uses of Disk Utility include troubleshooting a non-functional drive, creating or removing a partition, mounting and unmounting a drive, formatting a drive, etc. Disk Utility also displays important information about a drive, including the type, format, capacity, used and available space, etc.
File Formats in Disk Utility
When erasing or formatting a drive, you will have to choose what file format you want the drive to be in. Disk Utility offers several formats to choose from. Here’s a brief idea about the differences in each format.
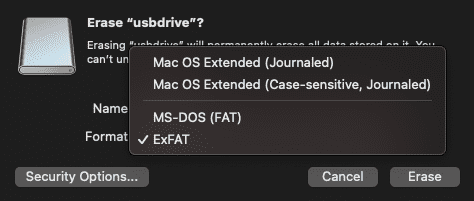
Mac OS Extended: Select this format if it’s an internal drive. If it’s an external drive, select it only if you plan on using the drive solely with a Mac. This format will give you the best compatibility with Macs. But, if you also plan to use it with a Windows computer or an Android smartphone, don’t select this format as those devices won’t be able to write to the drive. MS-DOS (FAT): This is a legacy format works across all devices. The only problem is that you cannot copy a file larger than 4GB on a device with this file system. ExFAT: Similar to FAT but without the 4GB restriction. However, it doesn’t work with devices meant for video games, cameras, and others. ExFAT is ideally the format you should pick for multi-device read and write support.
How to Use Disk Utility to Format a Drive
If you’re trying to format an internal drive, you can directly launch Disk Utility and proceed with the steps. To format an external drive, connect it to your Mac via a USB port and then follow the instructions. It’s also important to take a backup of all the data in the drive since formatting it is going to erase it completely. Step 1: Open a Finder window on your Mac.
Step 2: Select the ‘Go’ option situated in the menu bar on the top left portion of your screen.
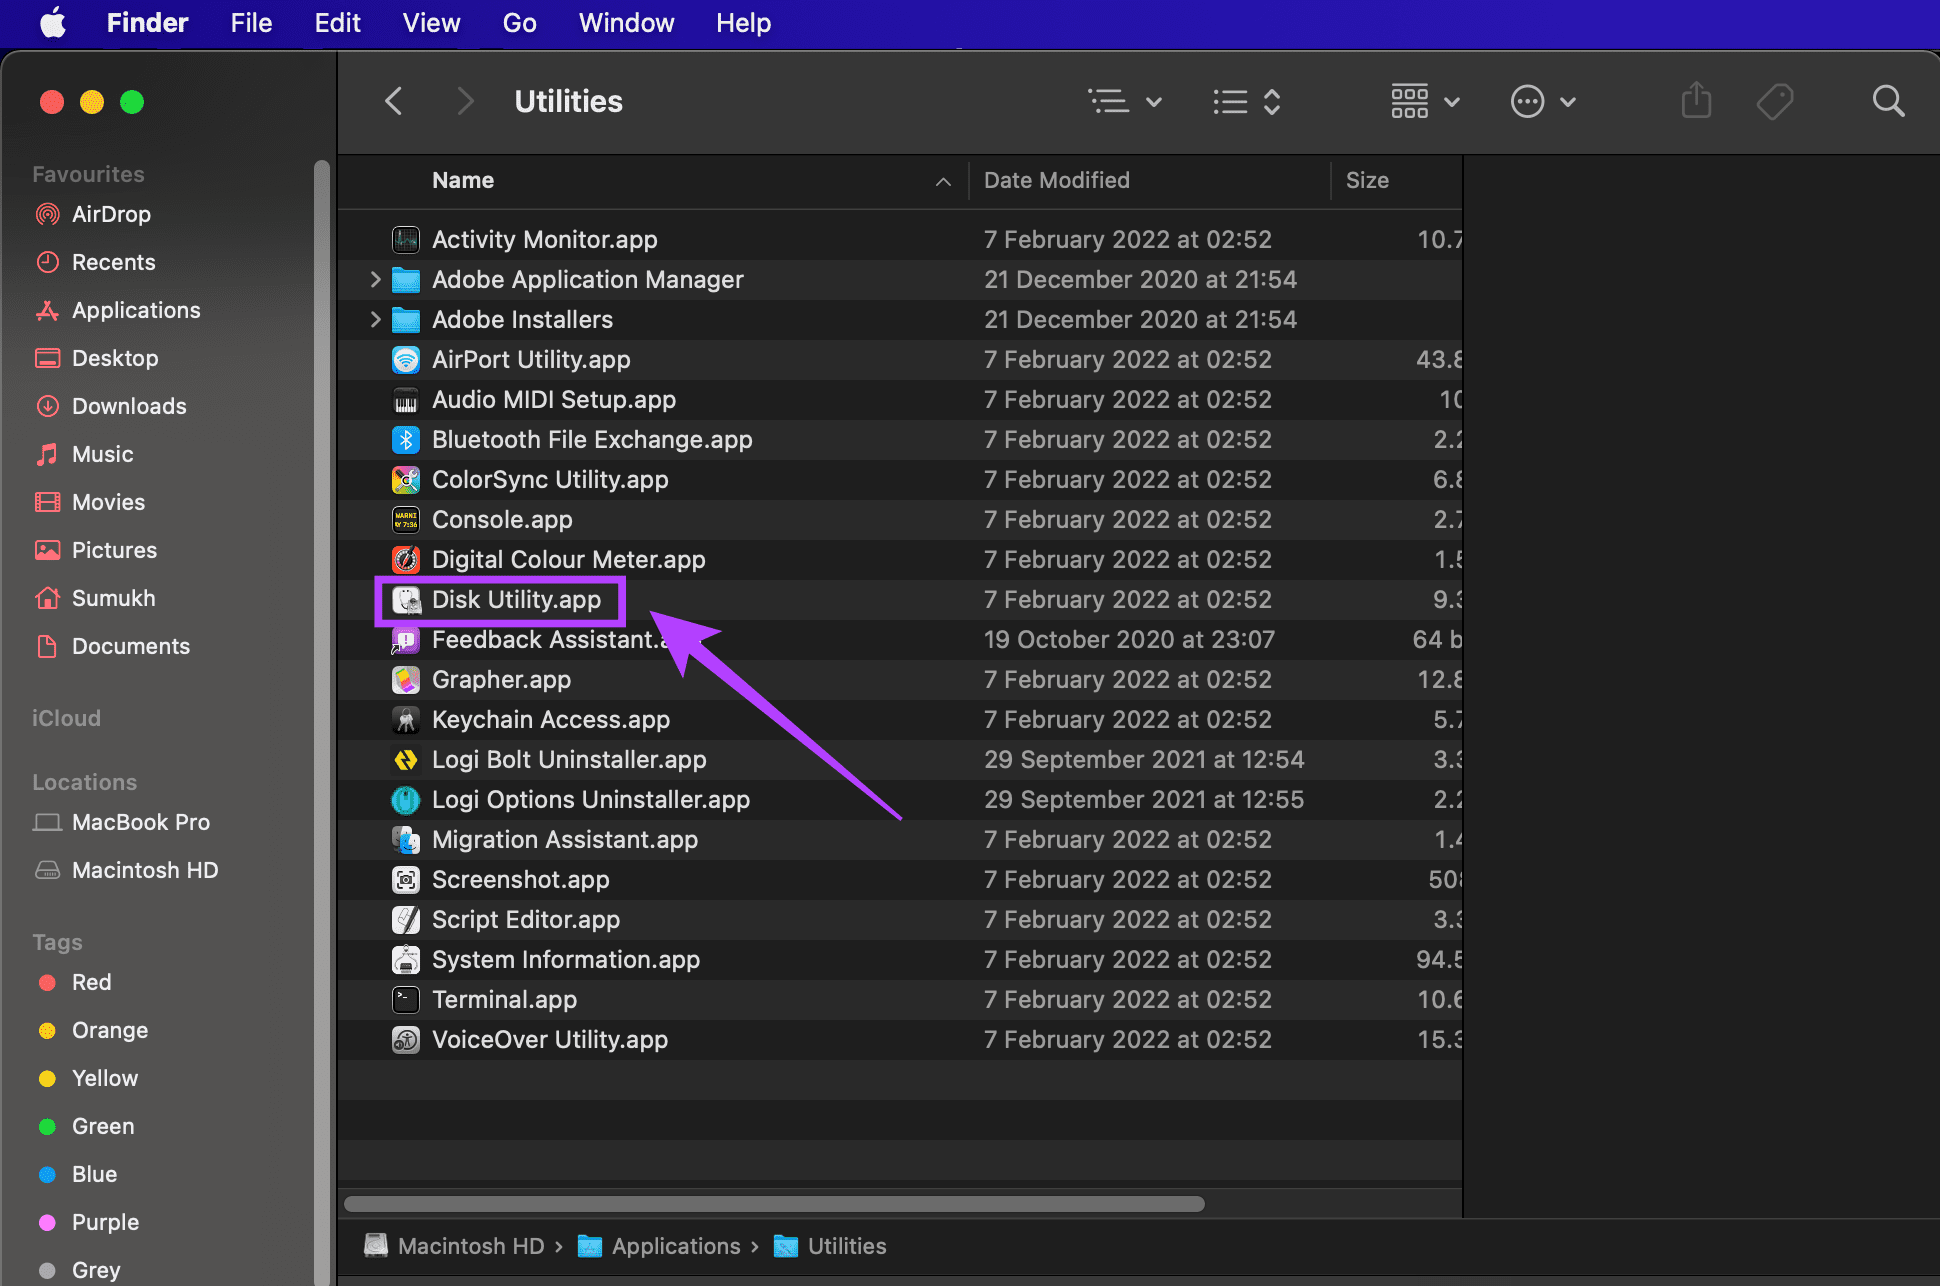
Step 3: Click on ‘Utilities’ in the drop-down menu. A new Finder window with all the installed utilities will now open.
Step 4: Double-click on ‘Disk Utility.app’ to launch the Disk Utility program.
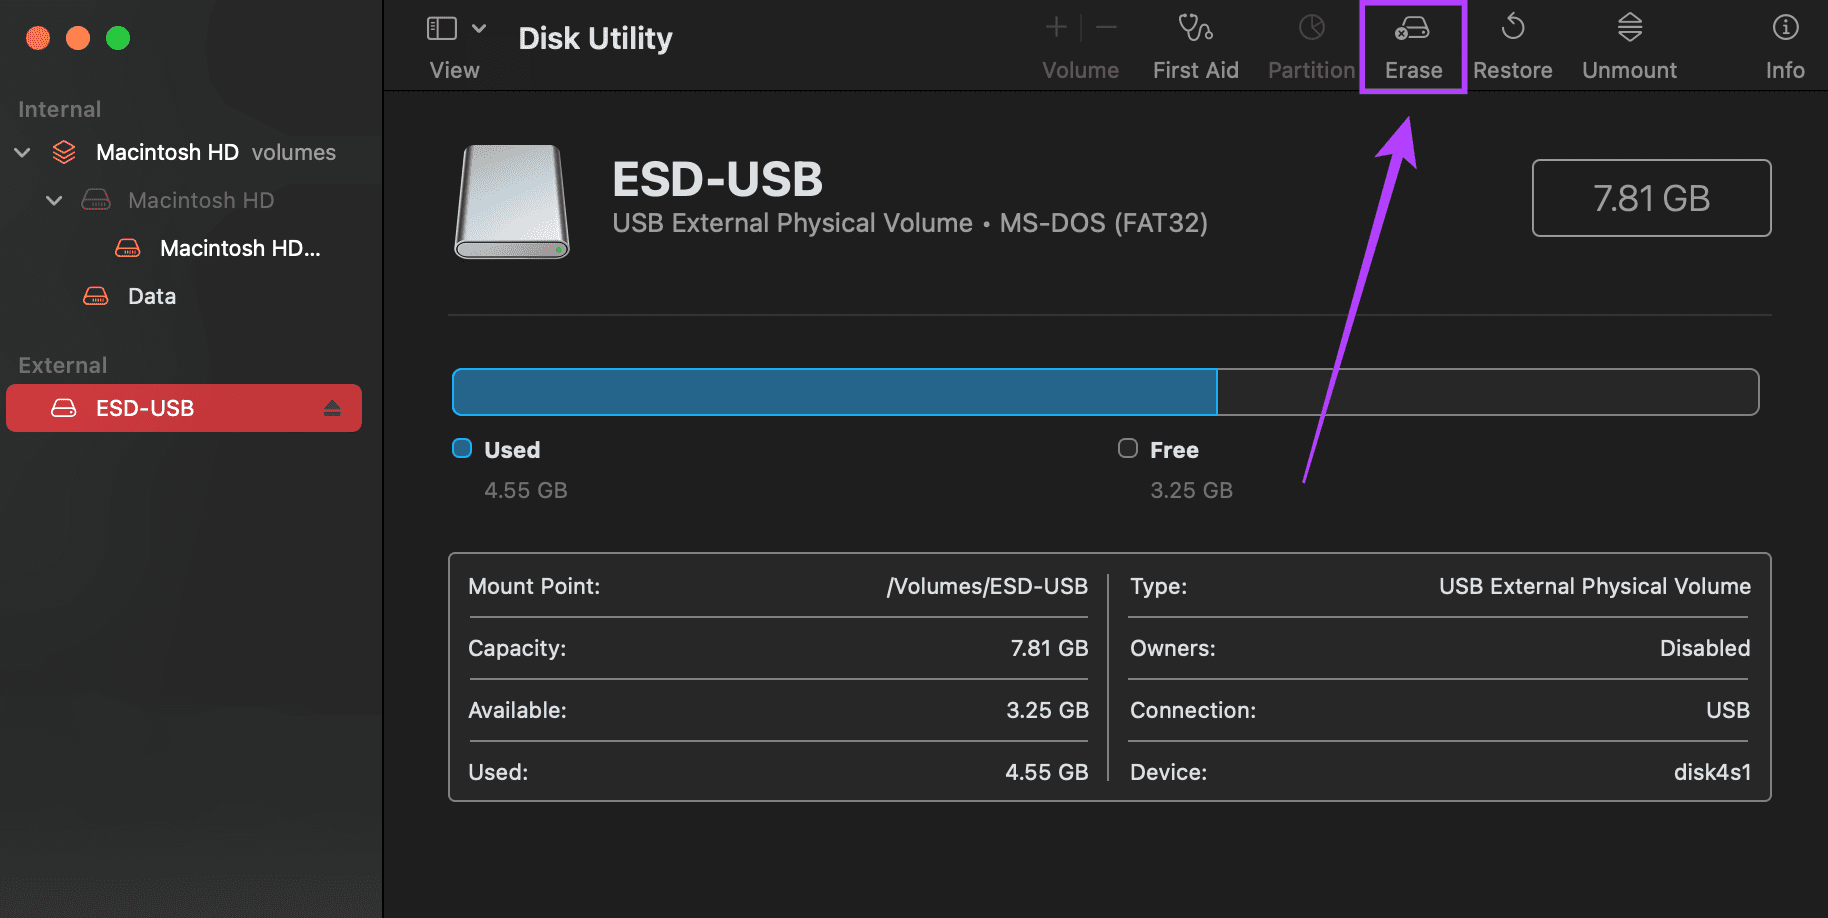
Step 5: You will find all your drives – internal and external, listed in the left pane of the app. Select the drive you want to format.
Step 6: Selecting a drive will list its properties, including the capacity and current file format. Make a note of the current format if you want to retain the same one. Step 7: Click on the ‘Erase’ option on the top-right portion of the Disk Utility app.
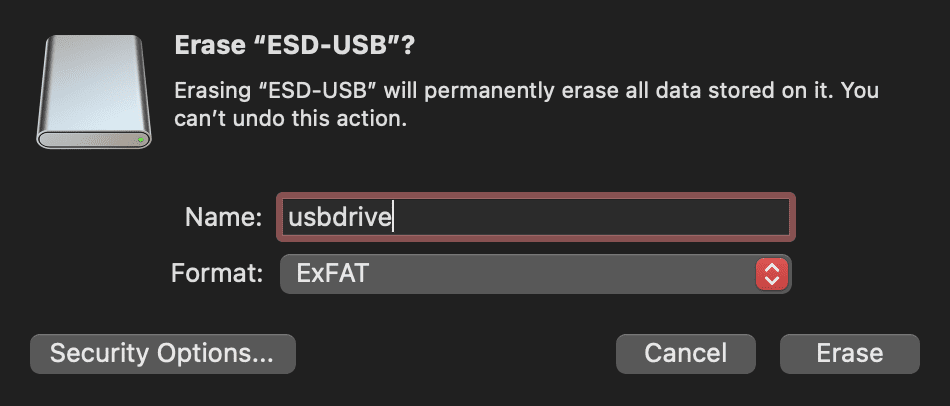
Step 8: This will bring up a dialog box where you have to enter the name that you want to give to the drive as well as select the format. Refer to the section above to learn more about which format to use.
Step 9: There’s also another button titled ‘Security Options’. Click on it, and you will see a slider. If you’re going to be using the drive personally and aren’t giving it to anyone else, you can choose the ‘Fastest’ option. If you plan on selling the drive or giving it to someone else, select the ‘Most Secure’ option. It will be harder to recover the deleted content from the drive.
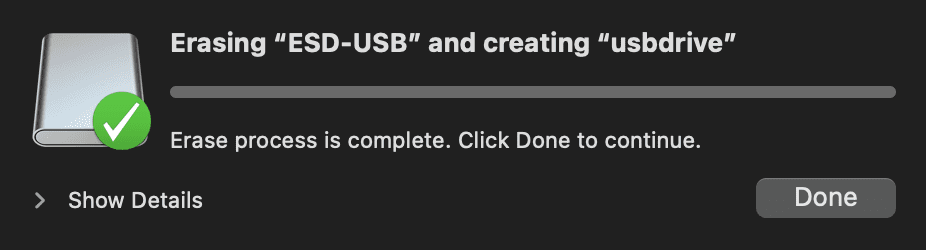
Step 10: Once you’ve selected all the relevant options, click on ‘Erase’. You now have a clean formatted drive.
Format Your Drives With Ease
Thanks to Disk Utility, you can format your internal drives and any external drive you like without the need for a third-party application or software. This includes your pen drives, external hard disks, SSDs, or even SD cards from your camera. The above article may contain affiliate links which help support Guiding Tech. However, it does not affect our editorial integrity. The content remains unbiased and authentic.