Also, scanned PDFs aren’t easily editable, unlike PDFs converted from other file types. Luckily, the Adobe Acrobat DC packs optical character recognition (OCR) to edit a scanned PDF and makes the task comfortable for you. Here’s how to use Adobe Acrobat DC to edit scanned PDFs.
How to Edit Scanned PDFs in Adobe Acrobat DC
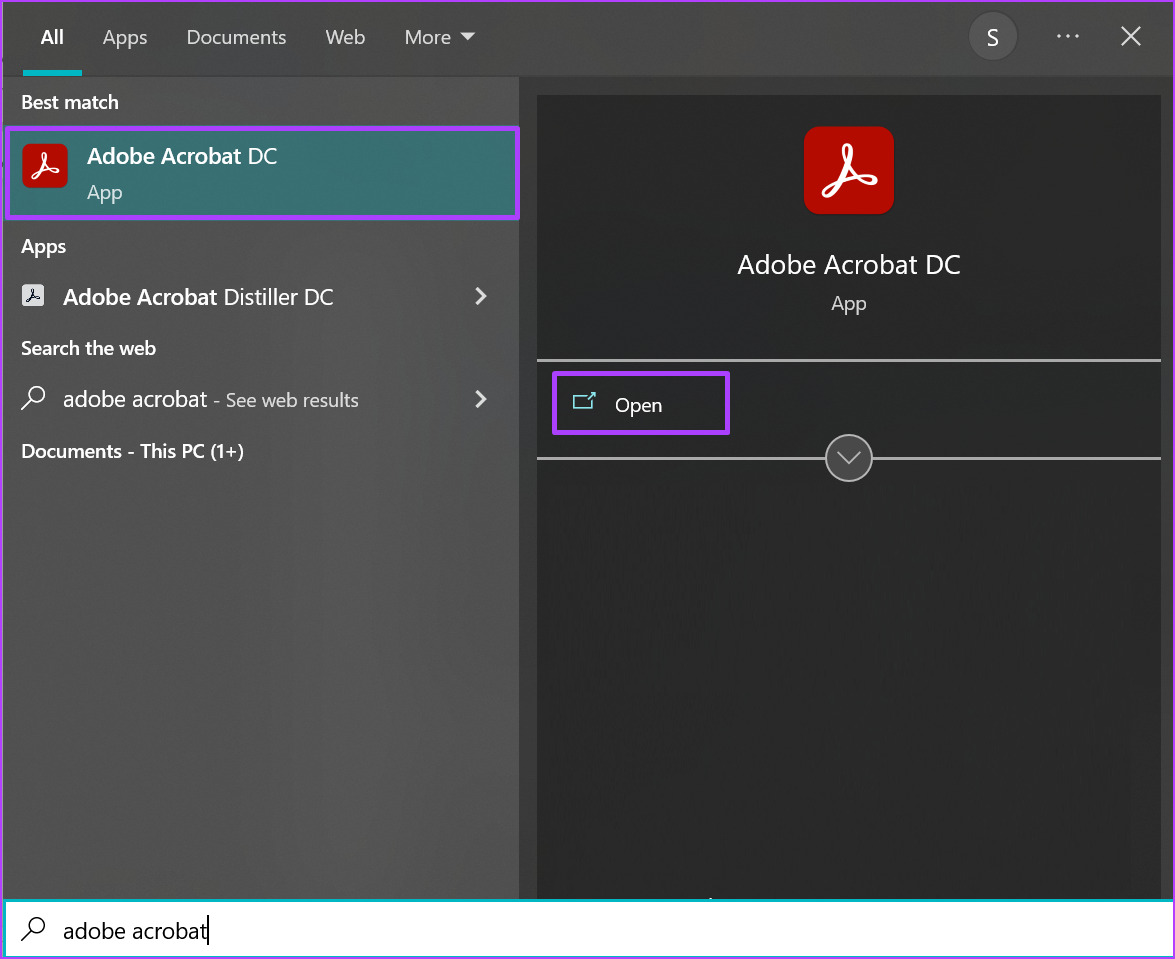
When viewing a scanned PDF in Adobe Acrobat DC, you can enable the OCR to run automatically in the background. The OCR will convert the document into editable text and images. Here’s how to enable it from your Adobe Acrobat DC Settings: Step 1: On your PC, click on the Start menu and search for Adobe Acrobat.
Step 2: Click on Open to launch the Adobe Acrobat app from the results.
Step 3: After the app launches, click on File option in the top-left corner.
Step 4: Click on Open from the options shown.
Step 5: Browse to the scanned PDF file you want to edit, select it and click on Open to launch it.
Step 6: Click on Tools from the Adobe Ribbon.
Step 7: Click on Edit PDF beneath the Create & Edit tools group.
Step 8: Wait for Adobe to start and complete the optical character recognition to convert the PDF elements into editable texts and images. Once the OCR recognition is complete, you should see texts and images in the PDF inside text boxes or fields.
Step 9: Place your cursor into the text boxes and click on the content you want to edit. Any new text you introduce will match the original text of the document.
Step 10: Click on File after editing the document, and select Save or Save As to maintain your new changes.
How to Personalize Your Adobe Settings to Edit Scanned PDFs
Adobe has specific settings which you can update to make editing scanned PDFs easier. These settings include:
Recognize Text: The OCR language for your document. When OCR is run on the document, Adobe’s code identifies the default language. Use available system font: This option ensures the converted text in your scanned PDF appeans in a font similar to the one on your computer. Make all the pages editable: If you have multiple pages on your scanned PDF, by default, Adobe only converts the current page you are on. If you want to make all pages editable, you can tick this setting, however, it will slow down the speed of browsing through the PDF.
Personalizing your Adobe Settings
To personalize your Adobe settings, follow these steps: Step 1: On your PC, click on the Start menu and search for Adobe Acrobat.
Step 2: Click on Open to launch the Adobe Acrobat app from the results.
Step 3: After the app launches, click on File option in the top-left corner.
Step 4: Click on Open from the options shown.
Step 5: Browse to the scanned PDF file you want to edit, and click on Open to launch it.
Step 6: Click on Tools from the Adobe Ribbon.
Step 7: Click on Edit PDF beneath the Create & Edit tools group.
Step 8: By the right of the page, there should be a tray, scroll down the tray to the Scanned Documents group.
Step 9: Click on Settings.
Step 10: On the Scanned Document Editing Settings dialog box, click on the drop-down beneath the ‘Recognize Text in’ field.
Step 11: Select your preferred language.
Step 12: If you want to match the PDF text to your system, tick the box beside ‘Use available system font.’
Step 13: If you want to make all the text on your PDF editable, tick the box beside ‘Make all the pages editable.’
Step 14: Click OK to save all your changes.
Inserting and Deleting Pages in a PDF
Apart from editing the text within your scanned PDF, you can also insert new pages and delete pages you no longer find relevant. All you need to do so is the Organize Pages Tool on Adobe Acrobat DC. The above article may contain affiliate links which help support Guiding Tech. However, it does not affect our editorial integrity. The content remains unbiased and authentic.