Your user account image is the photo that appears in places like the sign-in screen and the Settings app. In this post, we’ll walk you through the steps involved in changing and removing your user account image on Windows 11. So, let’s start.
How to Change User Account Image
You can use the Settings app to change your user account image on Windows 11 quickly. This method works for all users, regardless of the account type. Follow the steps below to change the user account image on Windows 11. Step 1: Click on the Start menu to open it and click the gear-shaped icon to launch the Settings app.
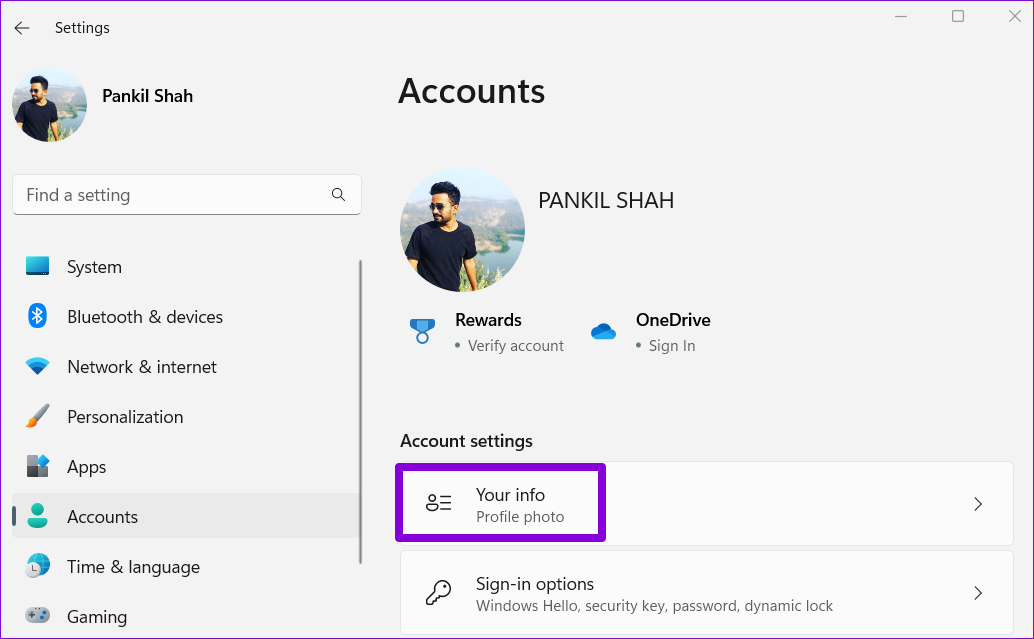
Step 2: Use the left pane to navigate to the Accounts tab.
Step 3: Under Account settings, click on Your info.
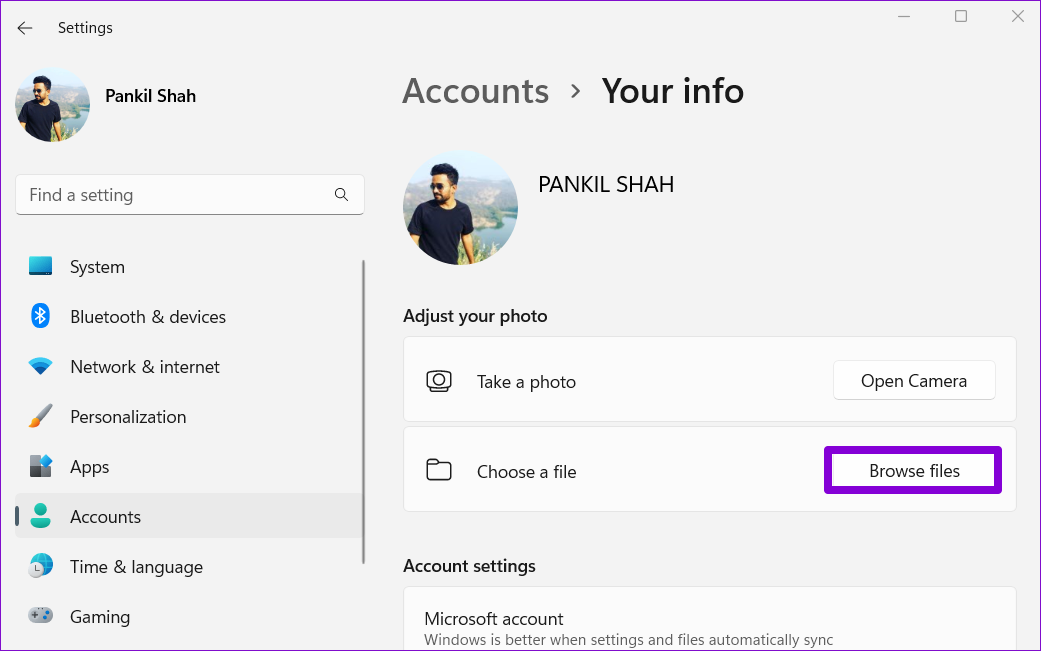
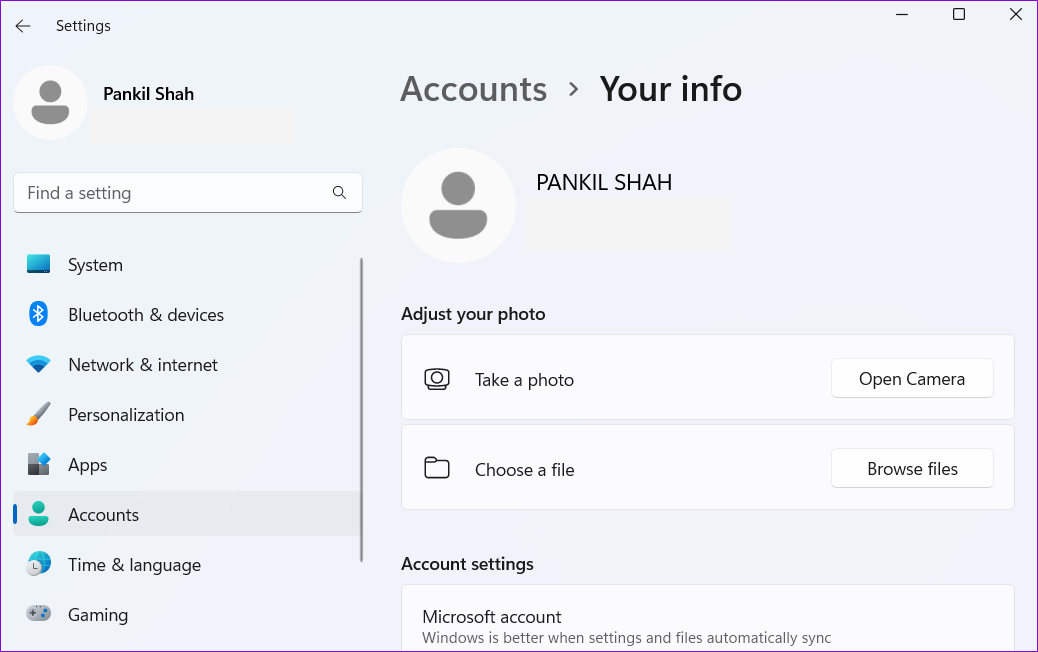
Step 4: In the ‘Adjust your photo’ section, click Browse files.
Step 5: Locate the picture you’d like to use as your account image and click on Choose picture.
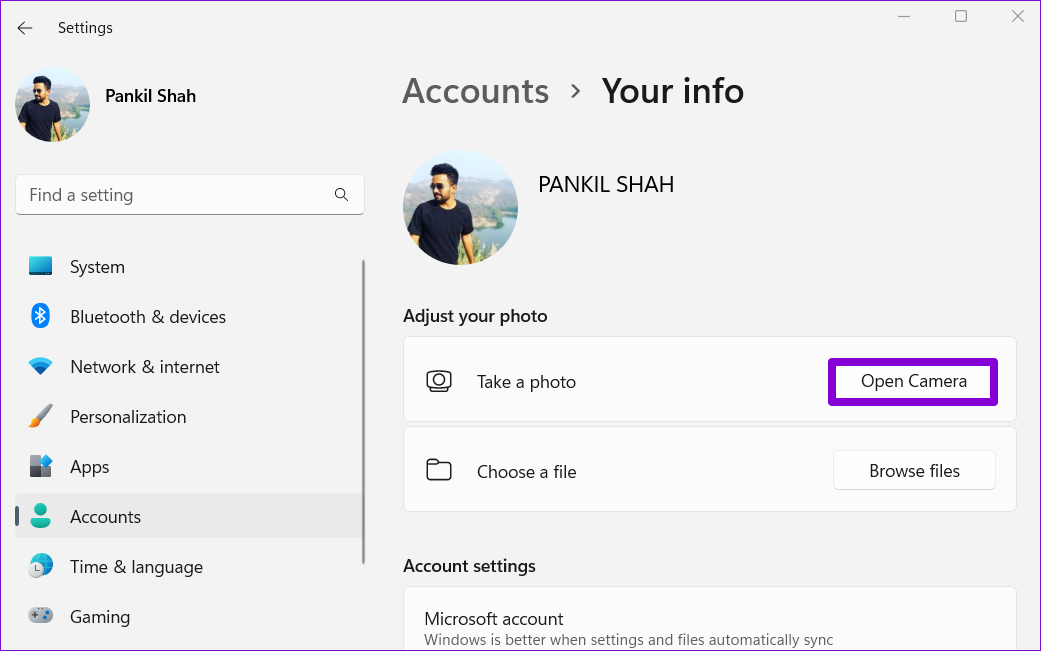
Windows will automatically resize and crop the image you select. However, you’ll have to crop or resize your picture manually if you don’t get the desired result. Alternatively, if your Windows computer has a camera attached, you can also take a photo of yourself and use it as your account picture. Click the Open Camera button in the ‘Adjust your photo’ section. This will open Windows 11’s camera app.
Capture your photo using the camera app and click on Done to save changes. After you complete the above steps, your new account image will appear in the Settings app, Start menu, and the sign-in screen. Further, if you have signed in to Windows with your Microsoft account, the change will also reflect in all Microsoft services you use.
How to Change User Account Image for Microsoft Accounts
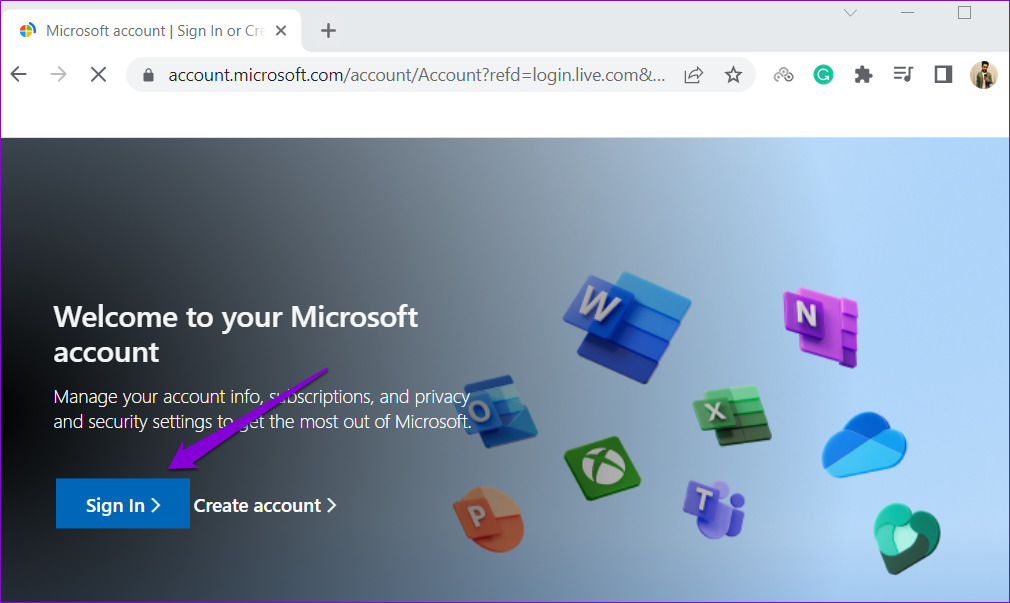
When you sign in with a Microsoft account on Windows, it automatically downloads and displays the image associated with your account. Changing your Microsoft account picture from the web also changes your Windows 11 user account picture. To change your Microsoft account picture in Windows 11, use these steps: Step 1: Open your preferred web browser and visit the Microsoft account page. Visit Microsoft Account Online Step 2: Sign in to your Microsoft account if you haven’t already.
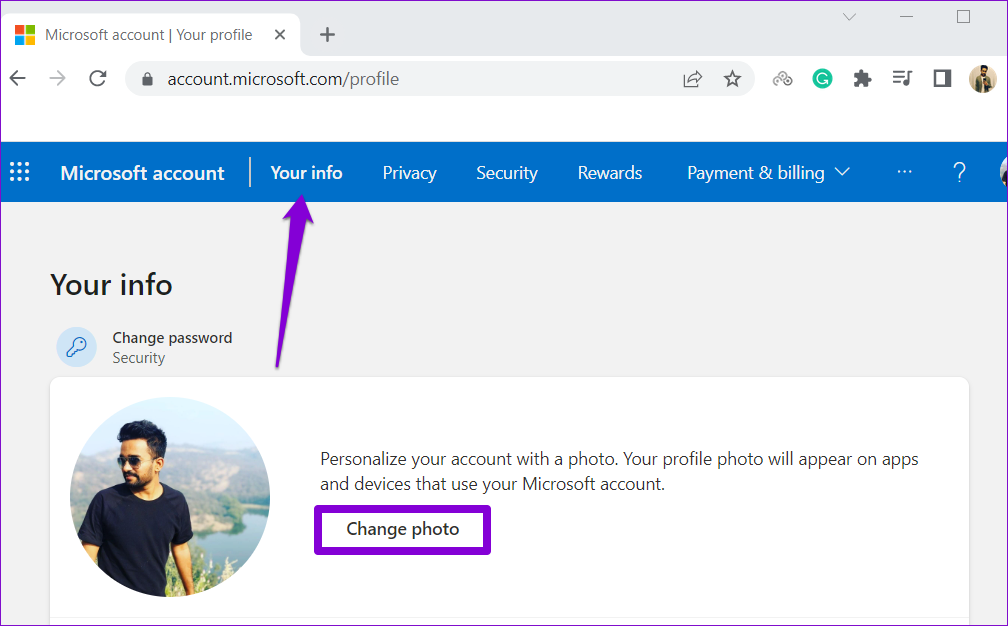
Step 3: Navigate to the Your info tab and click the Change photo button.
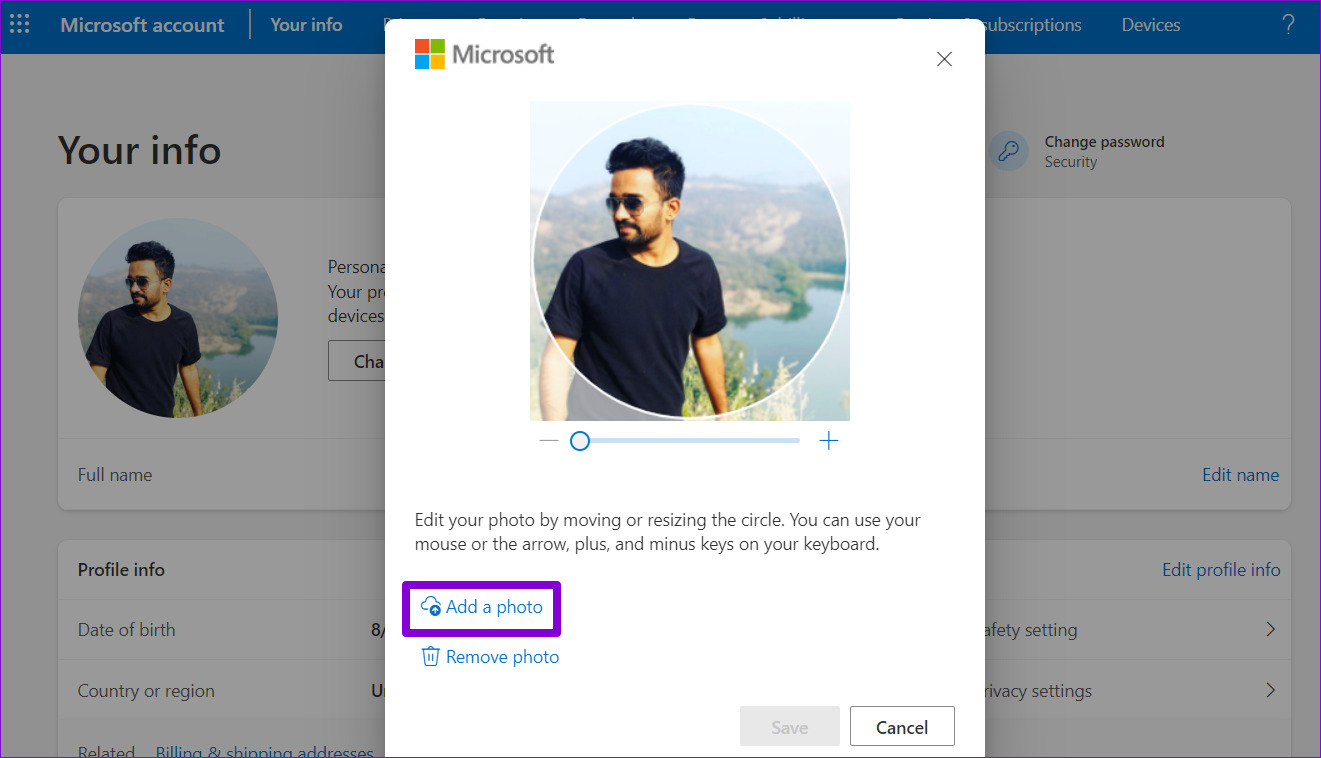
Step 4: Click on Add a photo and upload a new photo from your PC.
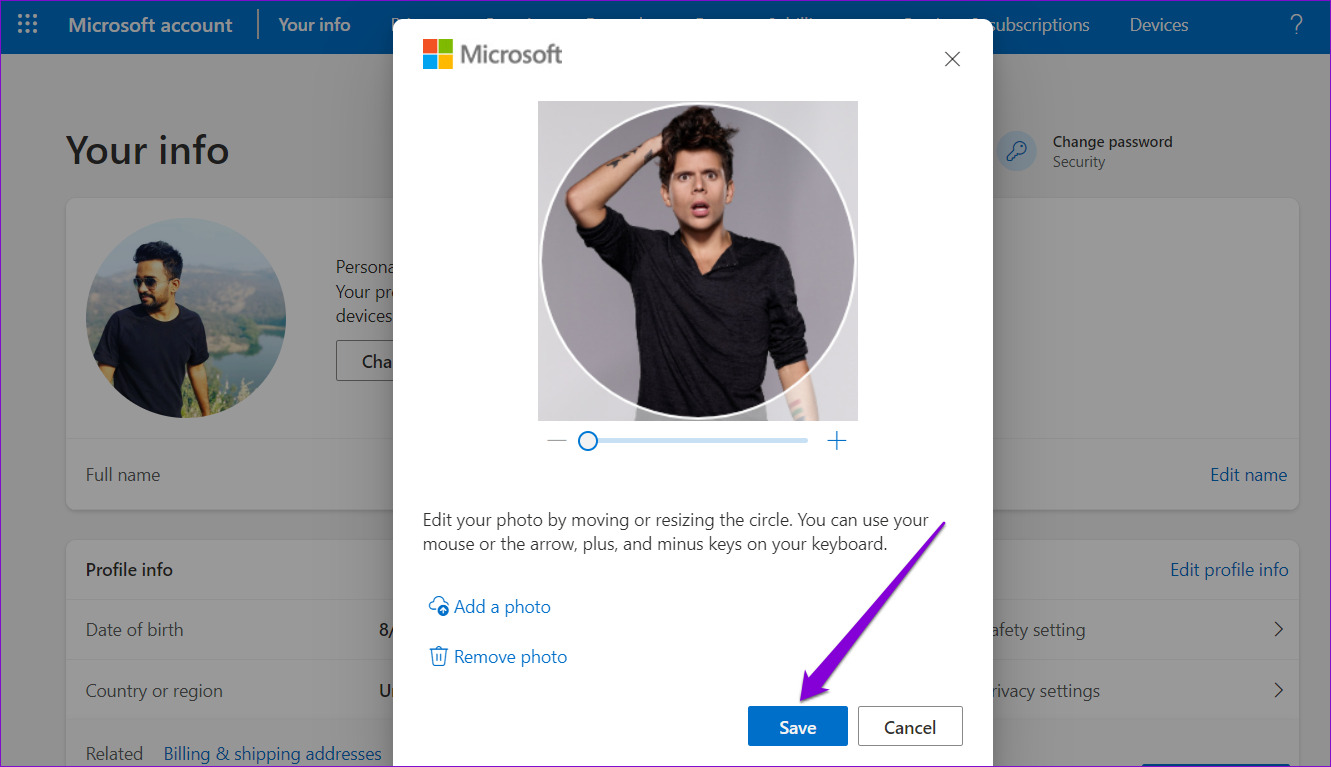
Step 5: Edit your photo by moving or resizing the circle and click on Save.
Windows will update your Microsoft account photo. Although, it may take some time before the account image change reflects on your device.
How to Remove or Delete User Account Image
While you can change the user account image via the Settings app, you won’t find any option to remove or delete the account image. However, it’s still possible to do so.
Remove User Account Image
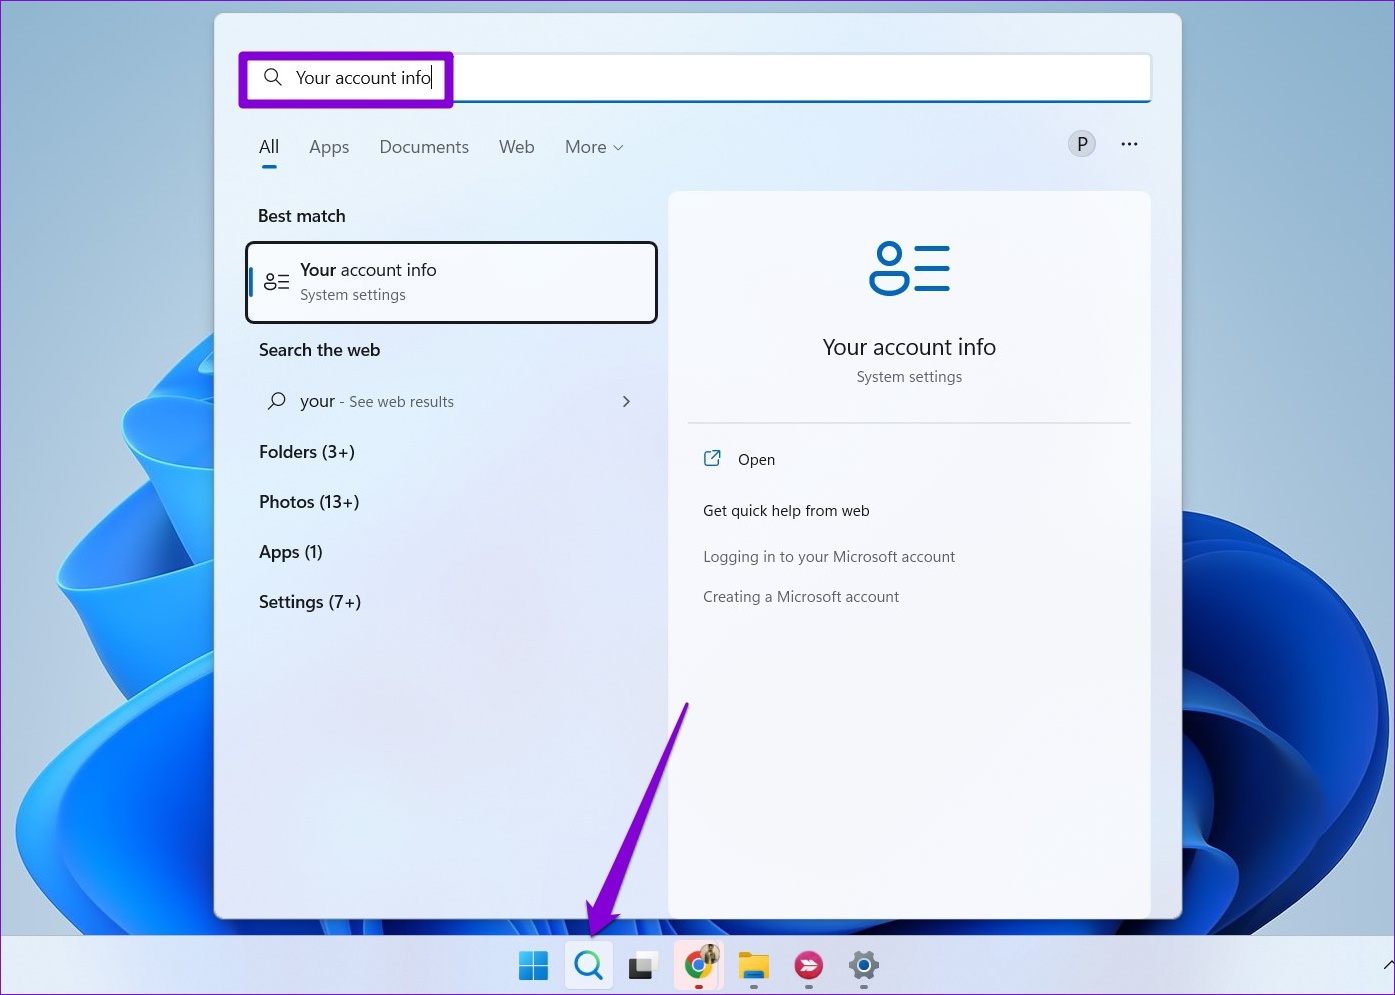
If you don’t want to have a profile photo, you can replace it with the default profile icon. Here’s how. Step 1: Click the search icon on the Taskbar or press the Windows key + S to open the search menu. Type your account info in the box and press Enter.
Step 2: Click on Browse files.
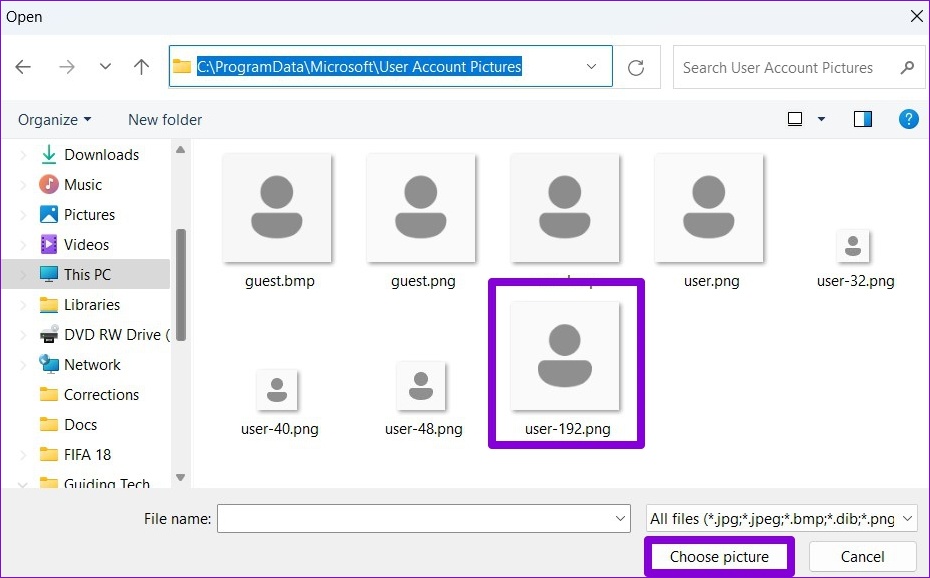
Step 3: In the Open dialog that appears, navigate to the following folder. Step 4: Select user.png or user-192.png and click Choose picture.
This will replace your user profile photo with the default one. Note that if you’re signed in with your Microsoft Account, the change will also reflect on all Microsoft services linked to your account.
Delete User Account Image
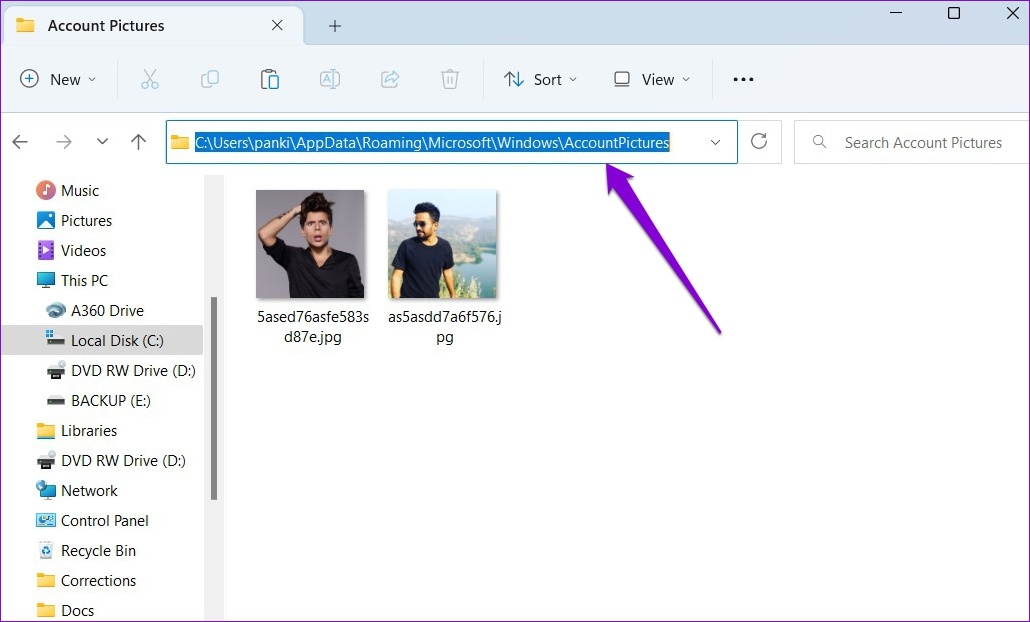
Windows saves all your account images in the Account Pictures folder. However, if you no longer want to use those images, here’s how you can delete them. Step 1: Press the Windows key + E to open File Explorer. Step 2: Paste the following path in the address bar at the top and press Enter to navigate to the Account Pictures folder. Make sure you replace yourname in the following path with your account name.
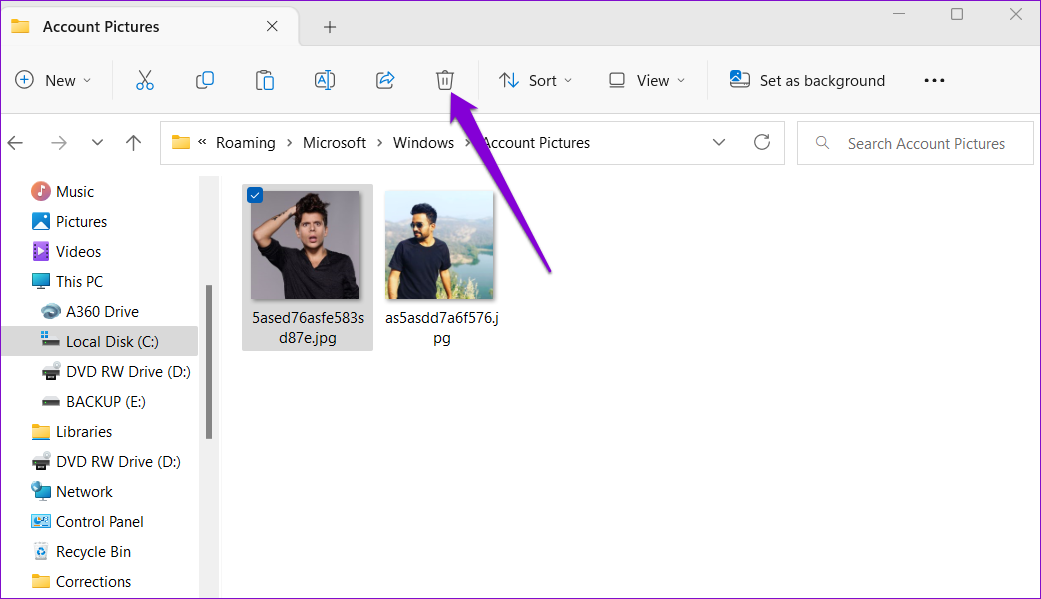
Step 3: In the Account Pictures folder, you’ll see all the pictures you’ve used as your account image. Select the images you want to delete and click the trash icon at the top.
Every Picture Tells a Story
As we just saw, changing the user account image in Windows 11 is relatively simple, irrespective of your account type. You can remove it if you prefer not to have an account picture. The above article may contain affiliate links which help support Guiding Tech. However, it does not affect our editorial integrity. The content remains unbiased and authentic.