You shouldn’t go overboard when using formatting options in a single email. Instead of improving readability, the practice can further confuse the recipient. Text style tweaks need to be subtle and shouldn’t be overdone throughout the email. Whenever we write business emails, we highlight certain important details only. Let us show you how to use formatting options in Outlook.
Change Font Style in Microsoft Outlook on Web
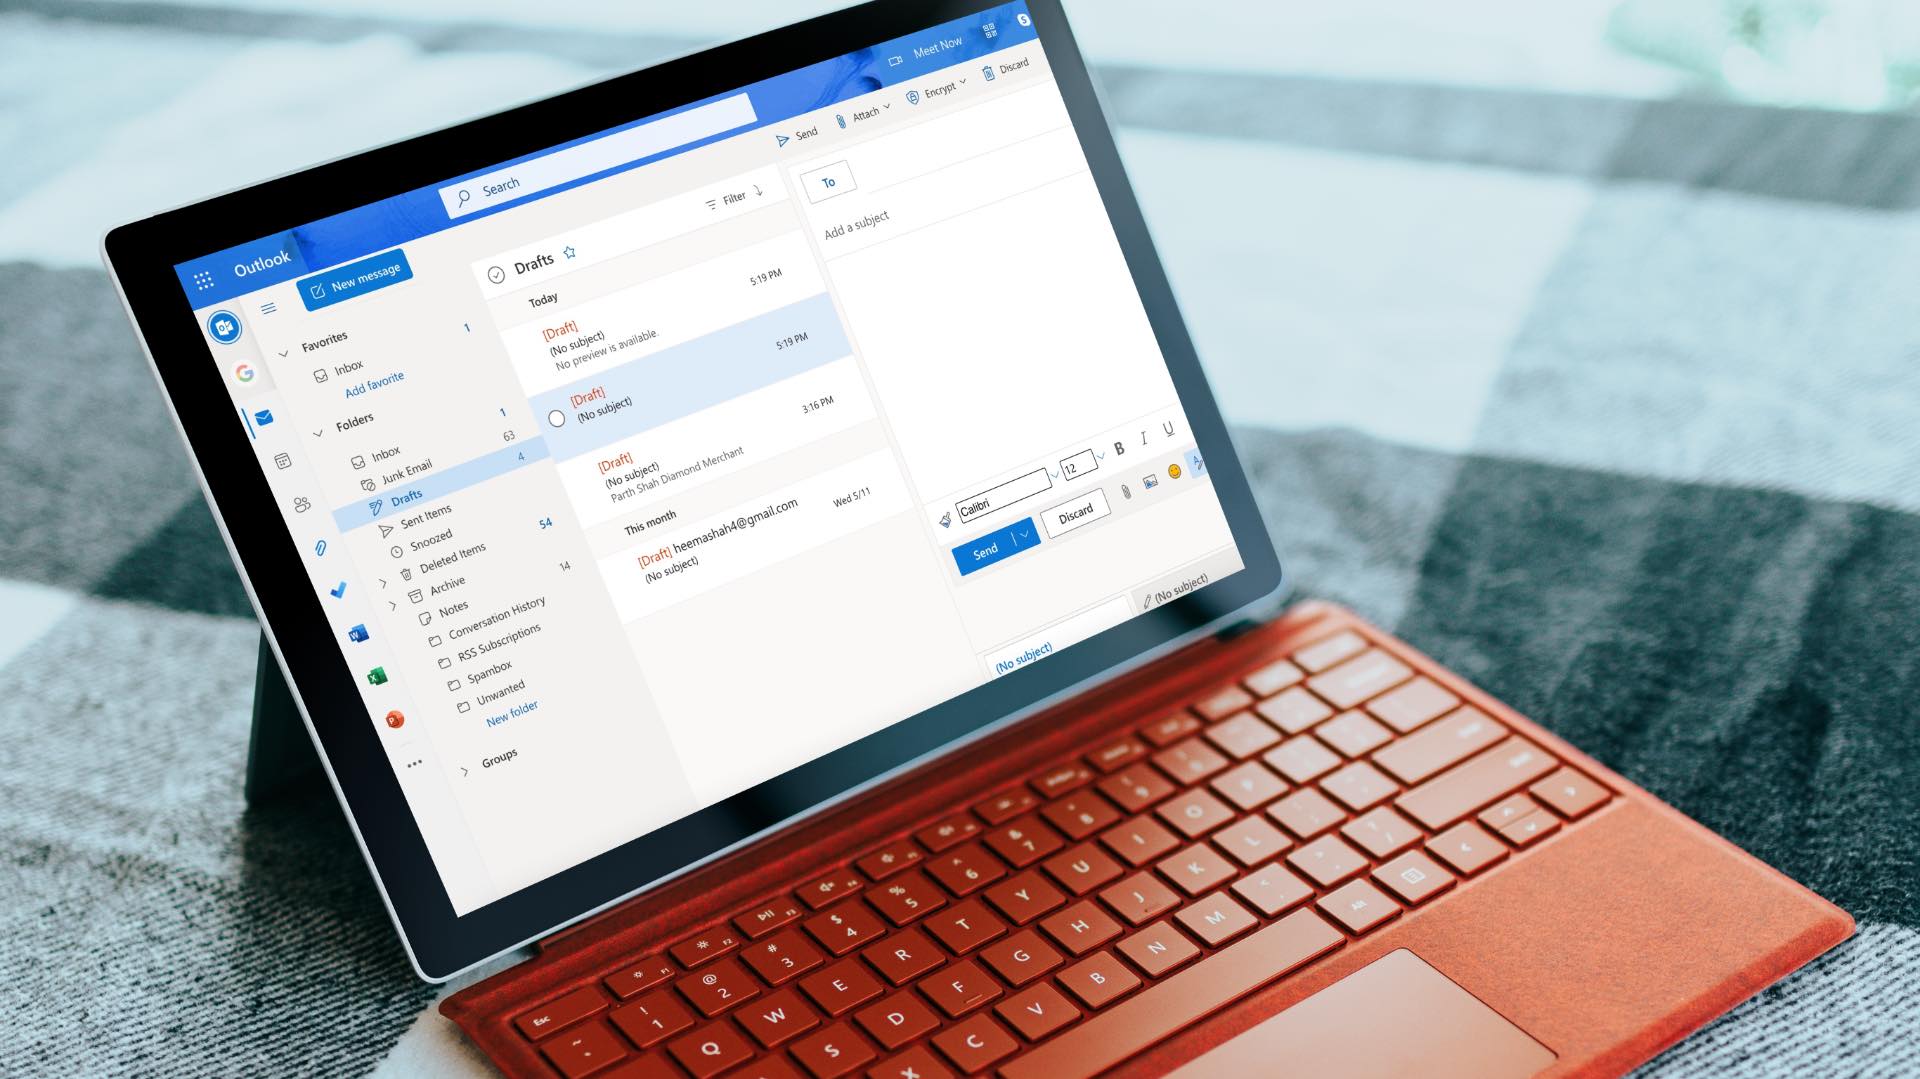
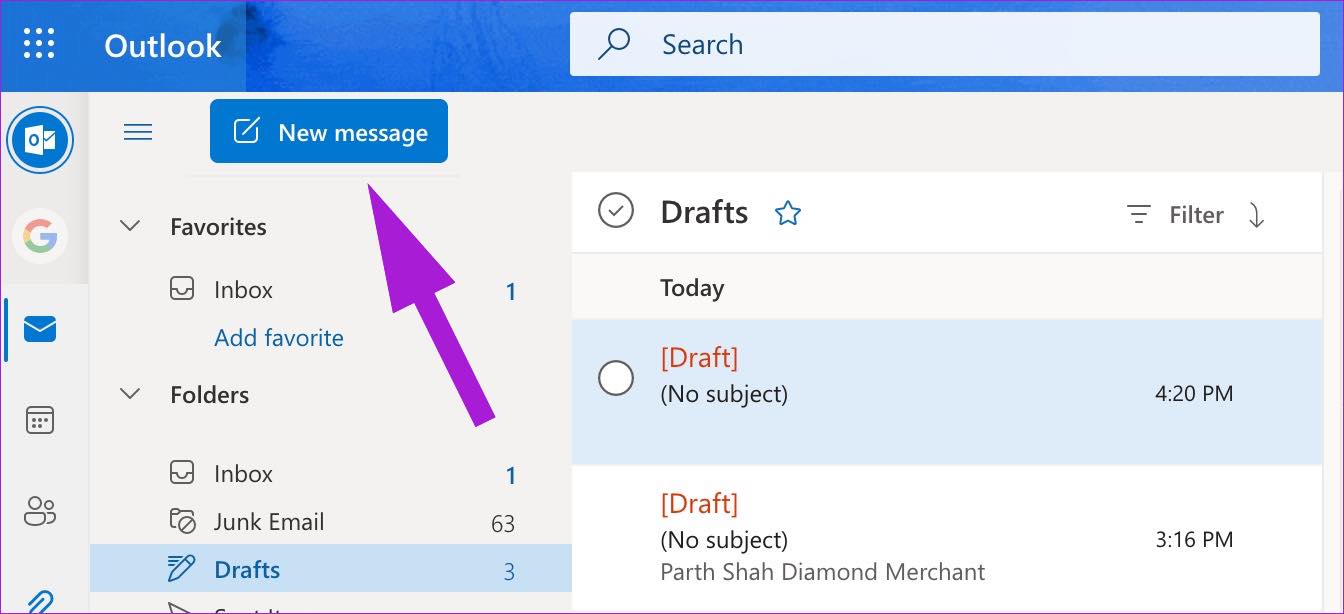
With the Office integration, email rules, and many other functions, it’s sufficient to say that Outlook web is the most feature-rich Outlook client out there. Some users might see plain text only when composing an email in Outlook. You need to enable formatting options first. Follow the steps below. Step 1: Open Outlook site in a web browserand sign in with your Microsoft account details. Visit Outlook.com Step 2: Select the New message button at the top and compose an email.
Step 3: You might see plain text enabled by default. It will turn off image attachments, emoji panel, and formatting options. Click on the three-dot menu on the bottom bar.
Step 4: Select Switch to HTML from the menu that pops up.
Step 5: Outlook will enable the formatting bar at the bottom to change the font style and text alignment.
Microsoft Outlook for web comes with dozens of formatting options. You can change font type, size, play with bold, italic, underline effects, change color, use highlighter, and more. You can open more formatting options (represented by the three-dot menu) and increase indent, insert a quote, link, superscript, and even add a table if you want more options. In short, you have all the required options to craft the perfect email on Outlook. As we said earlier, don’t go overboard with so many options at your fingertips.
Change Default Font Style in Microsoft Outlook on Web
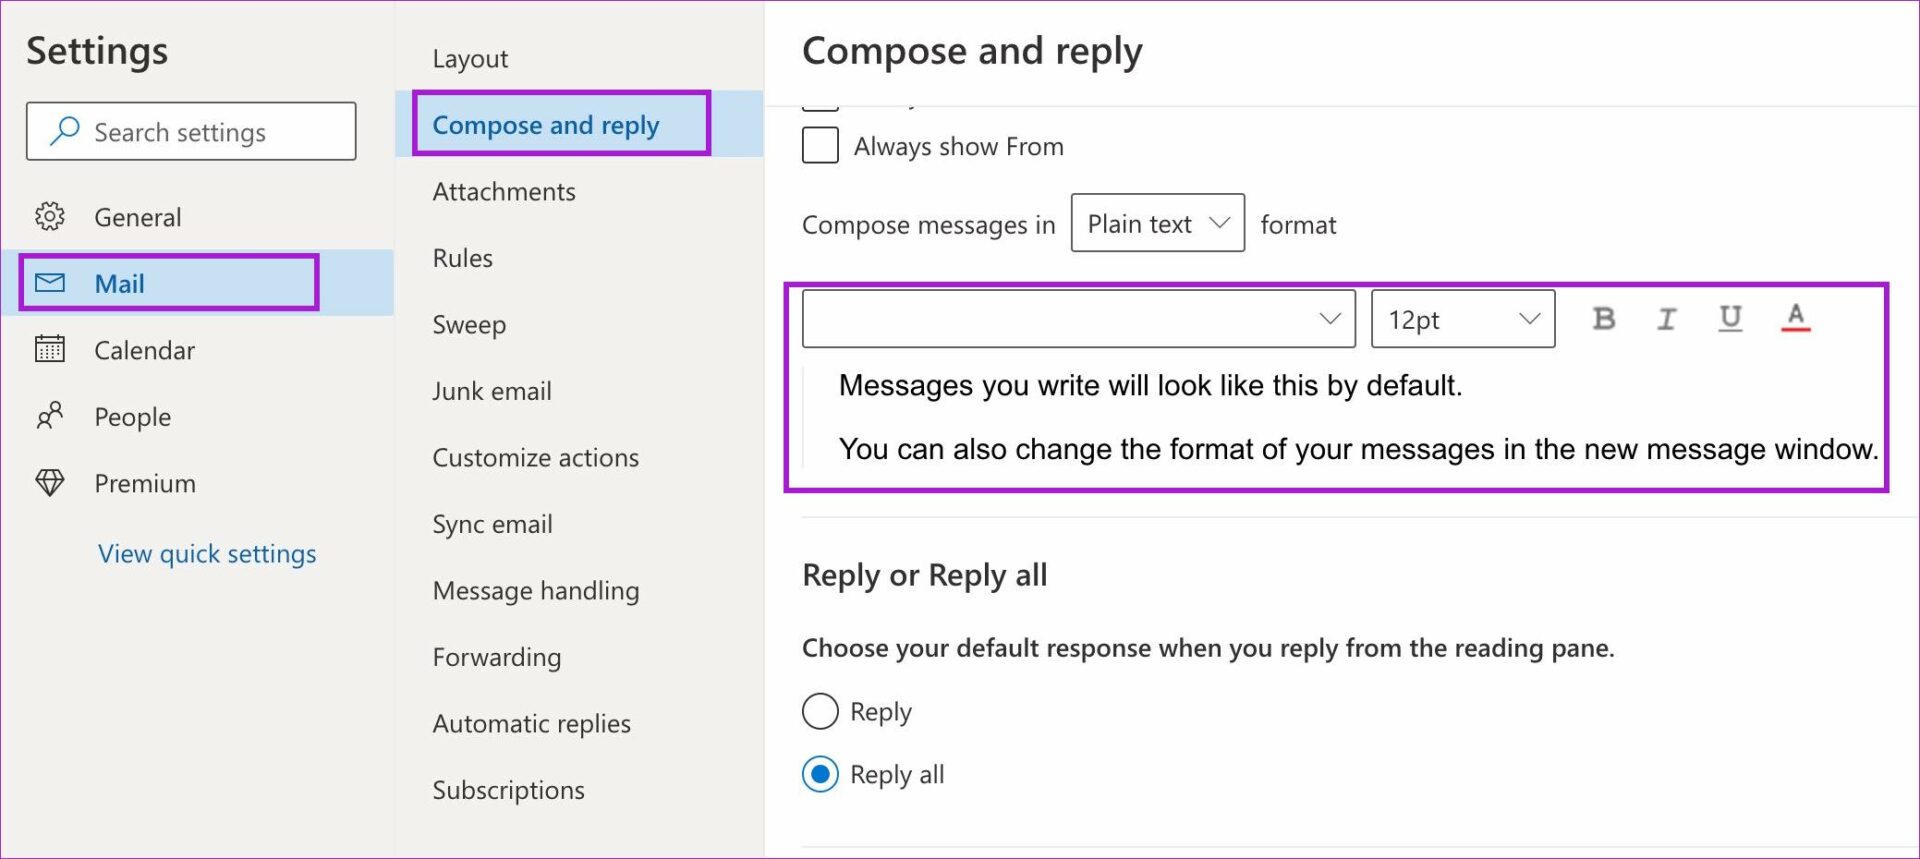
Not everyone prefers the default font style in Outlook. If you are among those and constantly find yourself tweaking font style and size, you need to change the default font style once and for all. Here’s how. Step 1: Open Outlook for web in a browser, sign in with your Microsoft account, and select the Settings icon in the top-right.
Step 2: When a column on the right opens, click on ‘View all Outlook settings’ link in the bottom-right corner.
Step 3: From the Mail menu, select Compose and reply. Step 4: Scroll down to Compose a message in HTML format. Change the default text style and size, and use bold, italic, and underline effects.
Step 5: Check the live preview at the bottom and hit the Save button. Compose an email in Outlook and check the new default text style in action.
Change Font Style in Microsoft Outlook App for Windows
Outlook Windows app doesn’t use plain text and opts for HTML to draft a message. The formatting options are straightforward. Let’s check them out. Step 1: Open the Outlook app on Windows. Click on the New Email button at the top-left corner. Step 3: Start typing body message, and Outlook will enable a formatting bar at the top.
The formatting options are standard, and if you have used Microsoft Word before, you will find yourself right at home.
Change Font Style in Microsoft Outlook for Mac
Outlook uses a completely revamped interface on Mac compared to the Windows version. When you start typing a new message, you will find a similar formatting bar at the top to tweak the font style.
Change Font Style in Microsoft Outlook Apps for iPhone and Android
Unlike Gmail apps for mobile, Outlook doesn’t hide font style options while drafting an email. Let’s check Outlook formatting options on iOS and Android.
iOS
Step 1: Open Outlook app on iPhone. Step 2: Tap on the + icon at the bottom.
Step 3: Tap on the A icon when you start writing an email. Step 4: You can change the title, subhead, and body, add bullet points and numbers, and insert a link. However, the Outlook app for iPhone doesn’t provide options to change font colors and a highlighter.
Android
Step 1: Open Outlook app on Android and tap on the compose button.
Step 2: Tap on the A icon at the bottom and open formatting options to change font style in Outlook. The options are identical, but Outlook for Android does offer a pen tool to add your signature. Make sure to use it when required.
Make Your Emails Stand Out
With the right amount of font style options, you can compose the perfect email in Outlook and create a better impression in front of the recipient. Don’t forget to add an email signature, though. It adds another personal touch to your email. You can also read our dedicated post to change font style in Gmail. The above article may contain affiliate links which help support Guiding Tech. However, it does not affect our editorial integrity. The content remains unbiased and authentic.


![]()