The Apple Mail app also gives you the option to add a signature to your emails. This post will show you how to add a signature in Apple Mail on iPhone, iPad, and Mac.
Add Signature in Apple Mail on iPhone and iPad
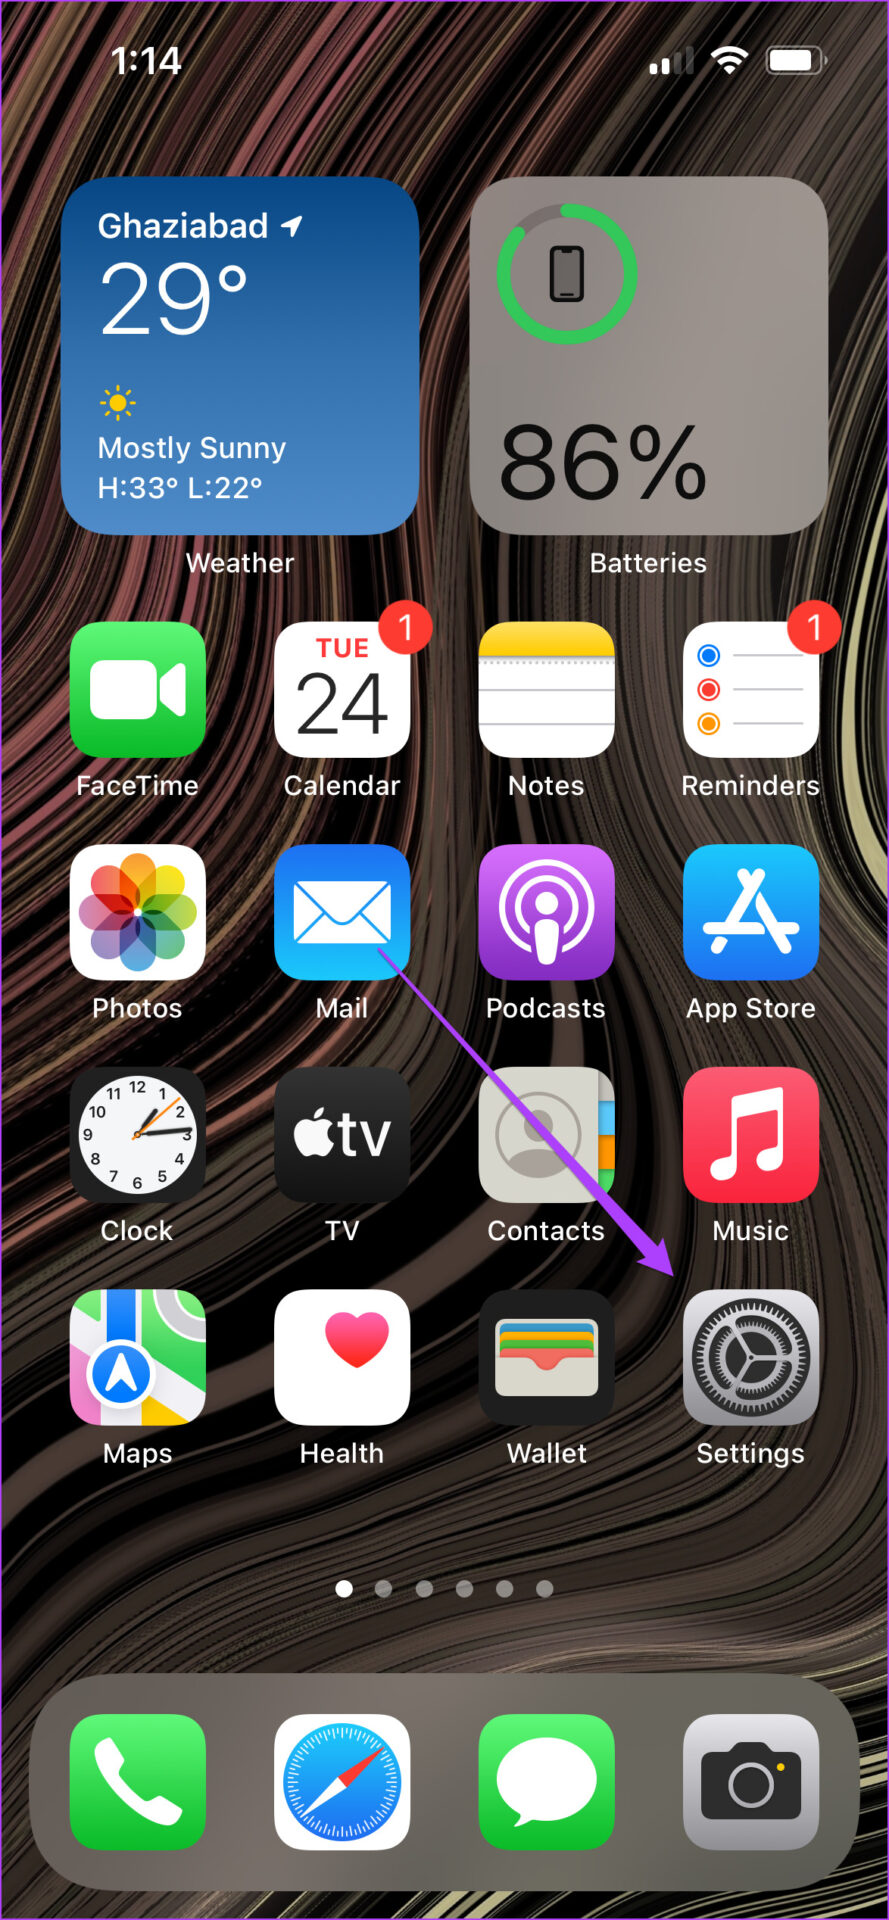
Let us first start with adding a signature on iPhone and iPad. Users can check and reply to their emails using the Mail app. When you have to reply to your work-related emails, you can conveniently add your signature in the Mail app from your iPhone or iPad. Before we proceed, ensure that you are using the latest iOS or iPadOS. The Mail app comes pre-installed with other system apps. So with an upgraded OS version, you will get to use the latest, bug-free version of the Mail app. Follow these steps to add a signature in the Mail app on iPhone. These steps apply to iPad as well. Step 1: Open the Settings app on your iPhone.
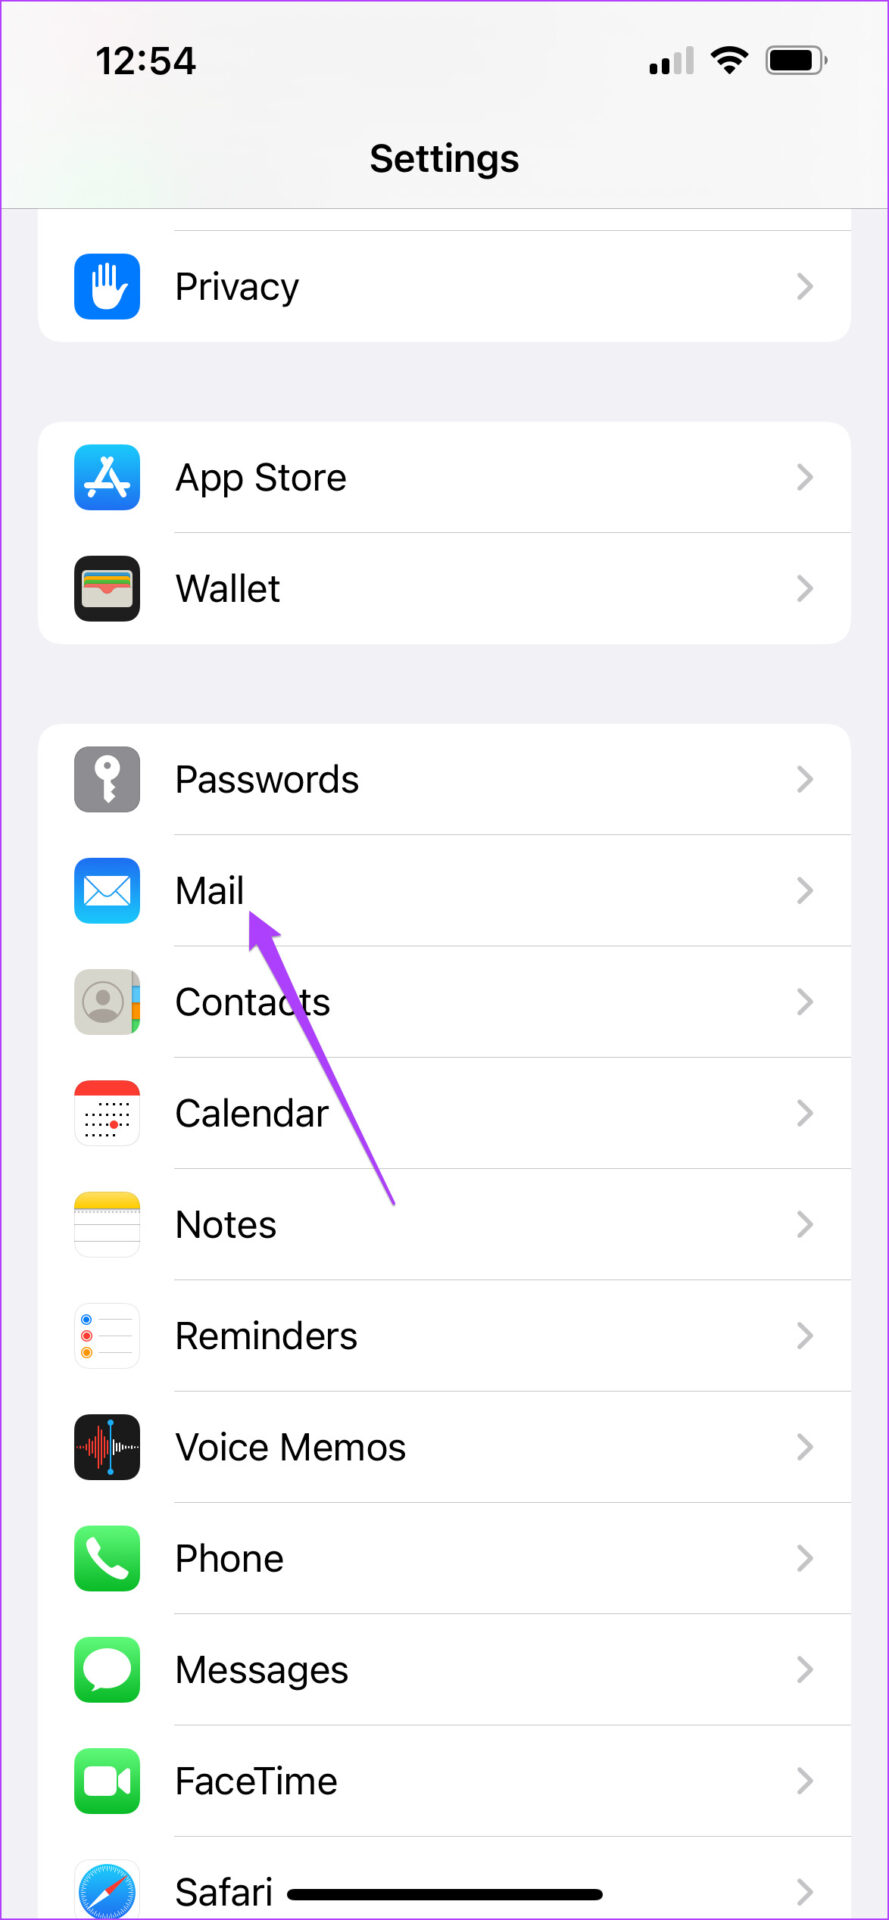
Step 2: Scroll down and tap on Mail.
Step 3: Scroll down and tap on Signature.
By default, the Mail app gives you the signature as ‘Sent from iPhone.’ Step 4: Tap the default signature and type in your own.
Step 5: Go back to the menu by tapping Mail.
Step 6: Close the Mail Settings and open the Mail app.
Step 7: Tap the icon to compose a new mail.
You will notice that now your email signature appears at the end of an email. You can still tap on it and change it again to suit the email.
Add Signature in Apple Mail on Mac
Adding a signature to your email adds a layer of professionalism. If you juggle with a lot of corporate emails everyday, it’s a good idea to create separate signature for your professional email exchanges. Luckily, the Mail app on the macOS also allows an easy way to add a signature to your emails. Thankfully, the option for adding signature in email isn’t nested too deep. Here’s how to do that. Step 1: Press Command + Spacebar to open Spotlight Search, type Mail, and press Return.
Step 2: Once the Mail app opens, click on Mail tab in the top-left corner on the menu bar.
Step 3: Select Preferences from the drop-down menu.
Step 4: Click on Signatures from the top menu bar.
Step 5: Select the email ID you want to add a signature.
Step 6: Click the Plus icon at the bottom.
A default signature for that email ID will appear on your screen.
Step 7: Click to delete the salutation in your signature.
Step 8: Double-click to change the title of your signature.
Step 9: Close the tab as your changes have been saved.
Step 10: Compose a new email to see your new signature. You also get the option of changing your signature before sending an email. Here’s how you can edit your signature while composing your email. Step 1: Tap the icon in the Mail app to compose a new email.
Step 2: Once the compose window opens, click on Signature.
Step 3: Click on Edit Signatures from the drop-down menu.
Step 4: Edit your Signature in the Preferences window on your screen.
Once edited, close the window, and the new signature will reflect in your email.
Use Signature With Your Emails
This is how you can add and edit your signature, depending on the nature of your email. The Apple Mail app is a convenient solution for setting all your email clients in one place. With new OS versions, the app keeps receiving new and improved features for its users. You can also have a dark theme on the mail app since it is a part of the system apps. This applies to iPhone, iPad, and Mac users. Make sure that your device is connected to a strong network whenever you send large emails. This will also help quickly refresh and update your data in the Mail app. The above article may contain affiliate links which help support Guiding Tech. However, it does not affect our editorial integrity. The content remains unbiased and authentic.